RevyOS
Meles RevyOS is an easy to use desktop system. While working with Meles RevyOS, you will find that it performs well in audio, video, Internet, BT, AI, etc.
Command prepended by $ means that the command may be executed by an unprivileged user. And command prepended by # means that the command may be executed by an privileged user. But the symbol, $ and #, are not part of the command.
Login
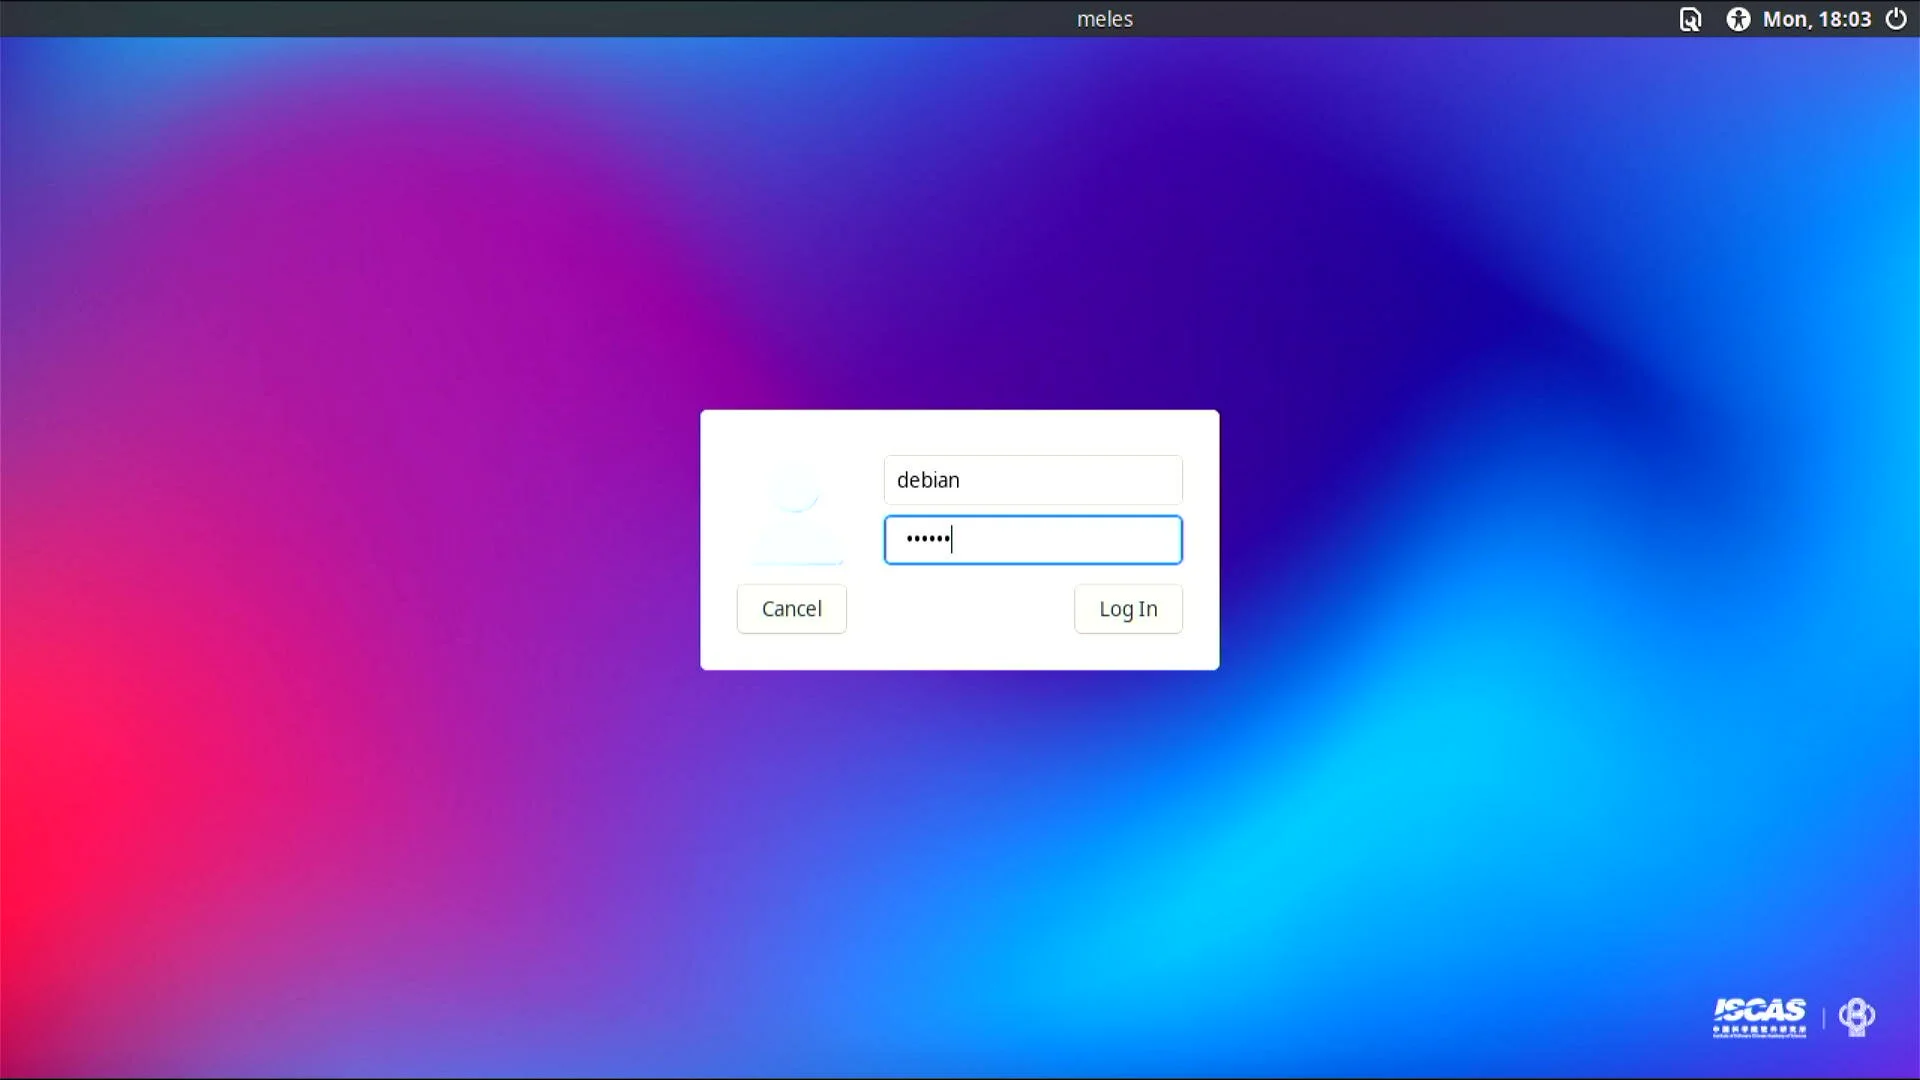
Login requires account and password。
- User Name: debian
- password : debian
Open Terminal
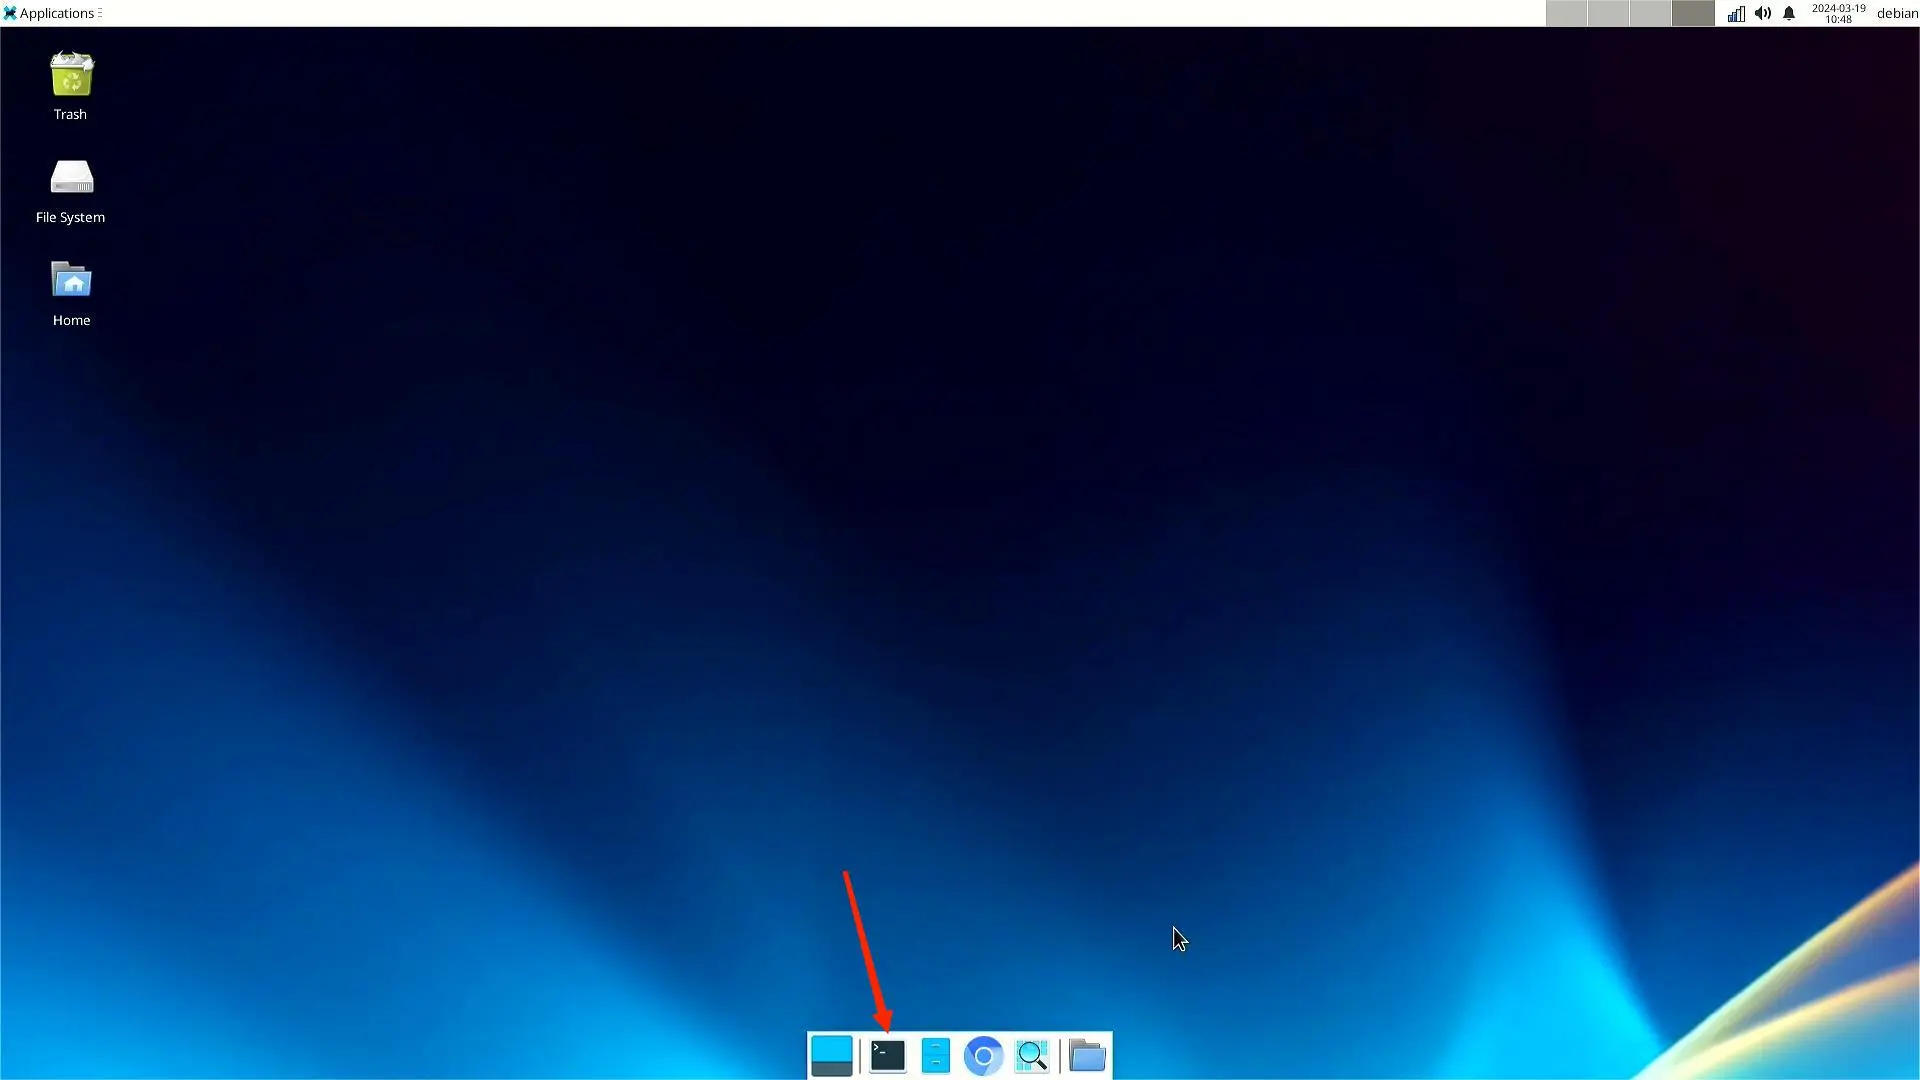
You can open the command line terminal directly by clicking on the following icon or by using the shortcut Ctrl + Alt + T key combination.
- Enter the
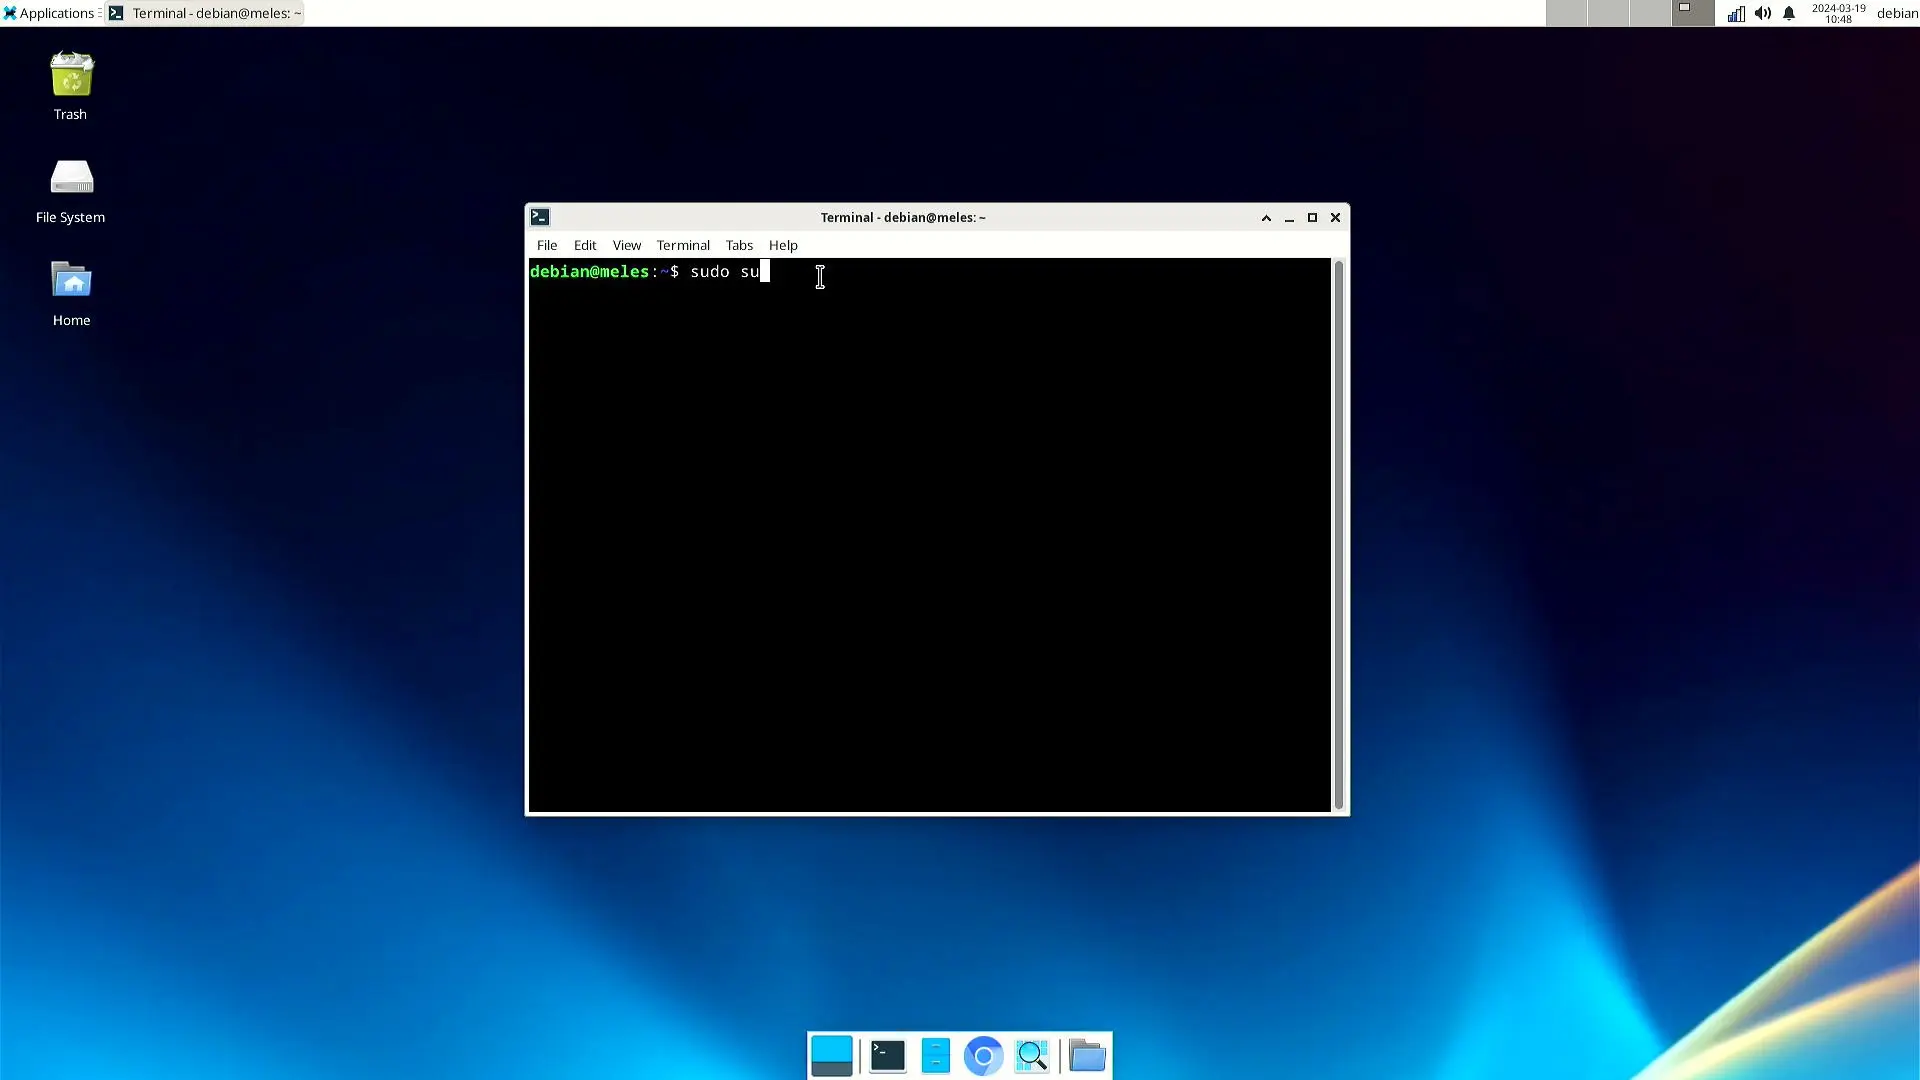
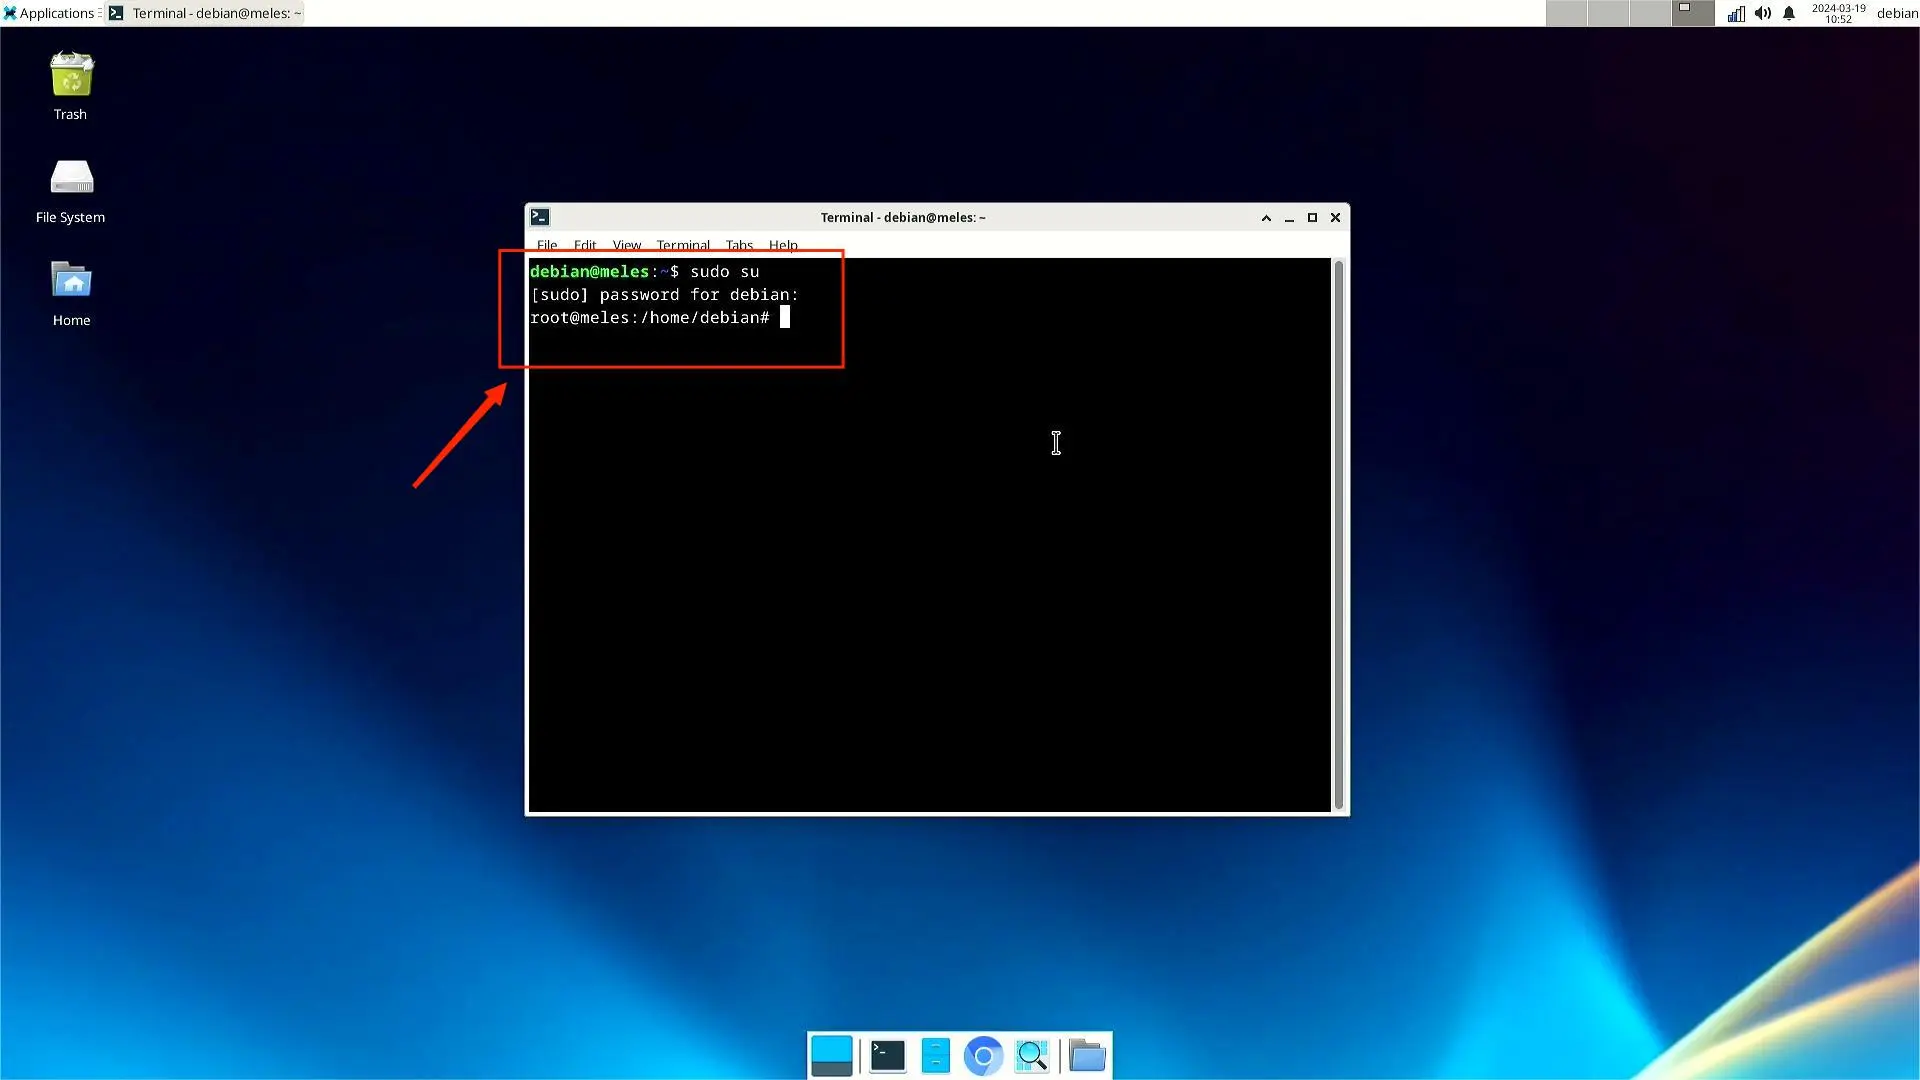
sudo sucommand to accessrootprivileges, with the password:debian.
Enternet connection
Connect the network cable to the Meles' Ethernet port.
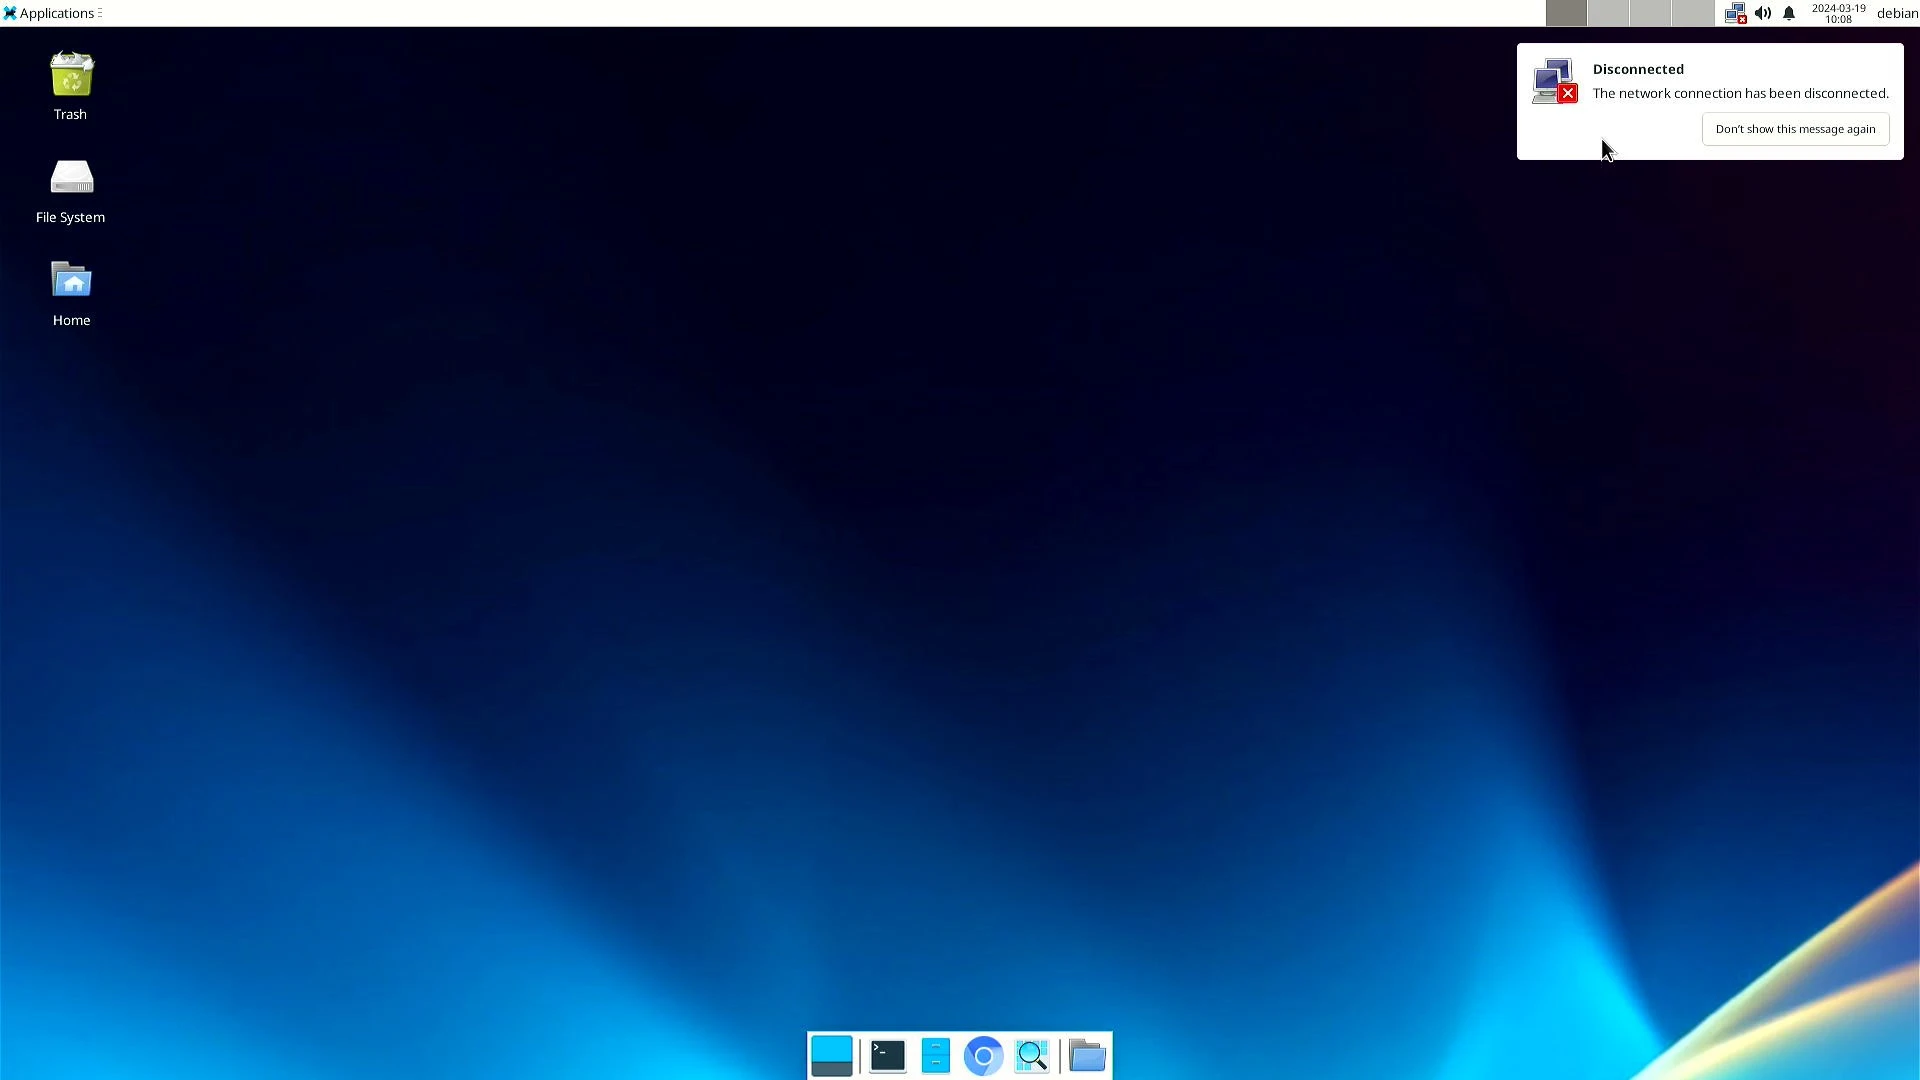
- Check status when the cable is not connected.
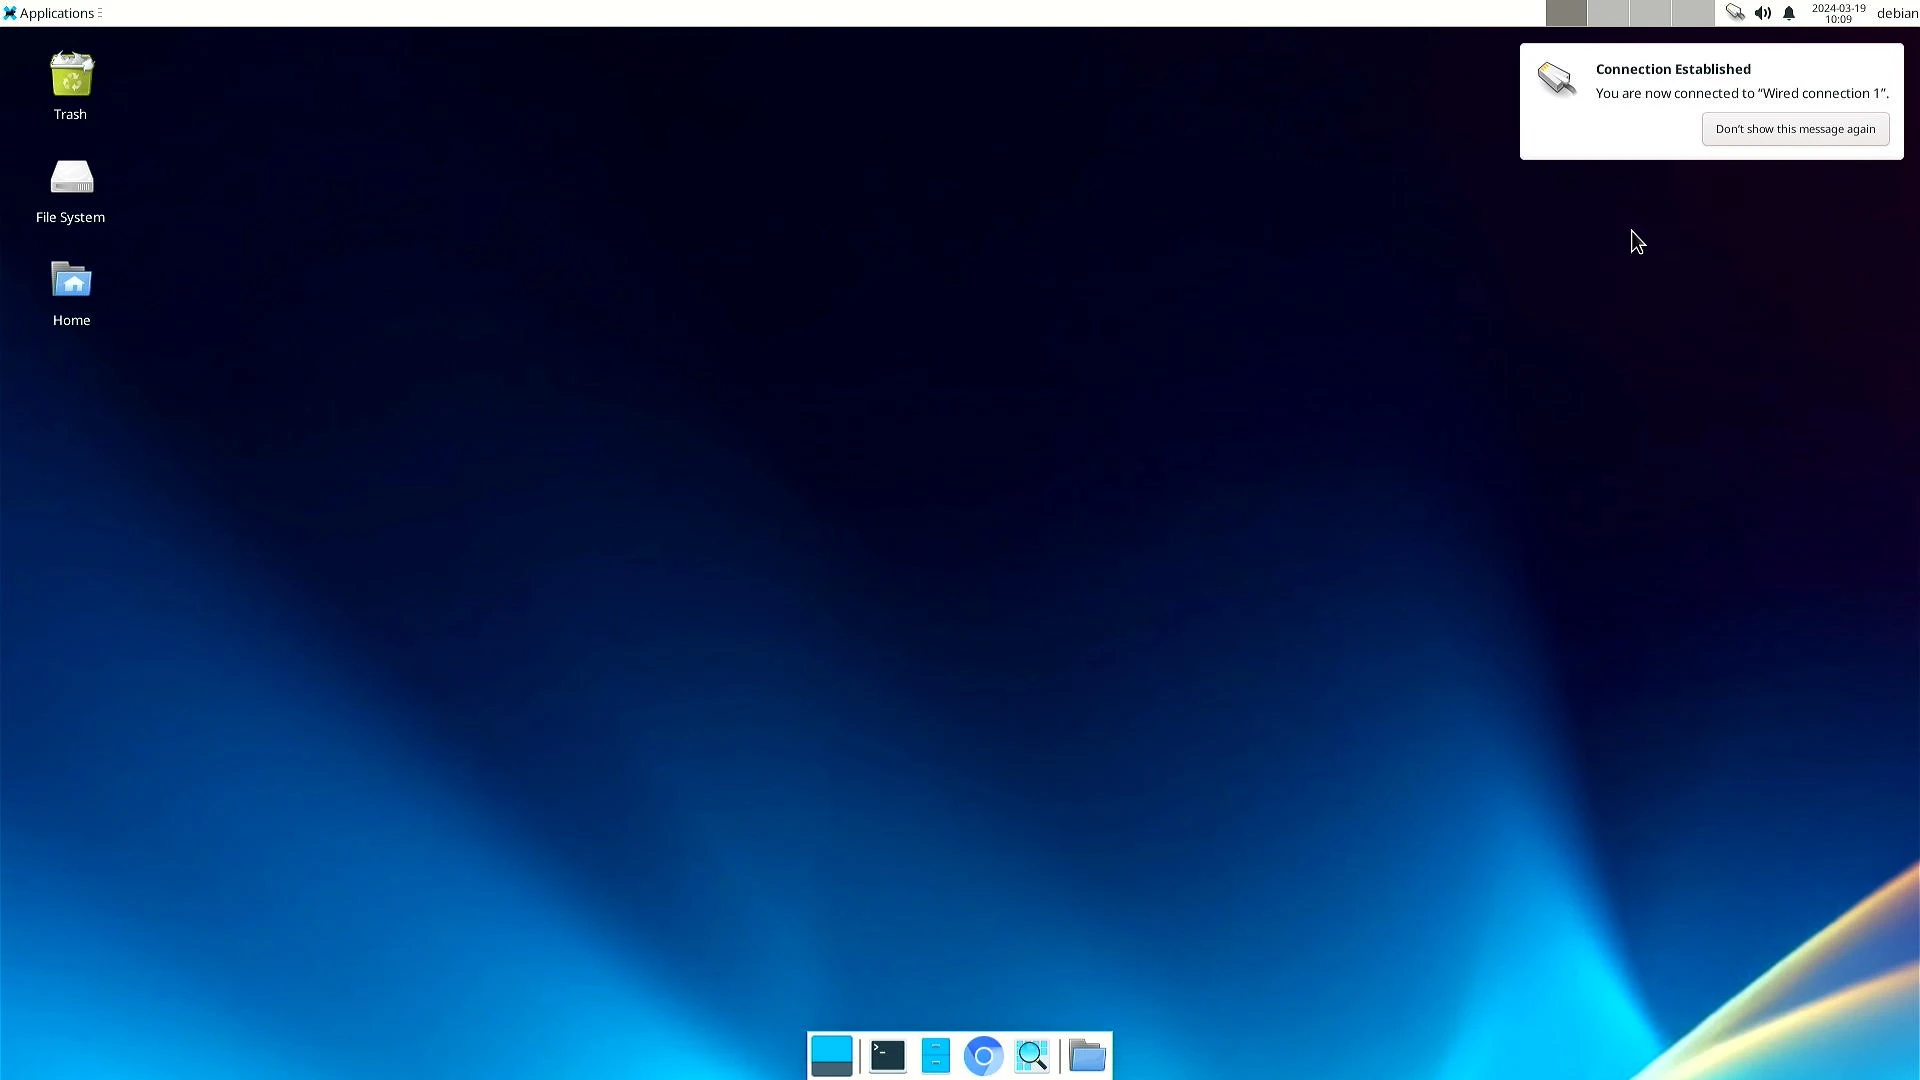
- Check tatus when the network cable is connected.
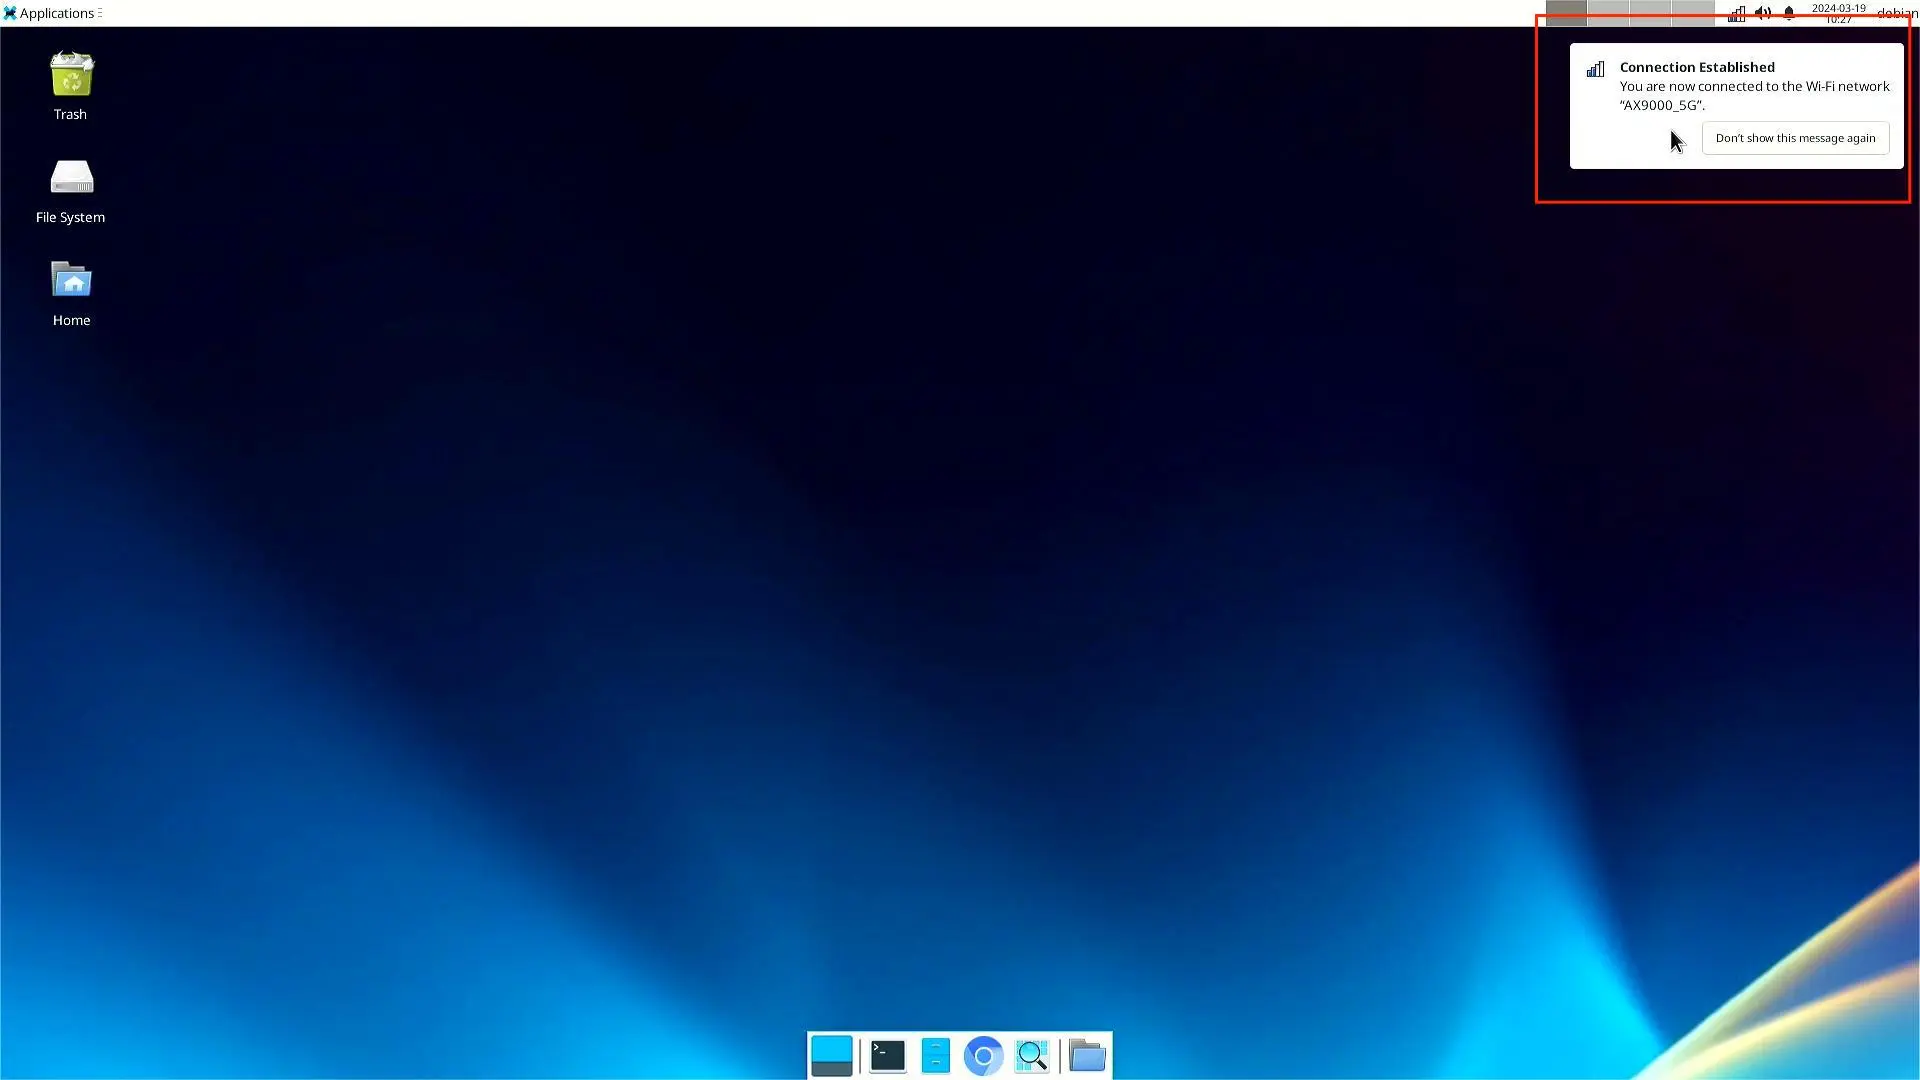
Wi-Fi connection
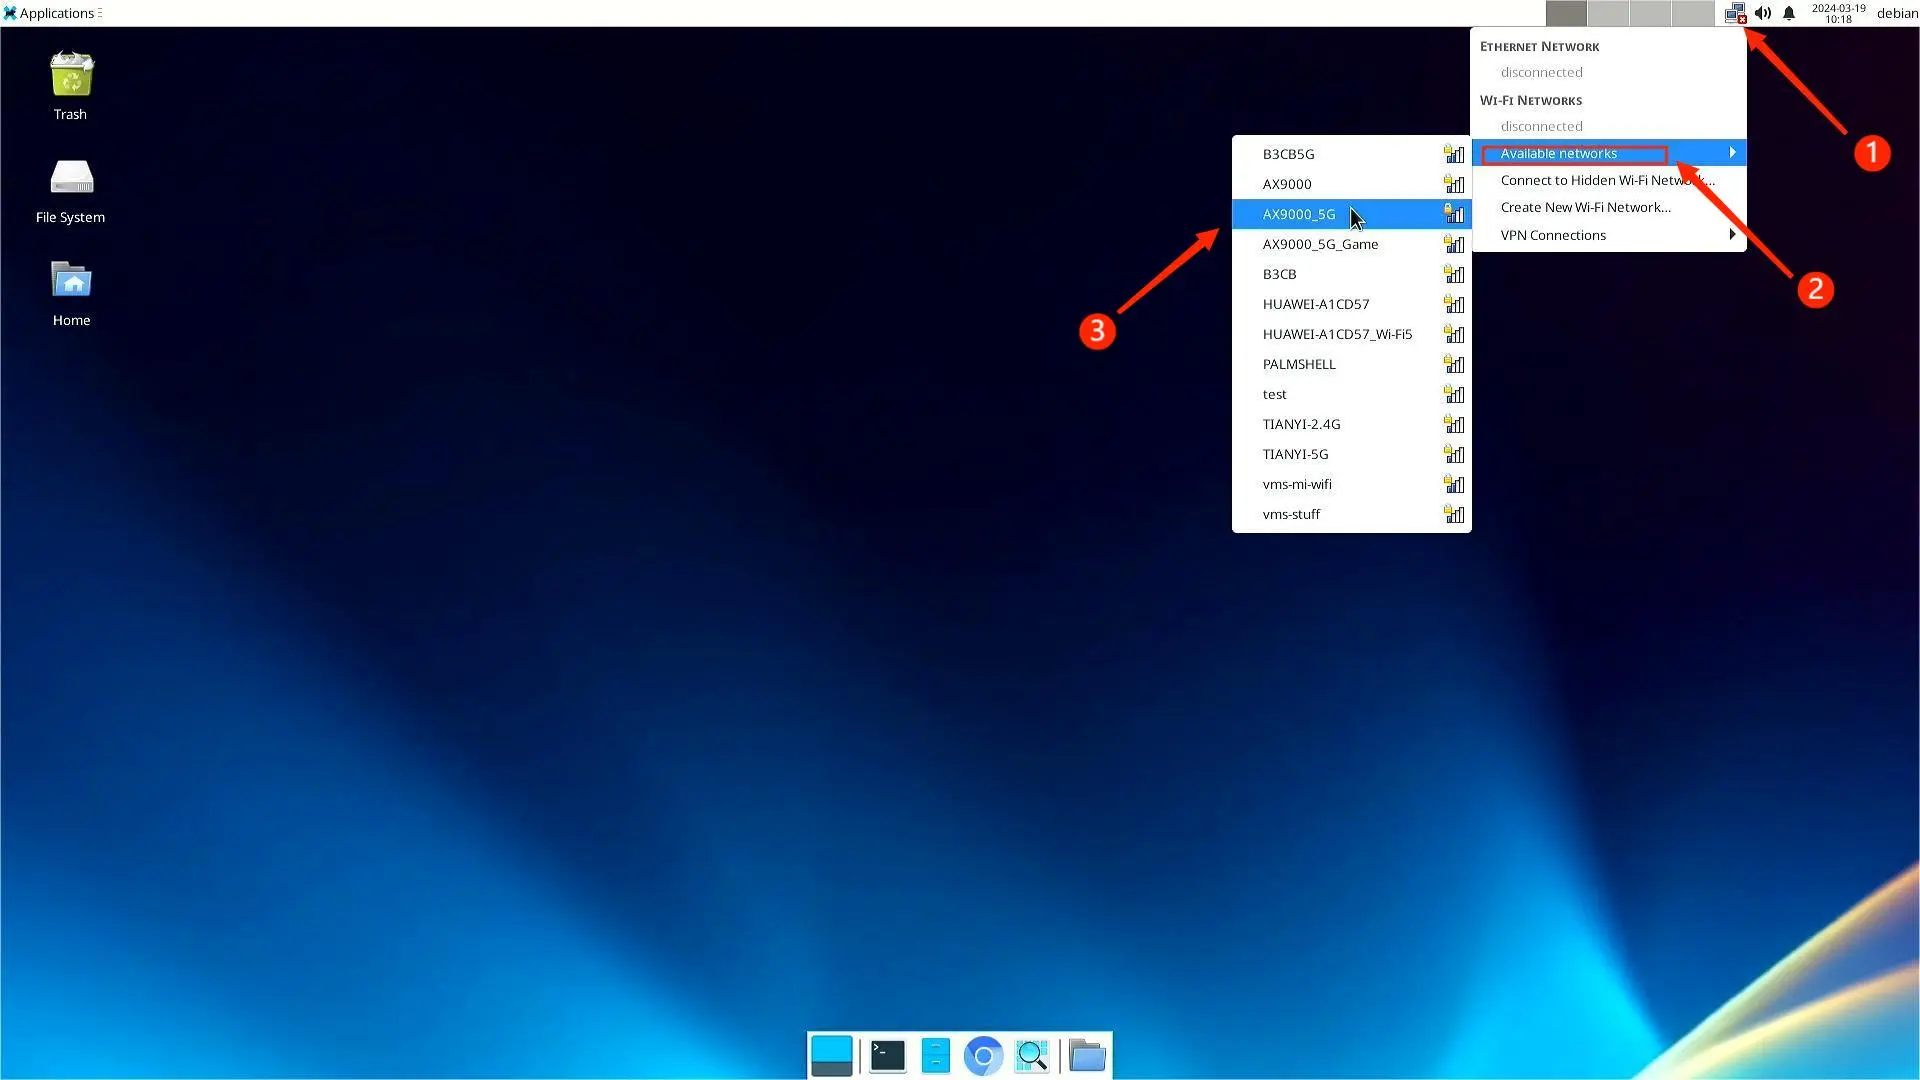
- Click the icon in the upper right corner to view the wireless network.
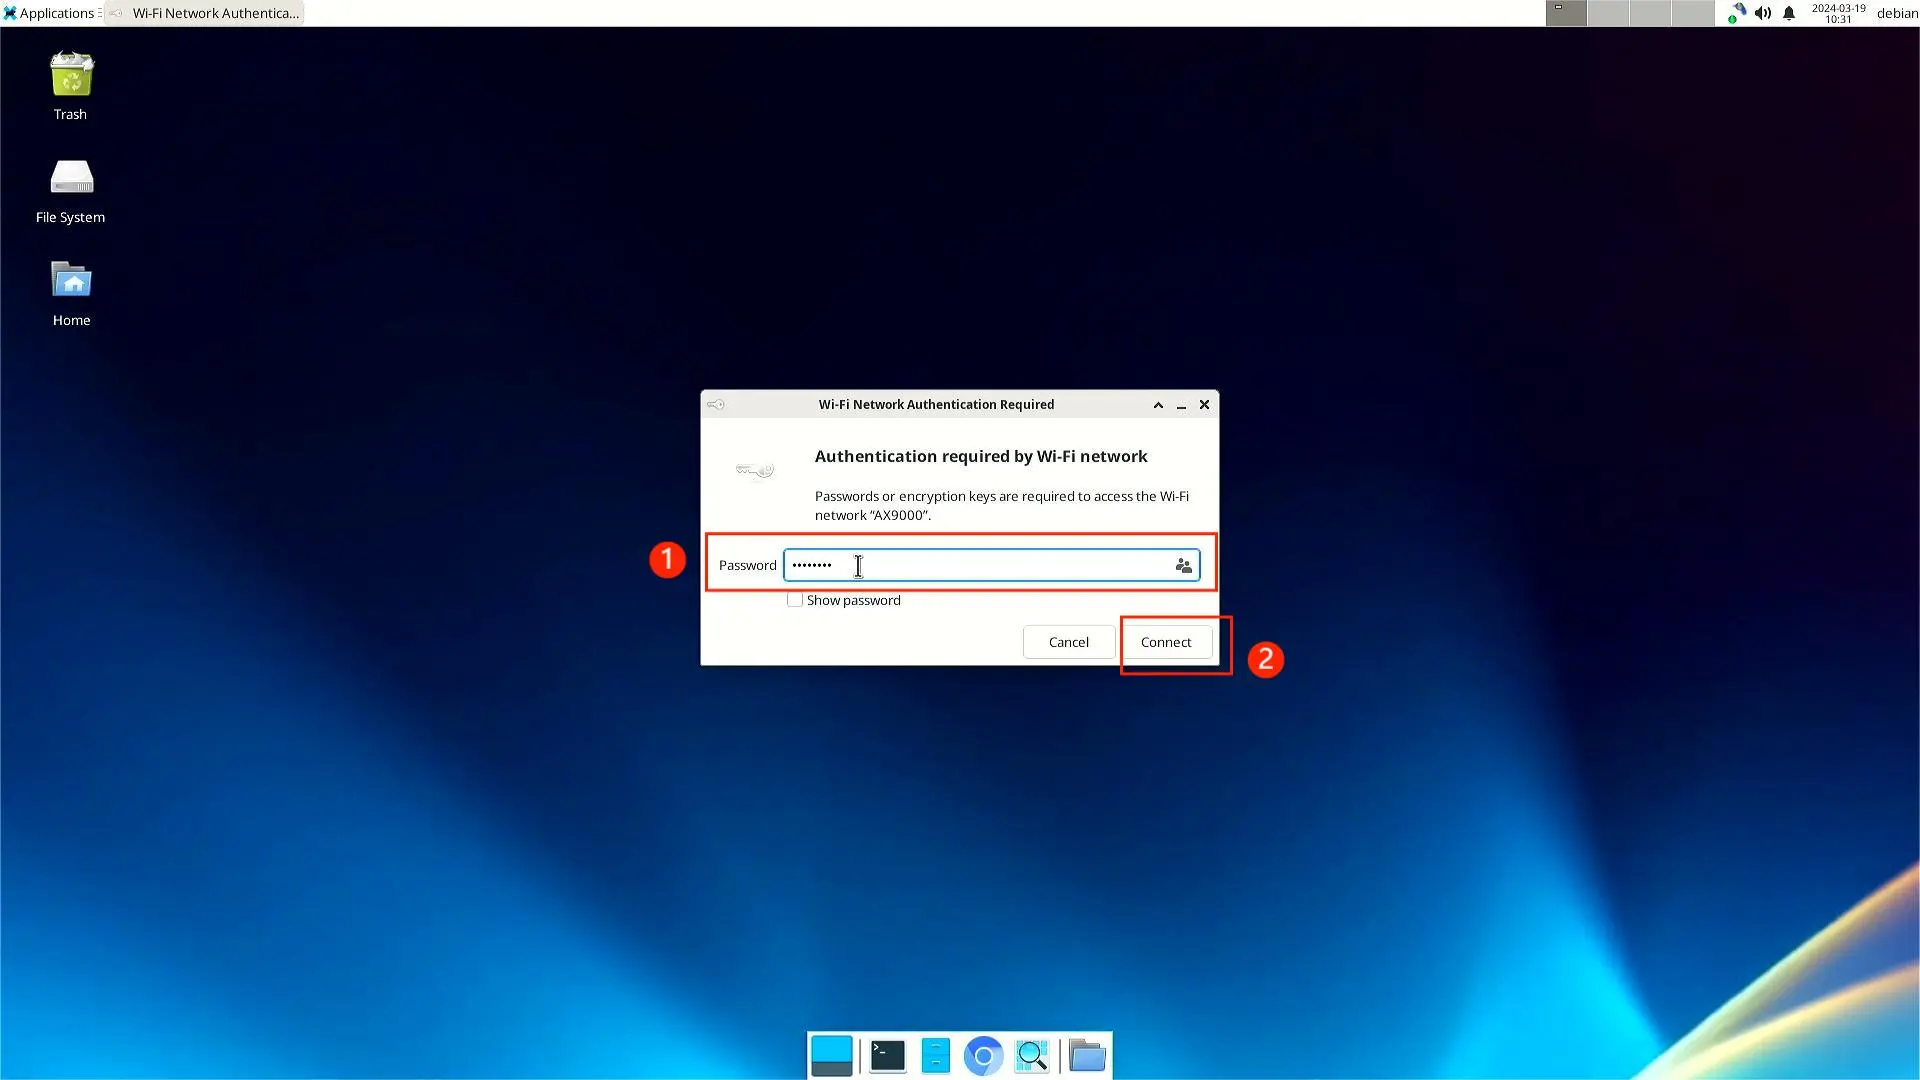
- Enter the password and click 'Connect' to connect to the hotspot.
Bluetooth Connect
Enable bluetooth
Bluetooth needs to be enabled by entering the following command at the command line.
-
Requires
rootprivileges. -
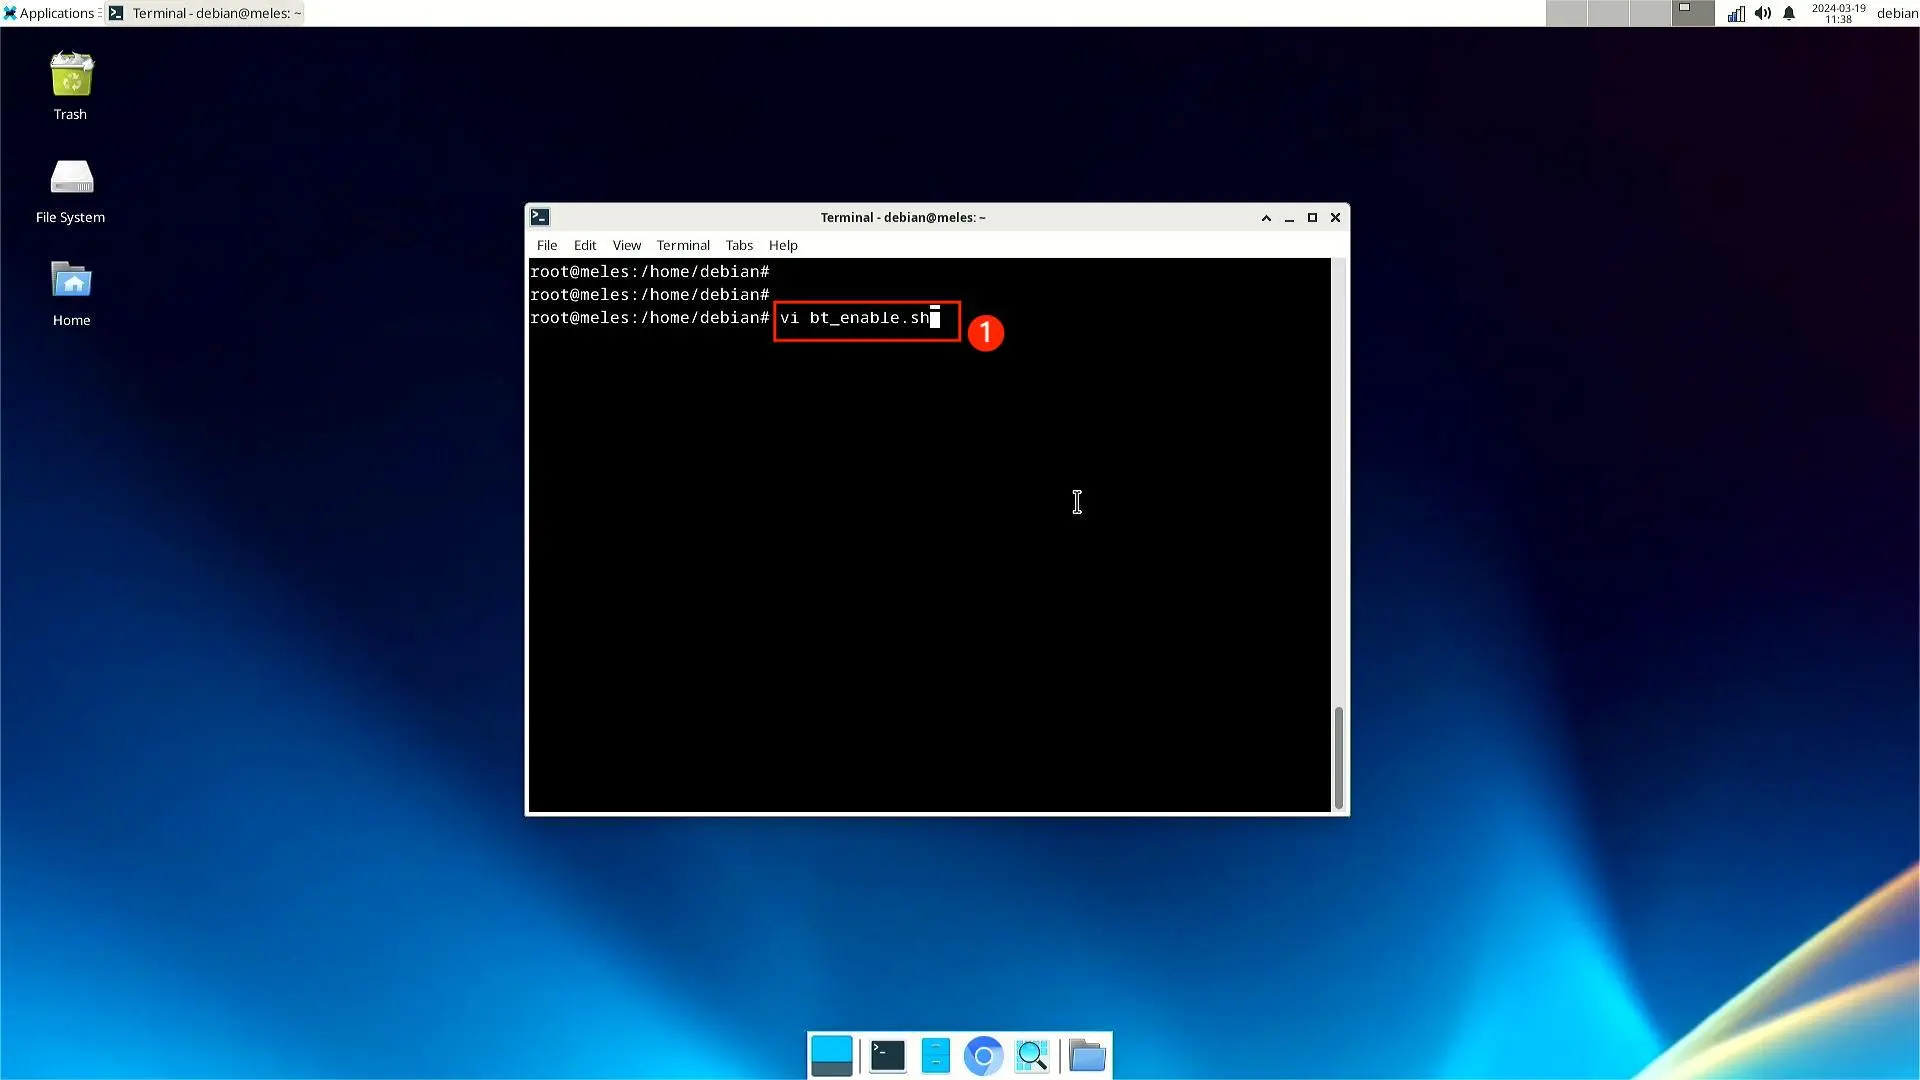
Type the
vi bt_enable.shcommand to open a vim editor.
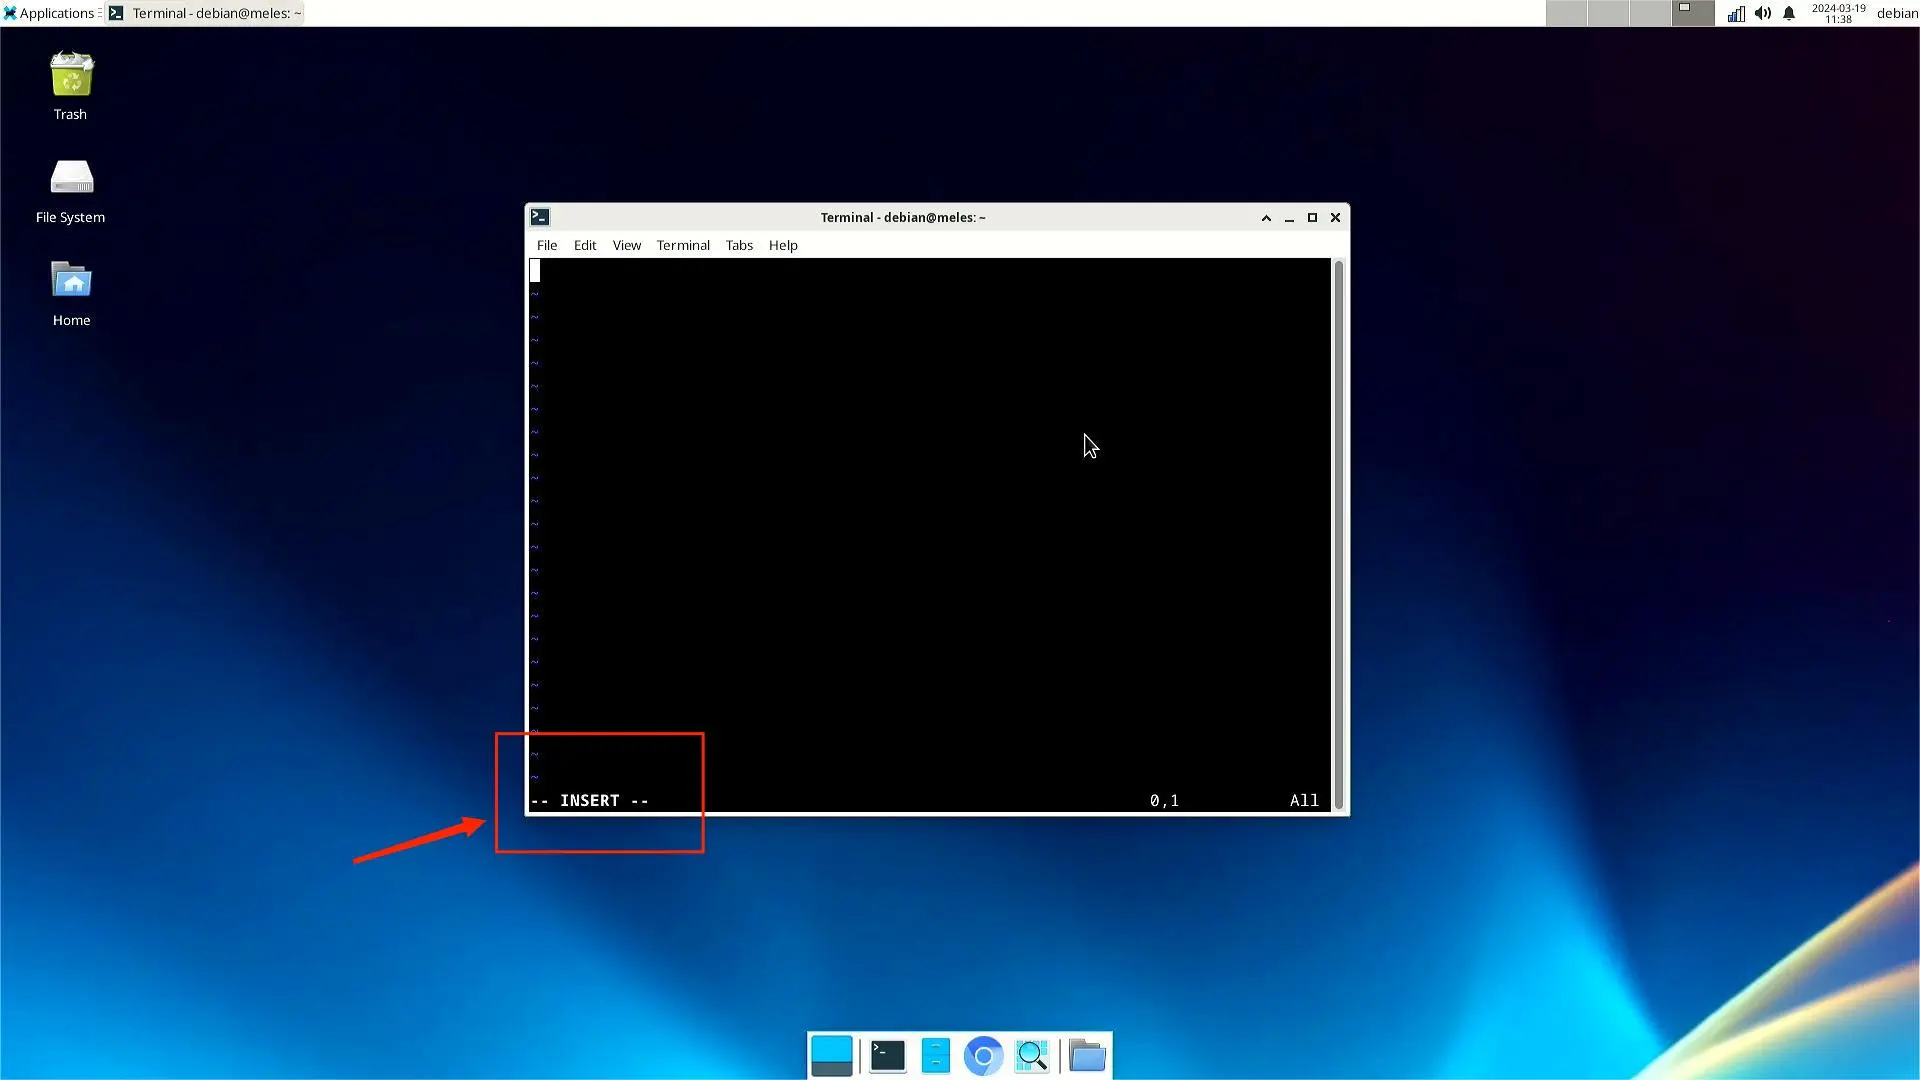
- Press the
ikey to enter the input mode.
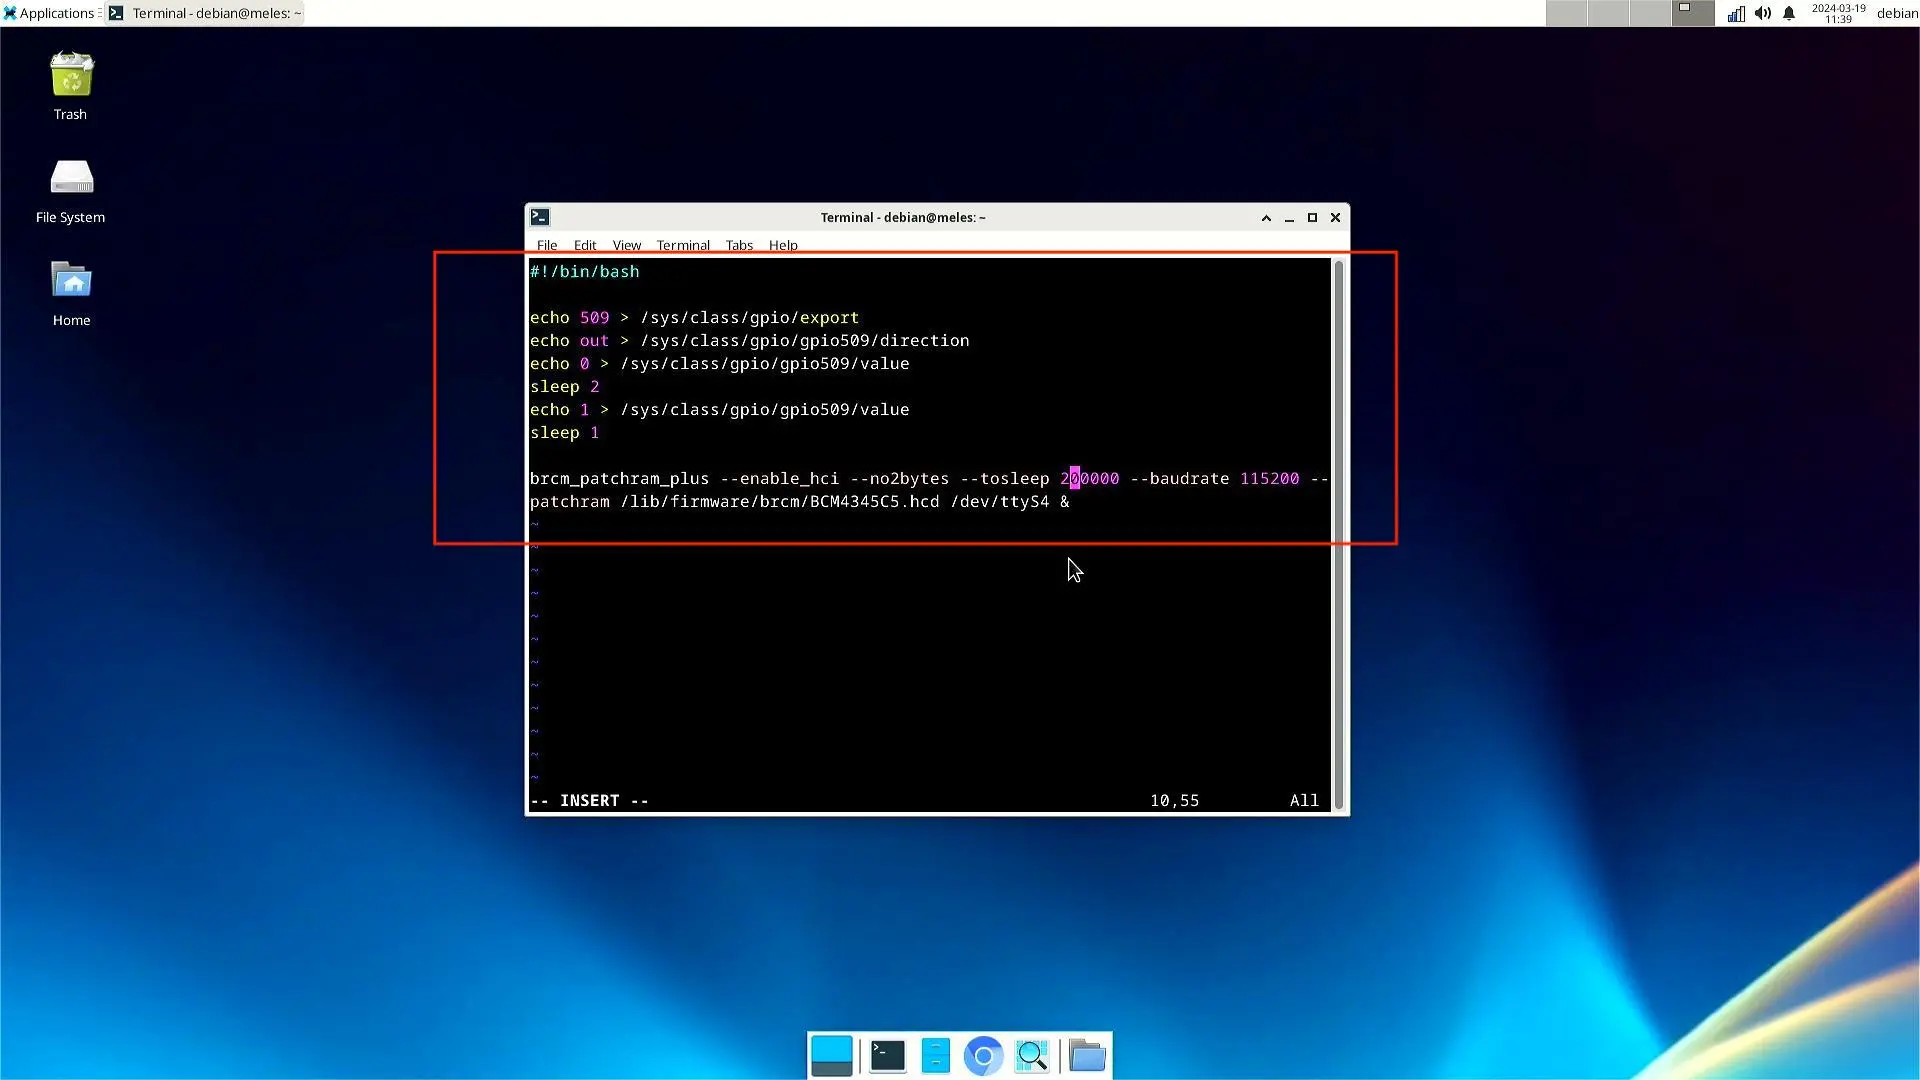
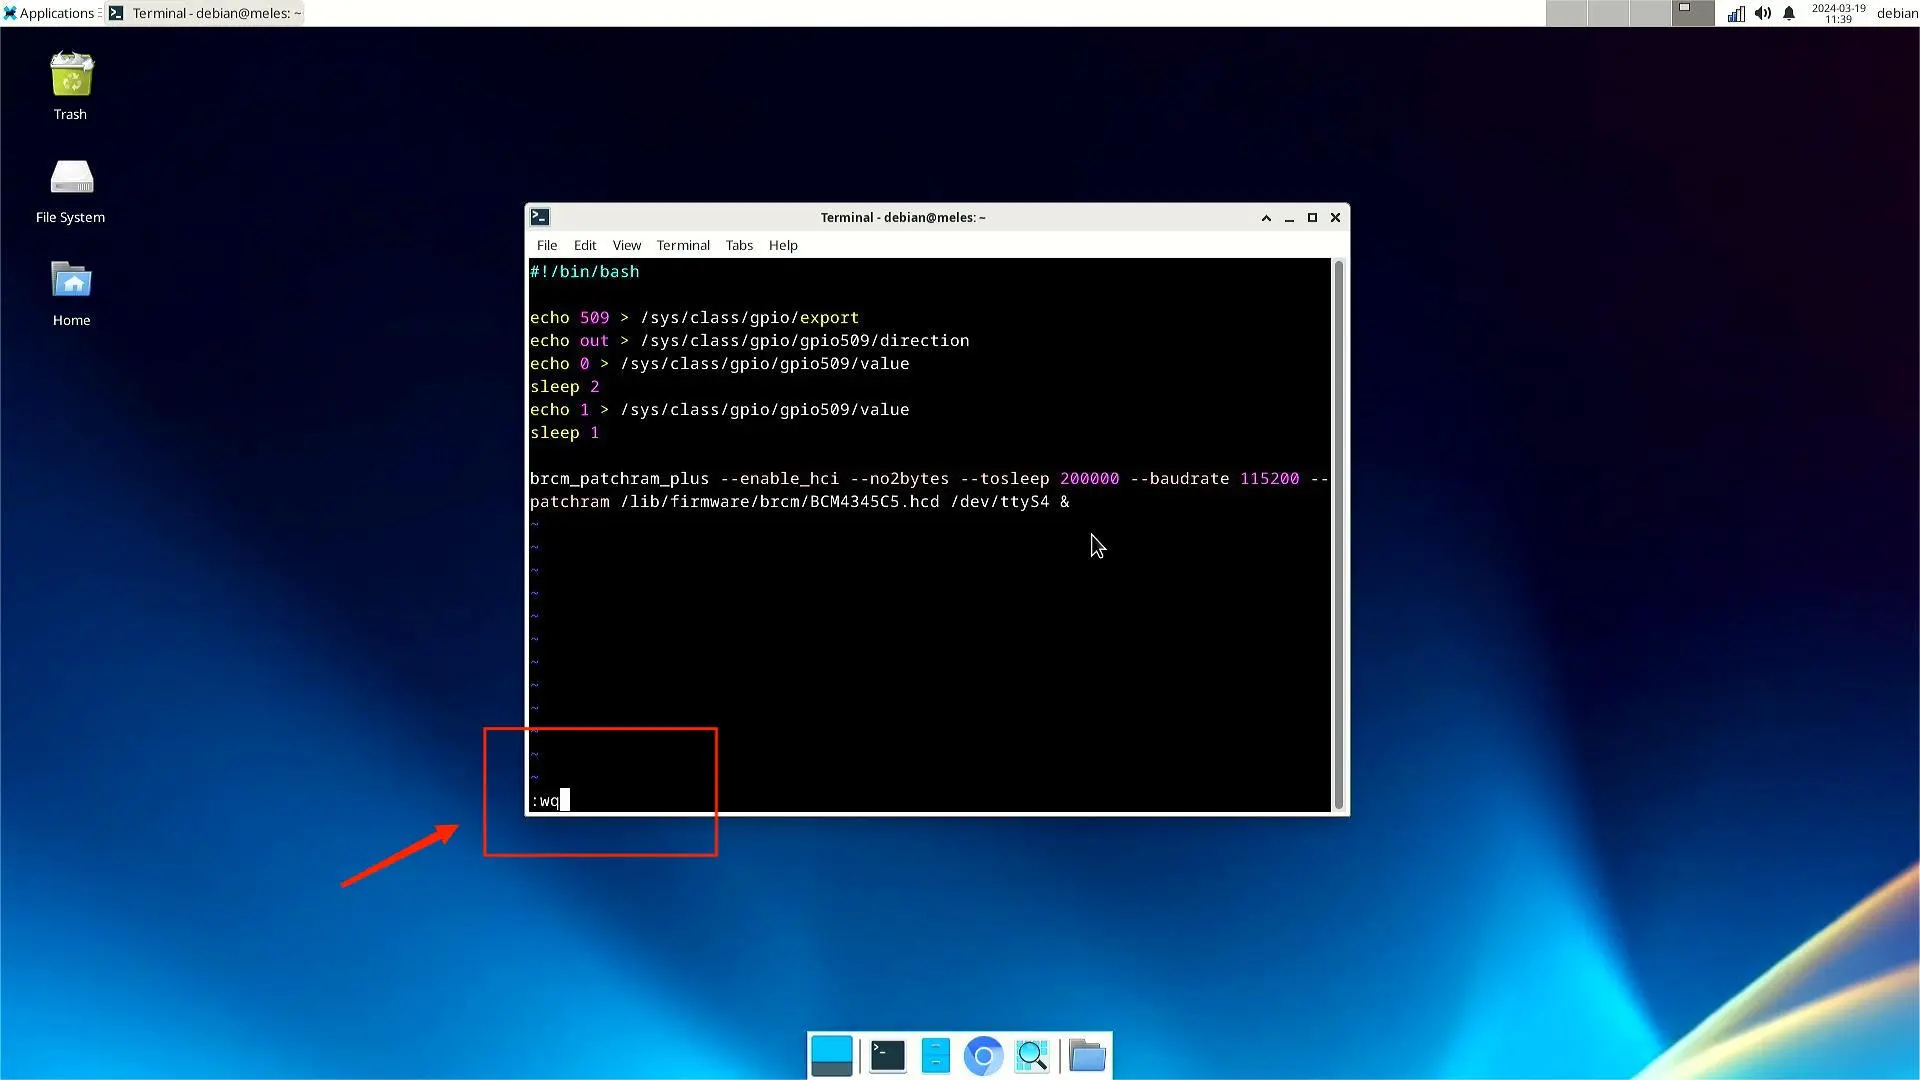
- Then type the following
echo 509 > /sys/class/gpio/export
echo out > /sys/class/gpio/gpio509/direction
echo 0 > /sys/class/gpio/gpio509/value
sleep 2
echo 1 > /sys/class/gpio/gpio509/value
sleep 1

brcm_patchram_plus --enable_hci --no2bytes --tosleep 200000 --baudrate 115200 --patchram  /lib/firmware/brcm/BCM4345C5.hcd /dev/ttyS4 &
- After the content is entered, press the
ESCkey to enter the bottom line mode, then enterwqand pressEnterto save and exit.
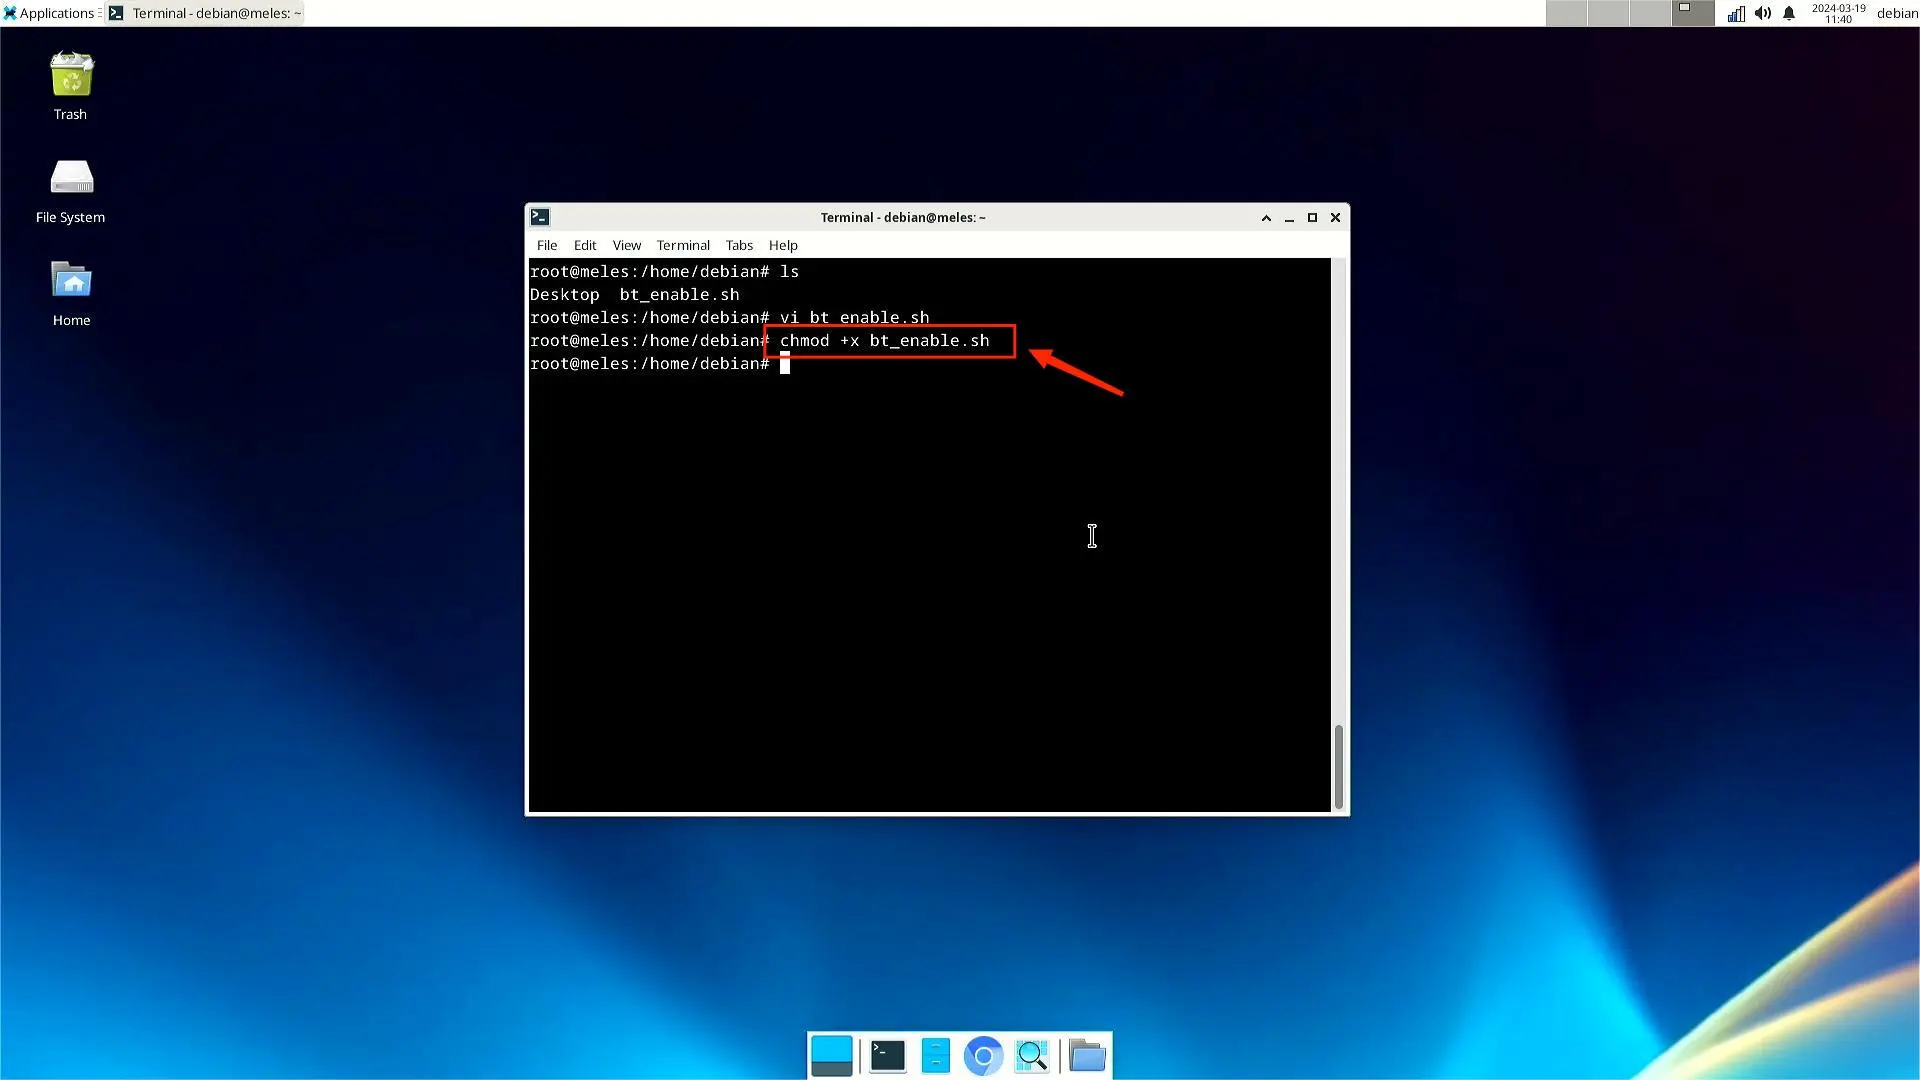
- Execute the
chmod +x bt_enable.shcommand
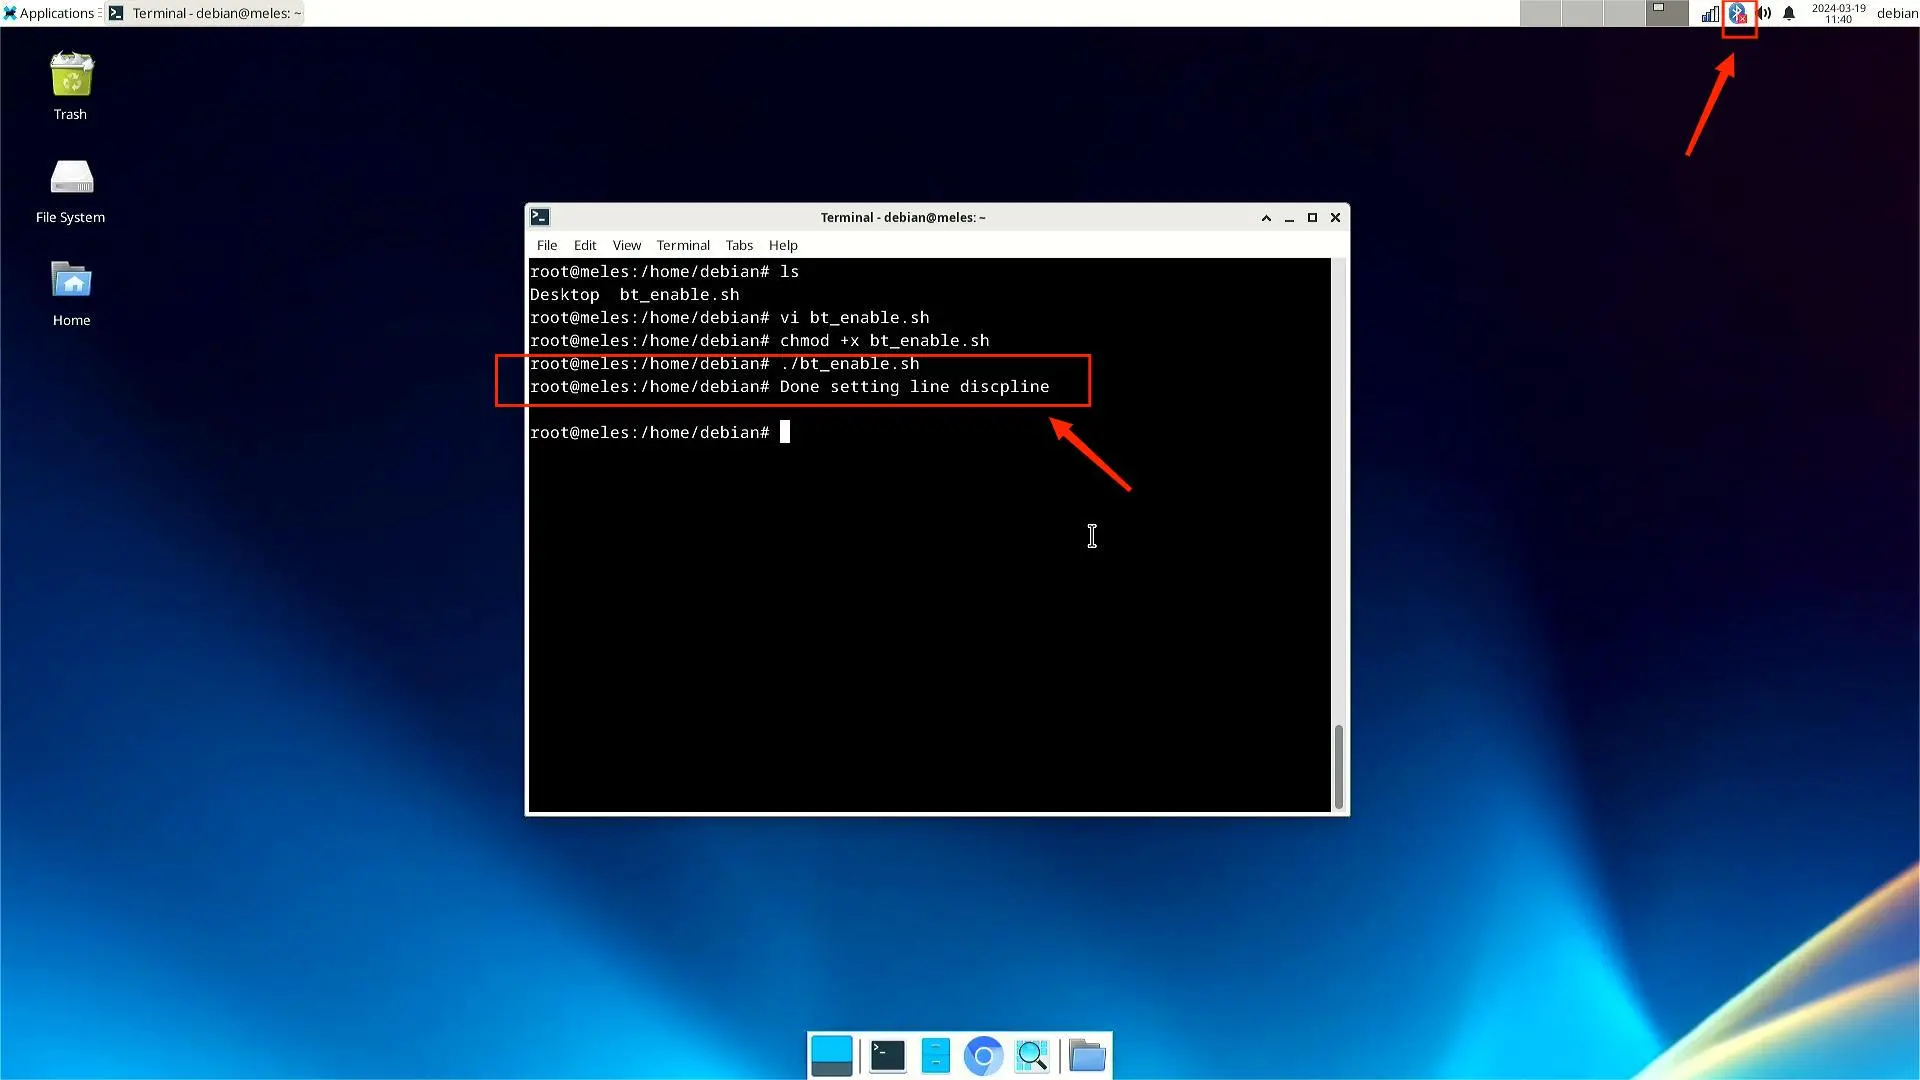
- Execute
./bt_enable.shto enable Bluetooth and the Bluetooth icon will be displayed in the upper right corner.
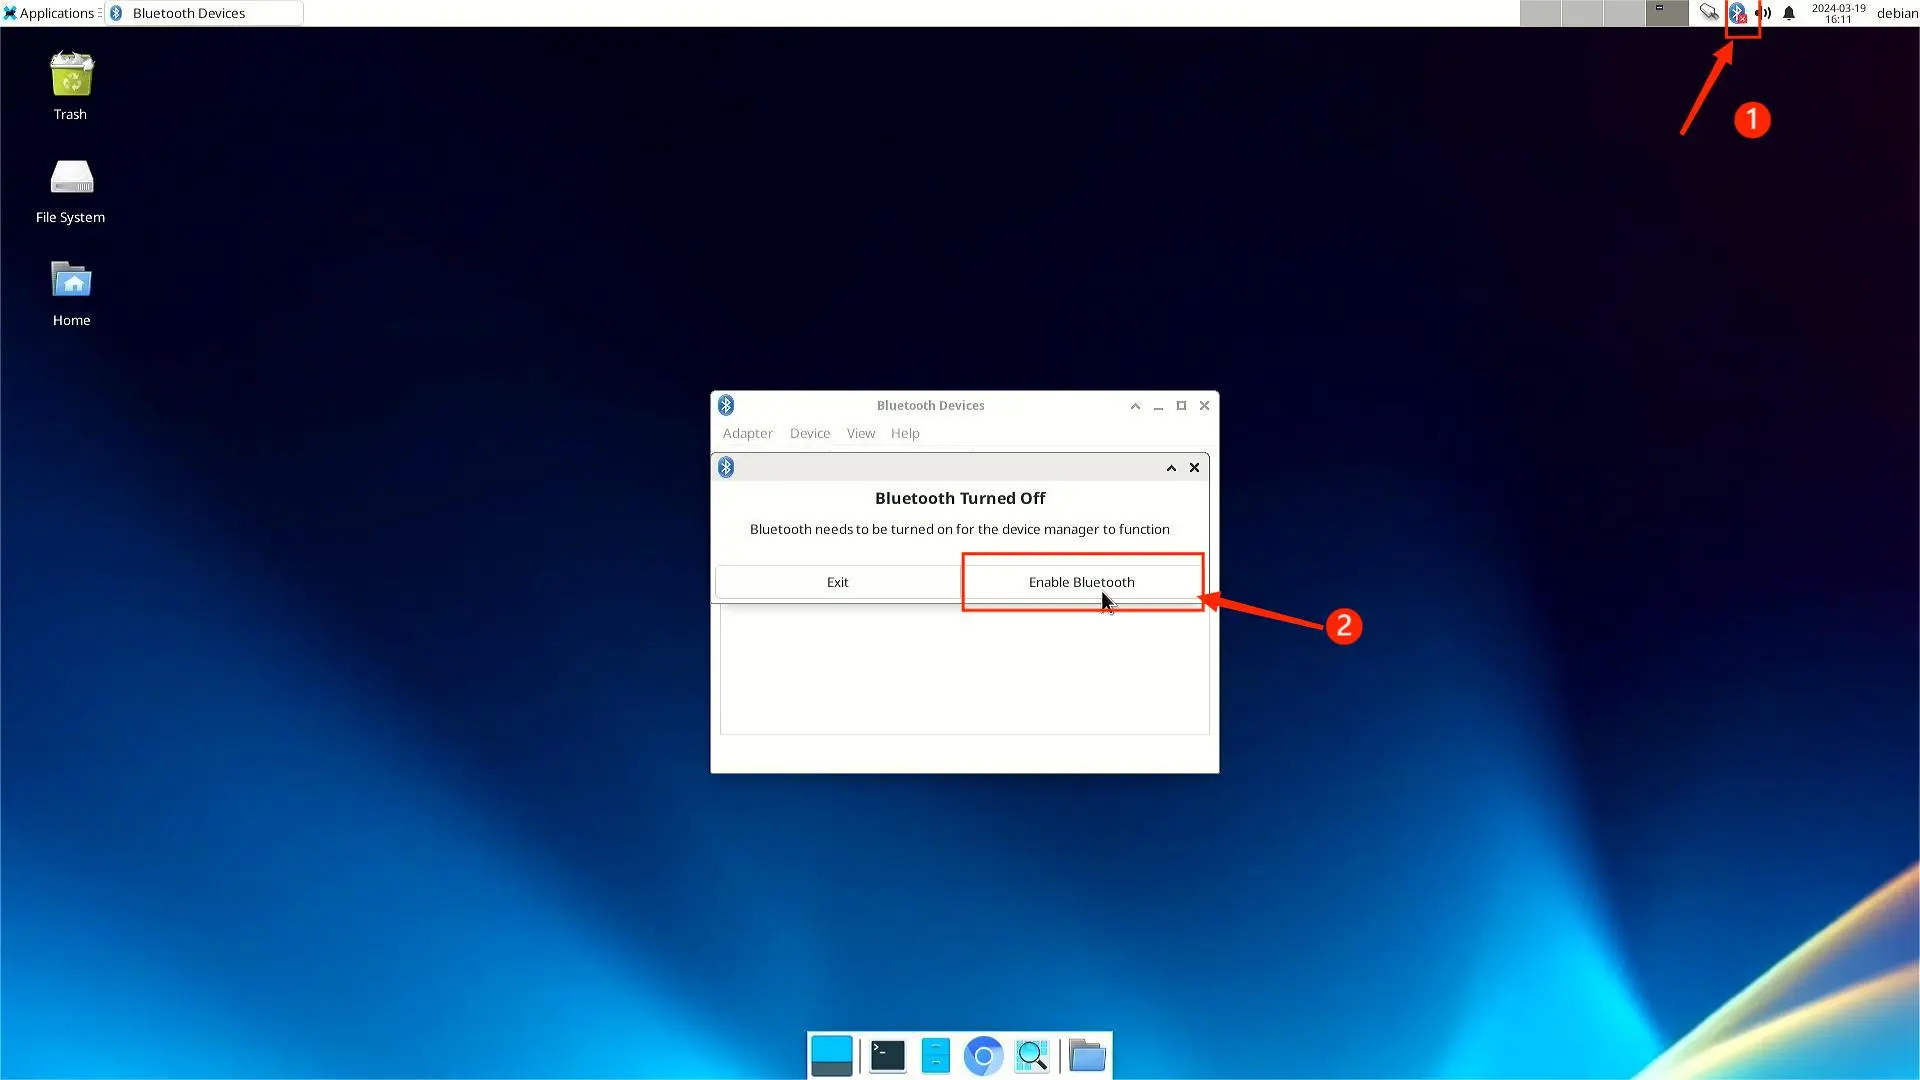
- Click on the Bluetooth icon in the upper-right corner, the Enable Bluetooth window will pop up, and then click
Enable Bluetooth.
- Bluetooth icon in the upper right corner becomes normal after being enabled.
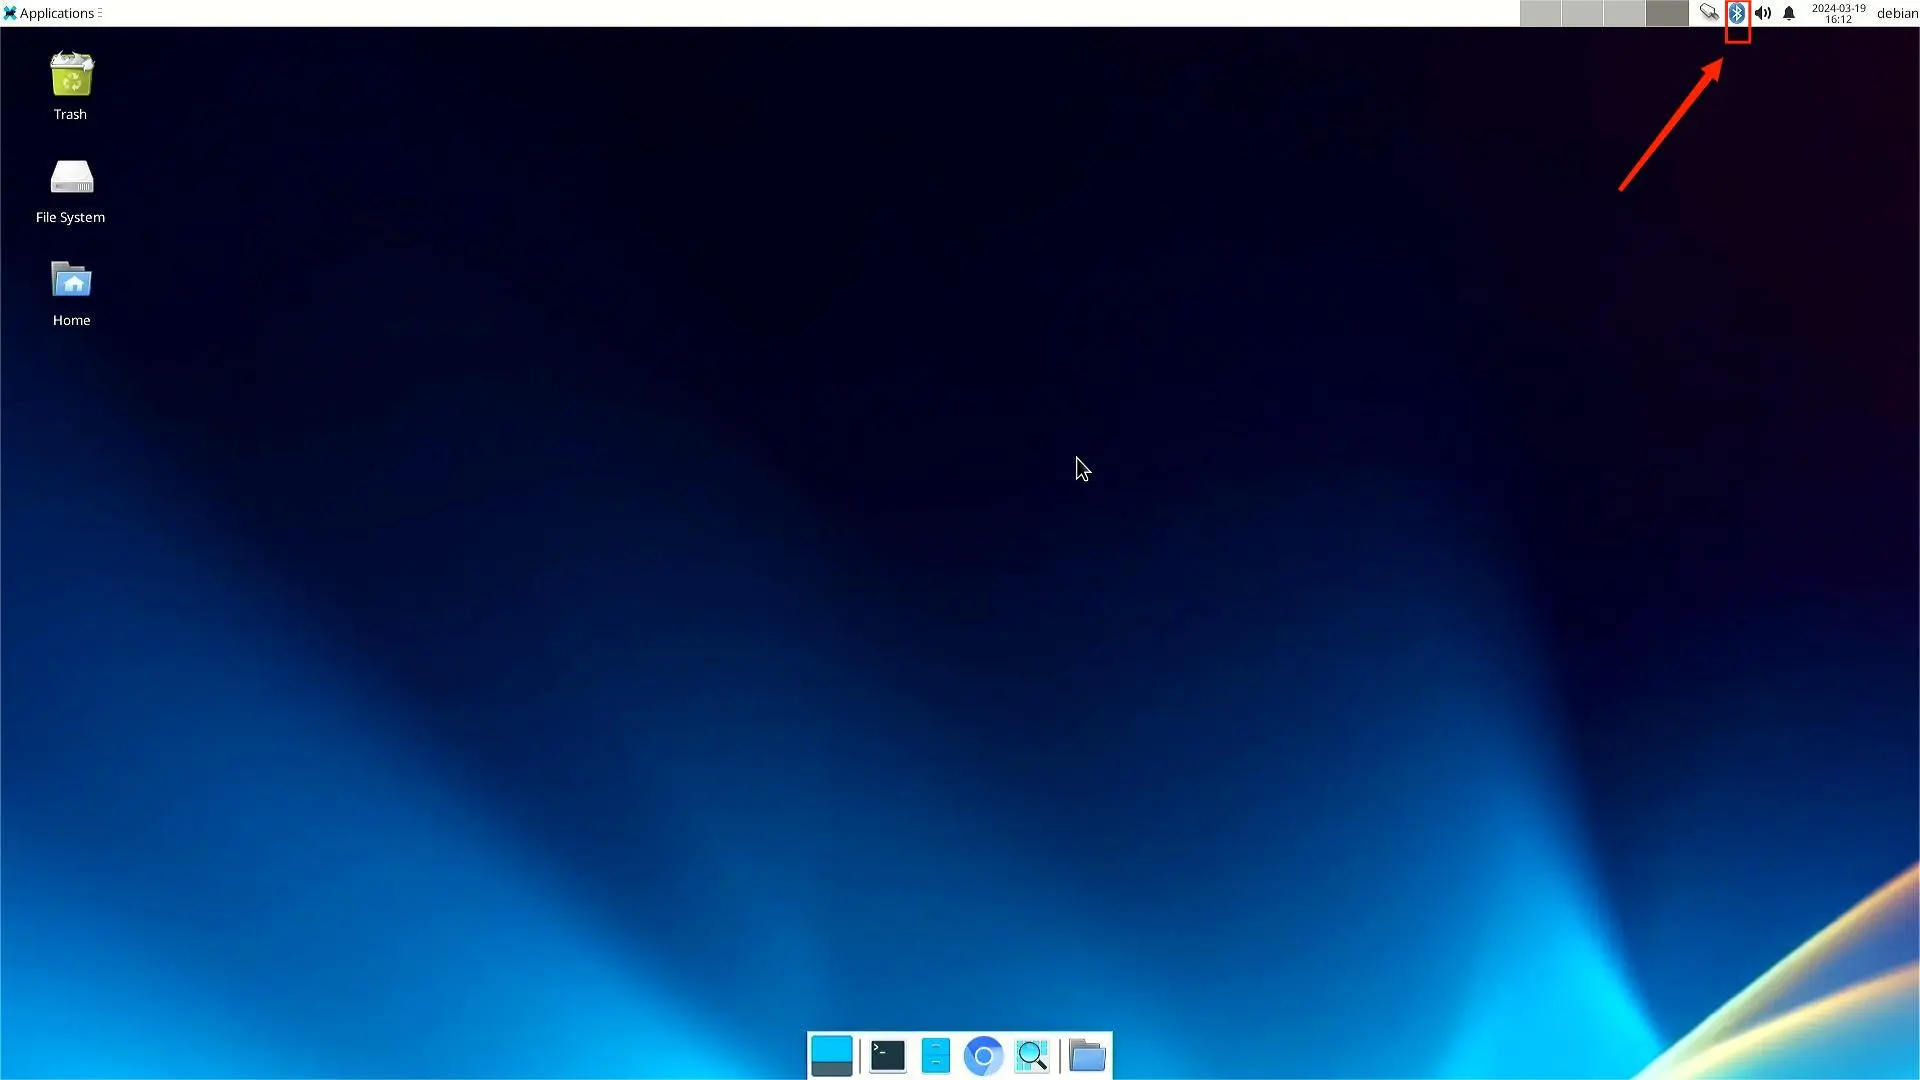
Start connecting to remote Bluetooth device
Once Bluetooth is enabled, you can start searching for and connecting to the Bluetooth device you want to connect to.
- Click on the Bluetooth icon in the upper right corner and select
yesin the pop-up window.
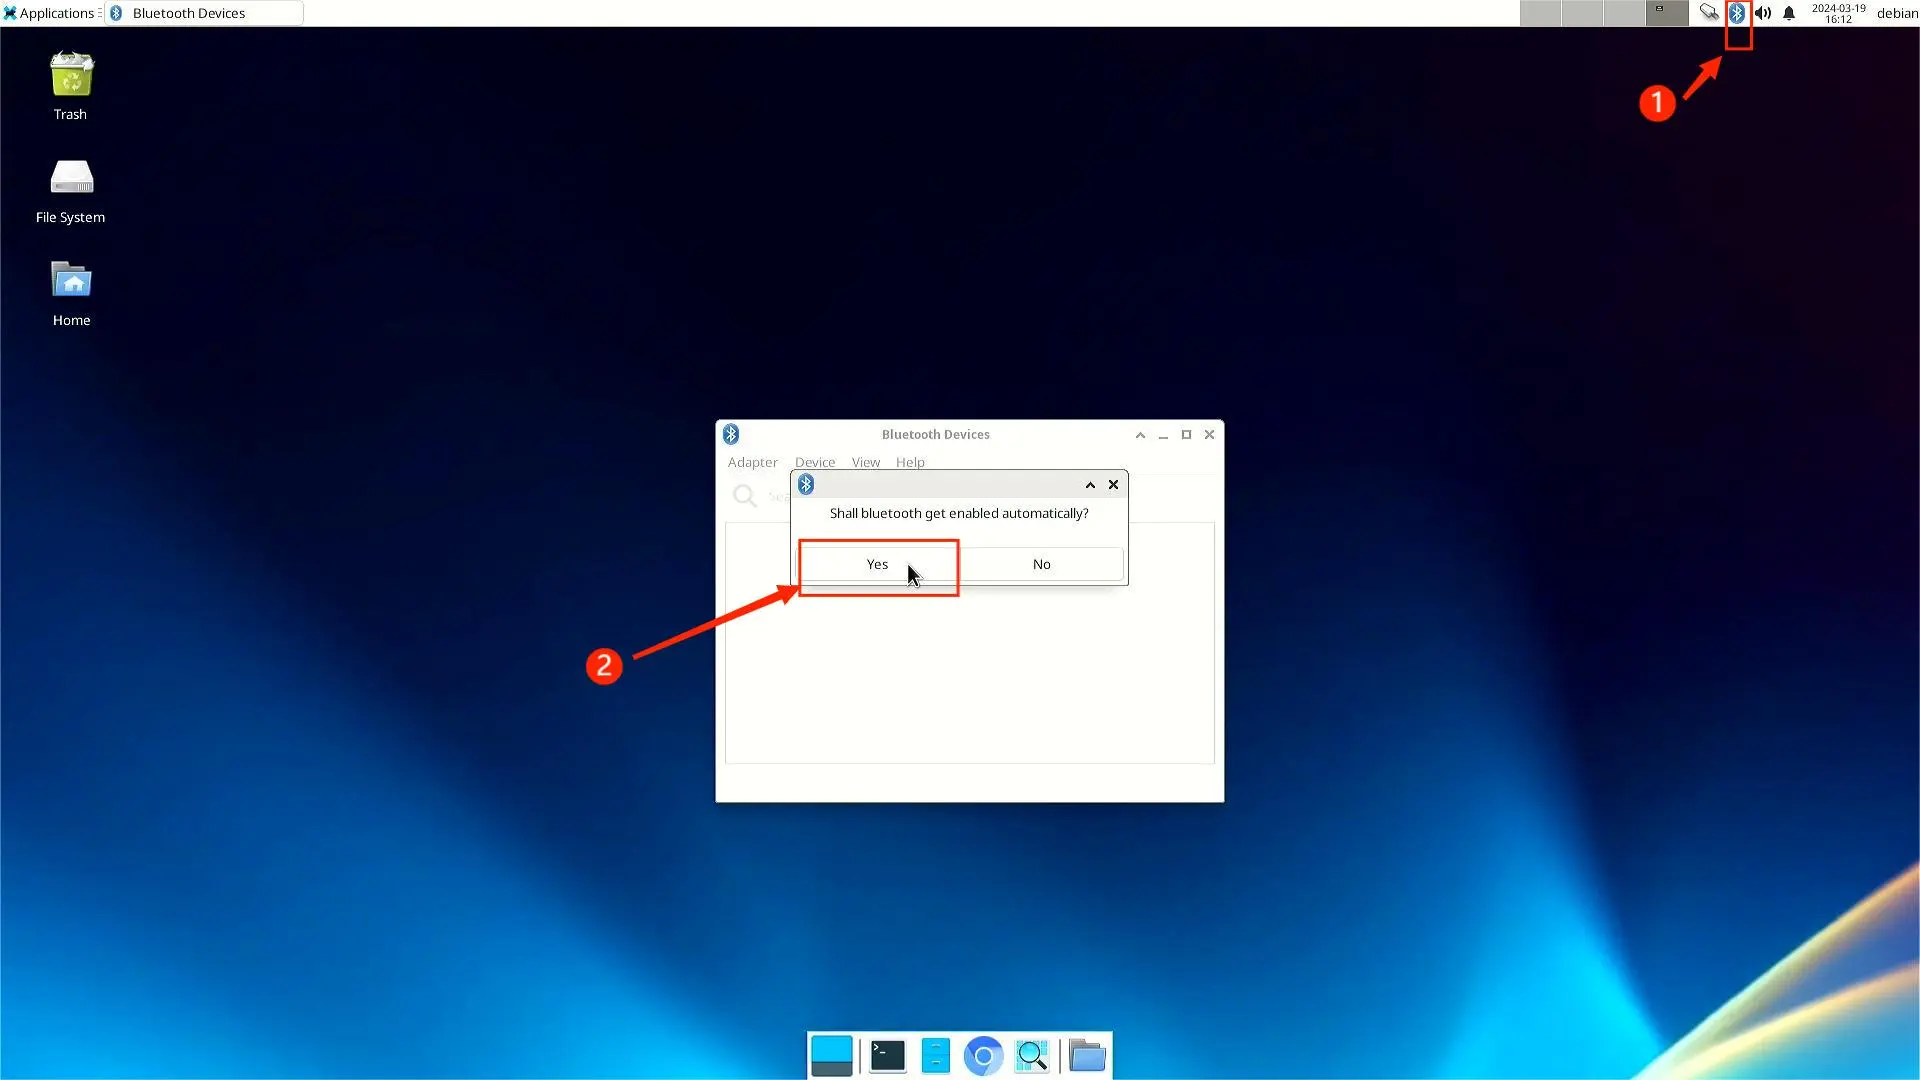
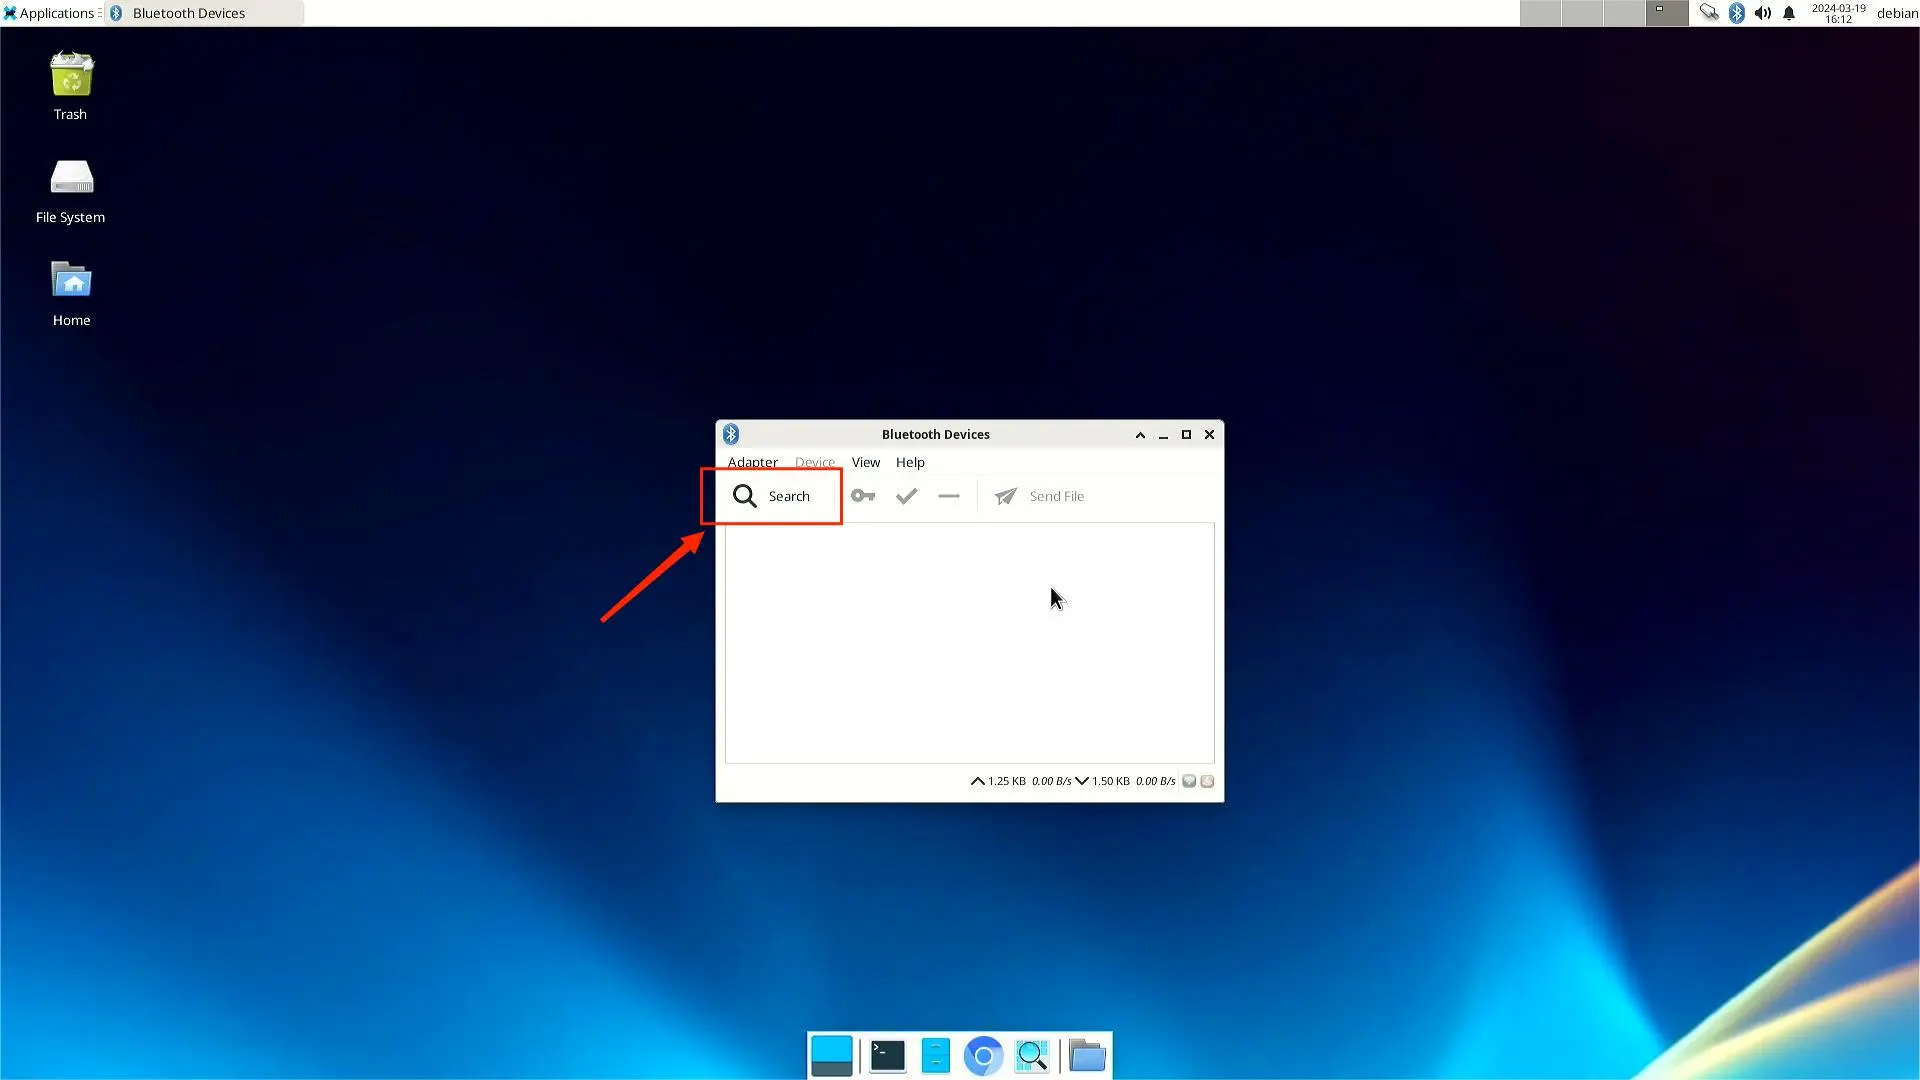
- Click
searchto start searching.
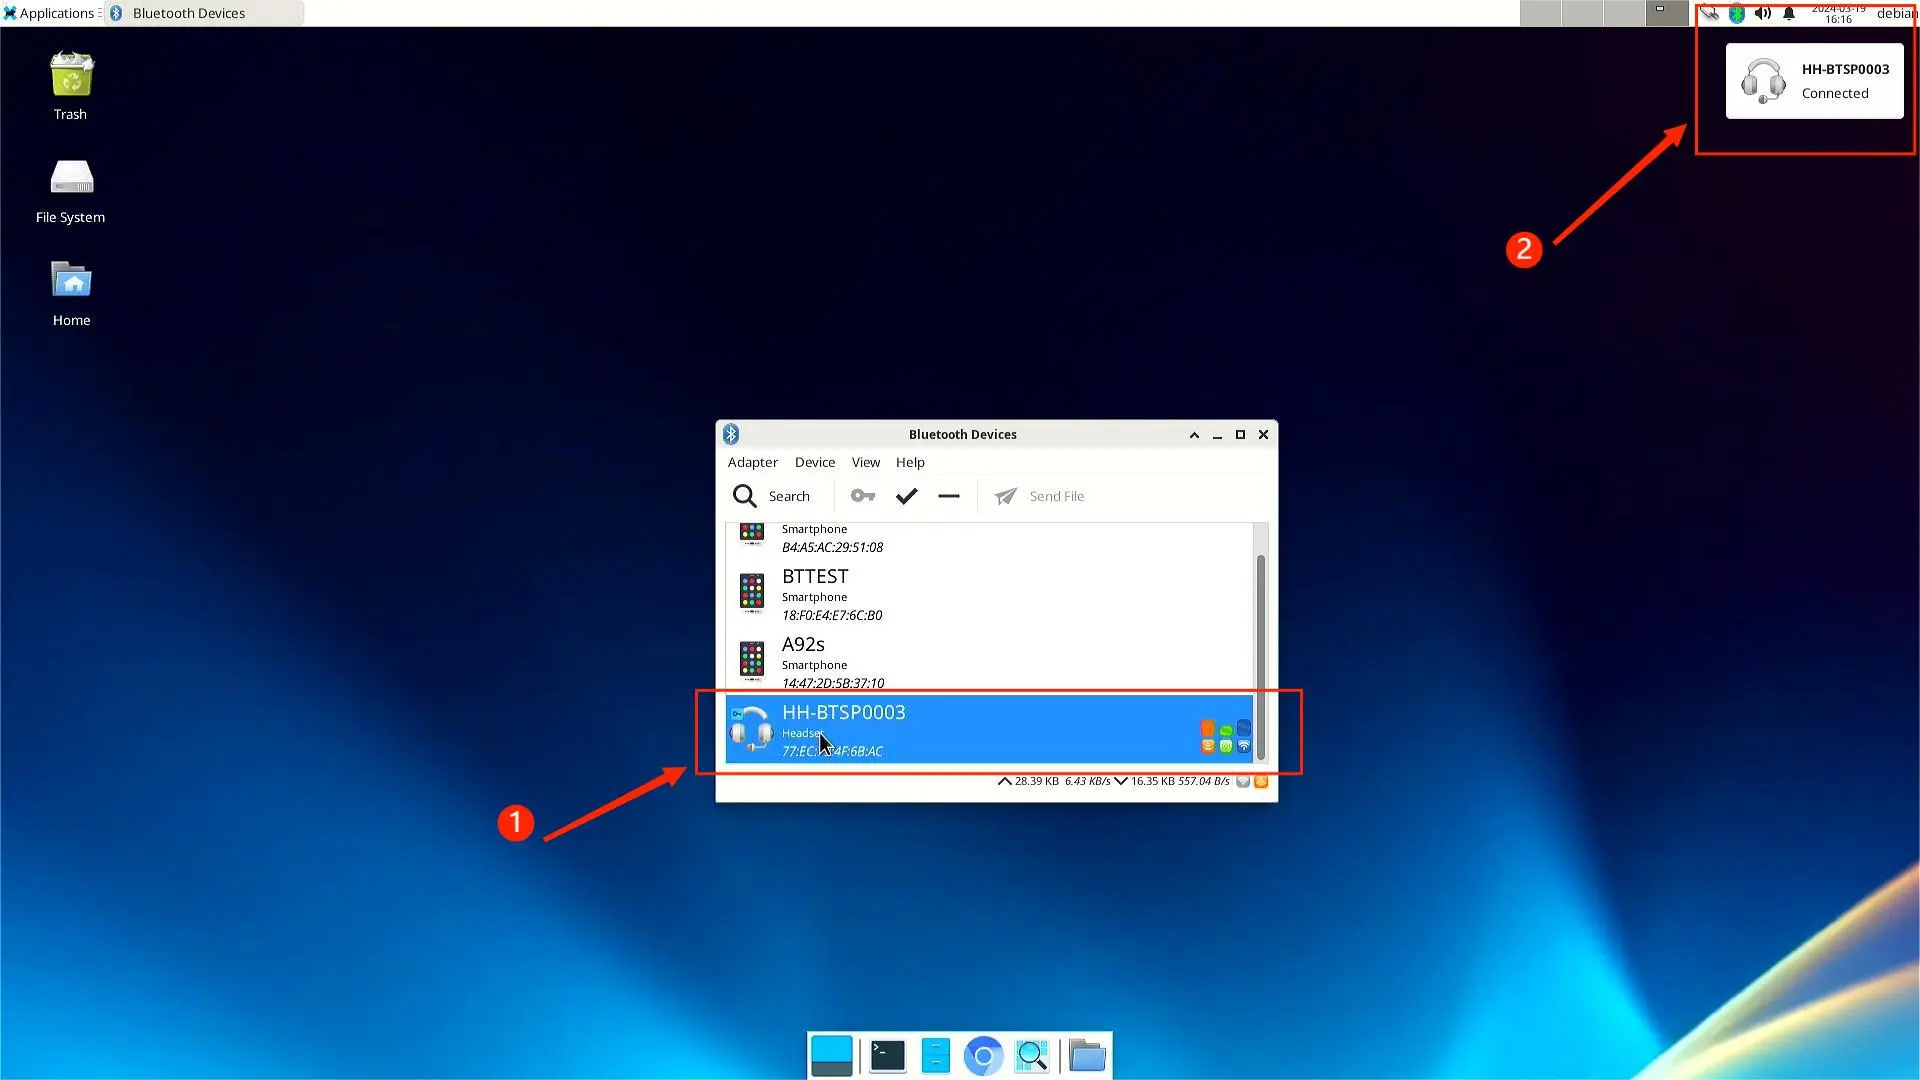
- When the search is complete, the relevant Bluetooth devices around you will appear.
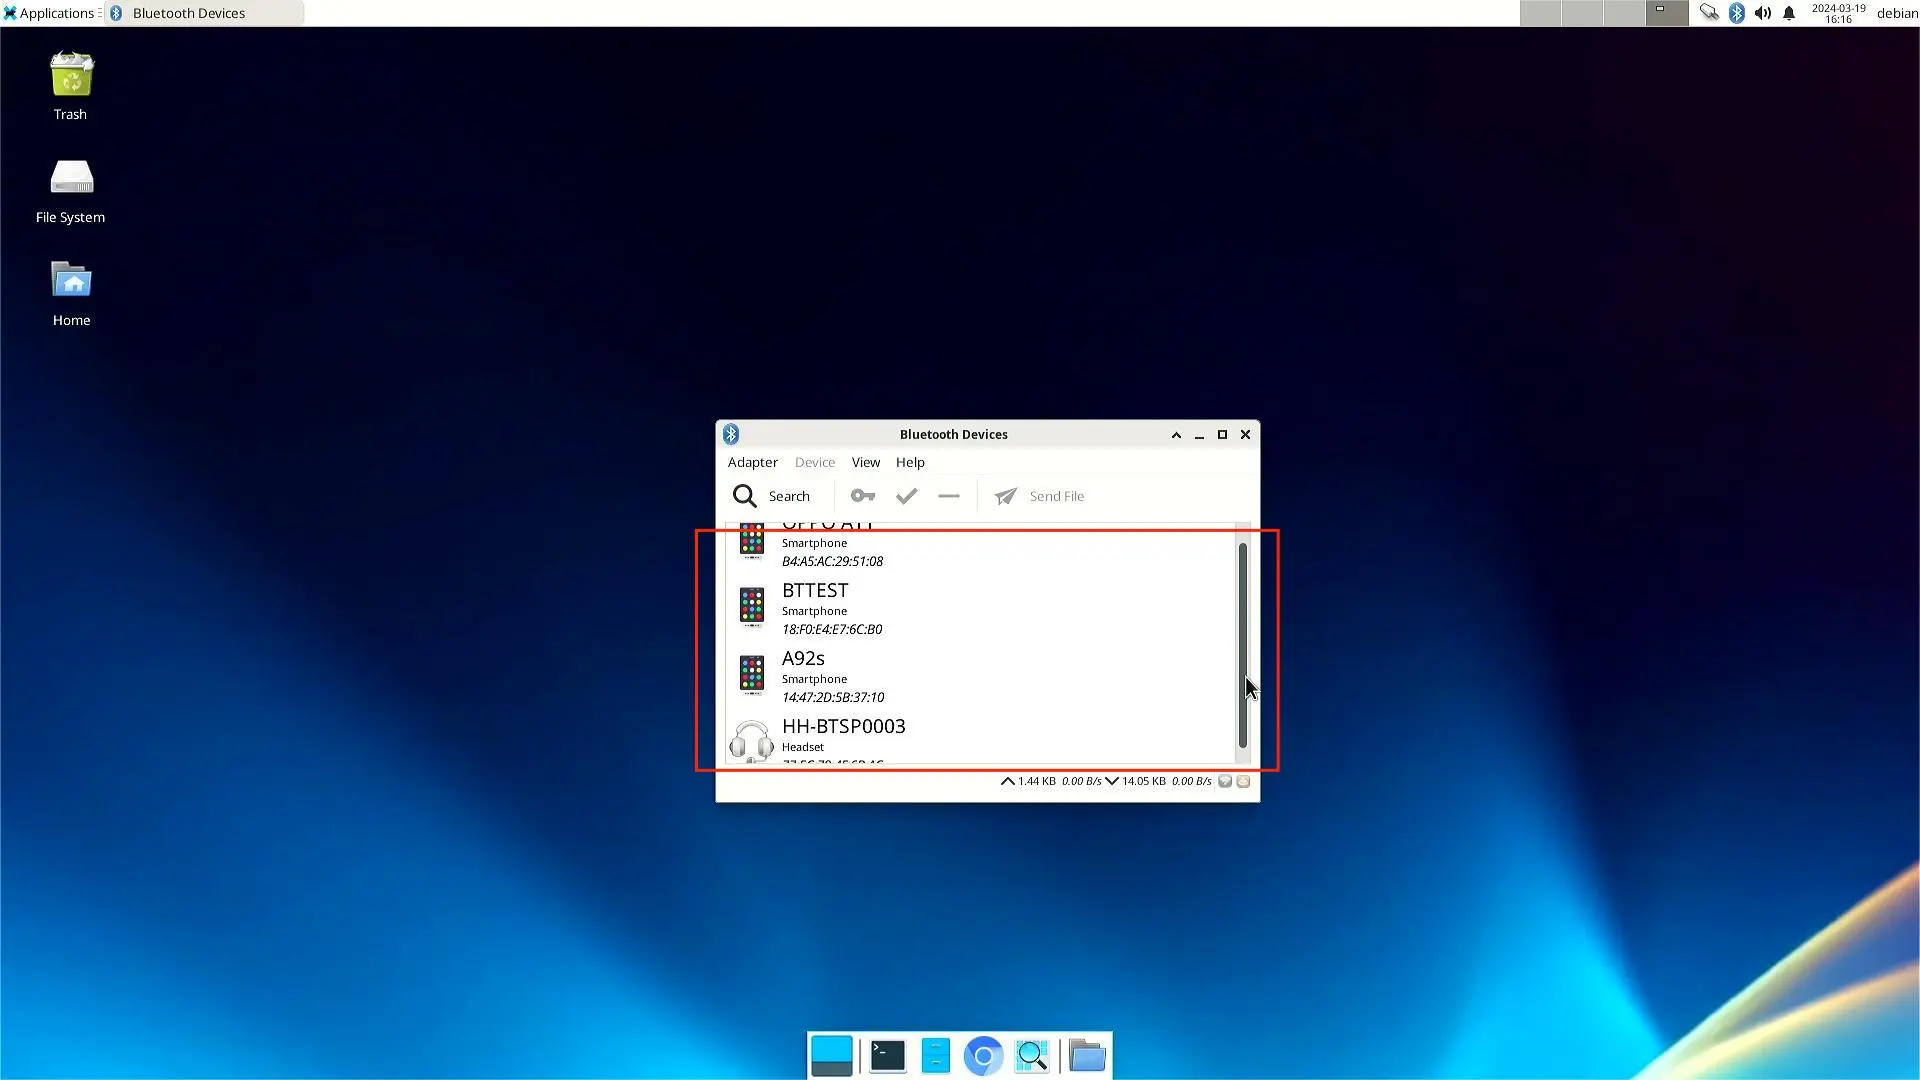
- Click on the Bluetooth device you want to connect to and it will automatically connect successfully.
Browser Use
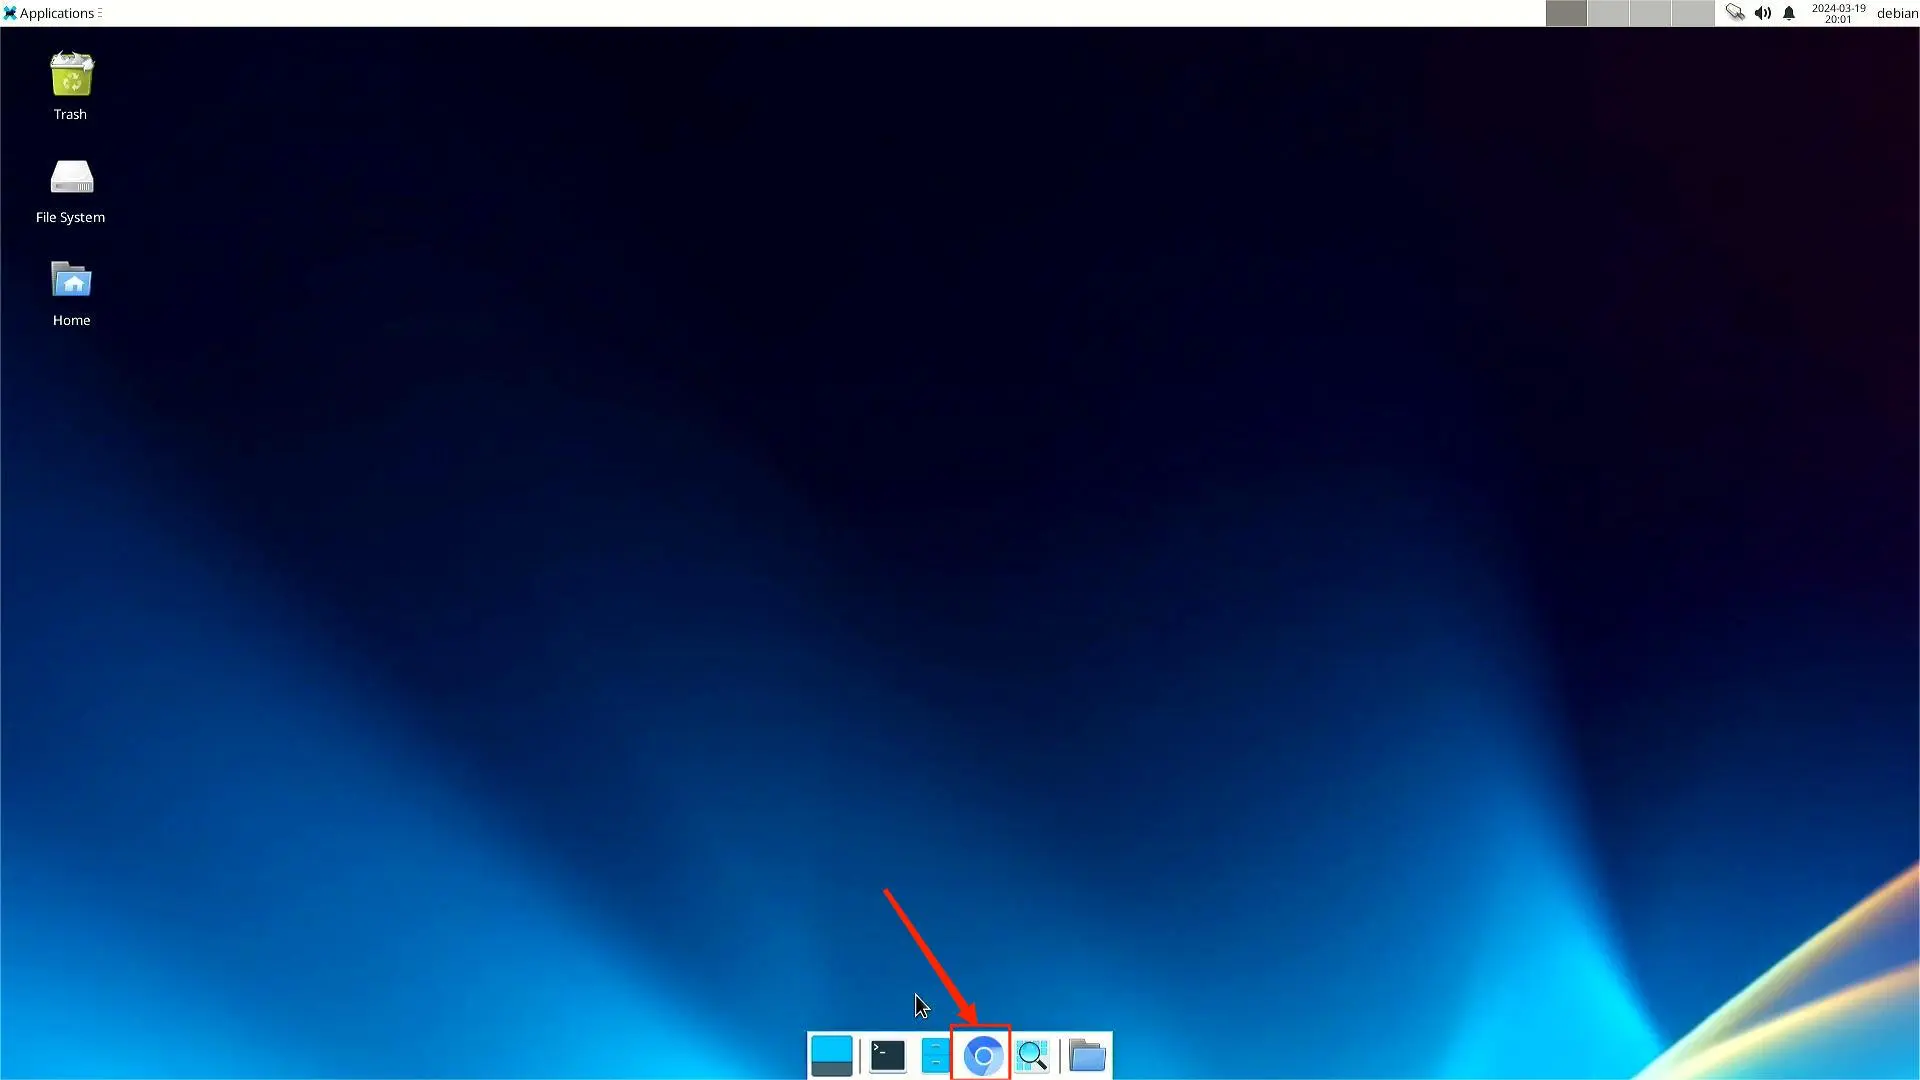
The Chromium browser is built-in and is available by clicking the browser icon at the bottom of the desktop.
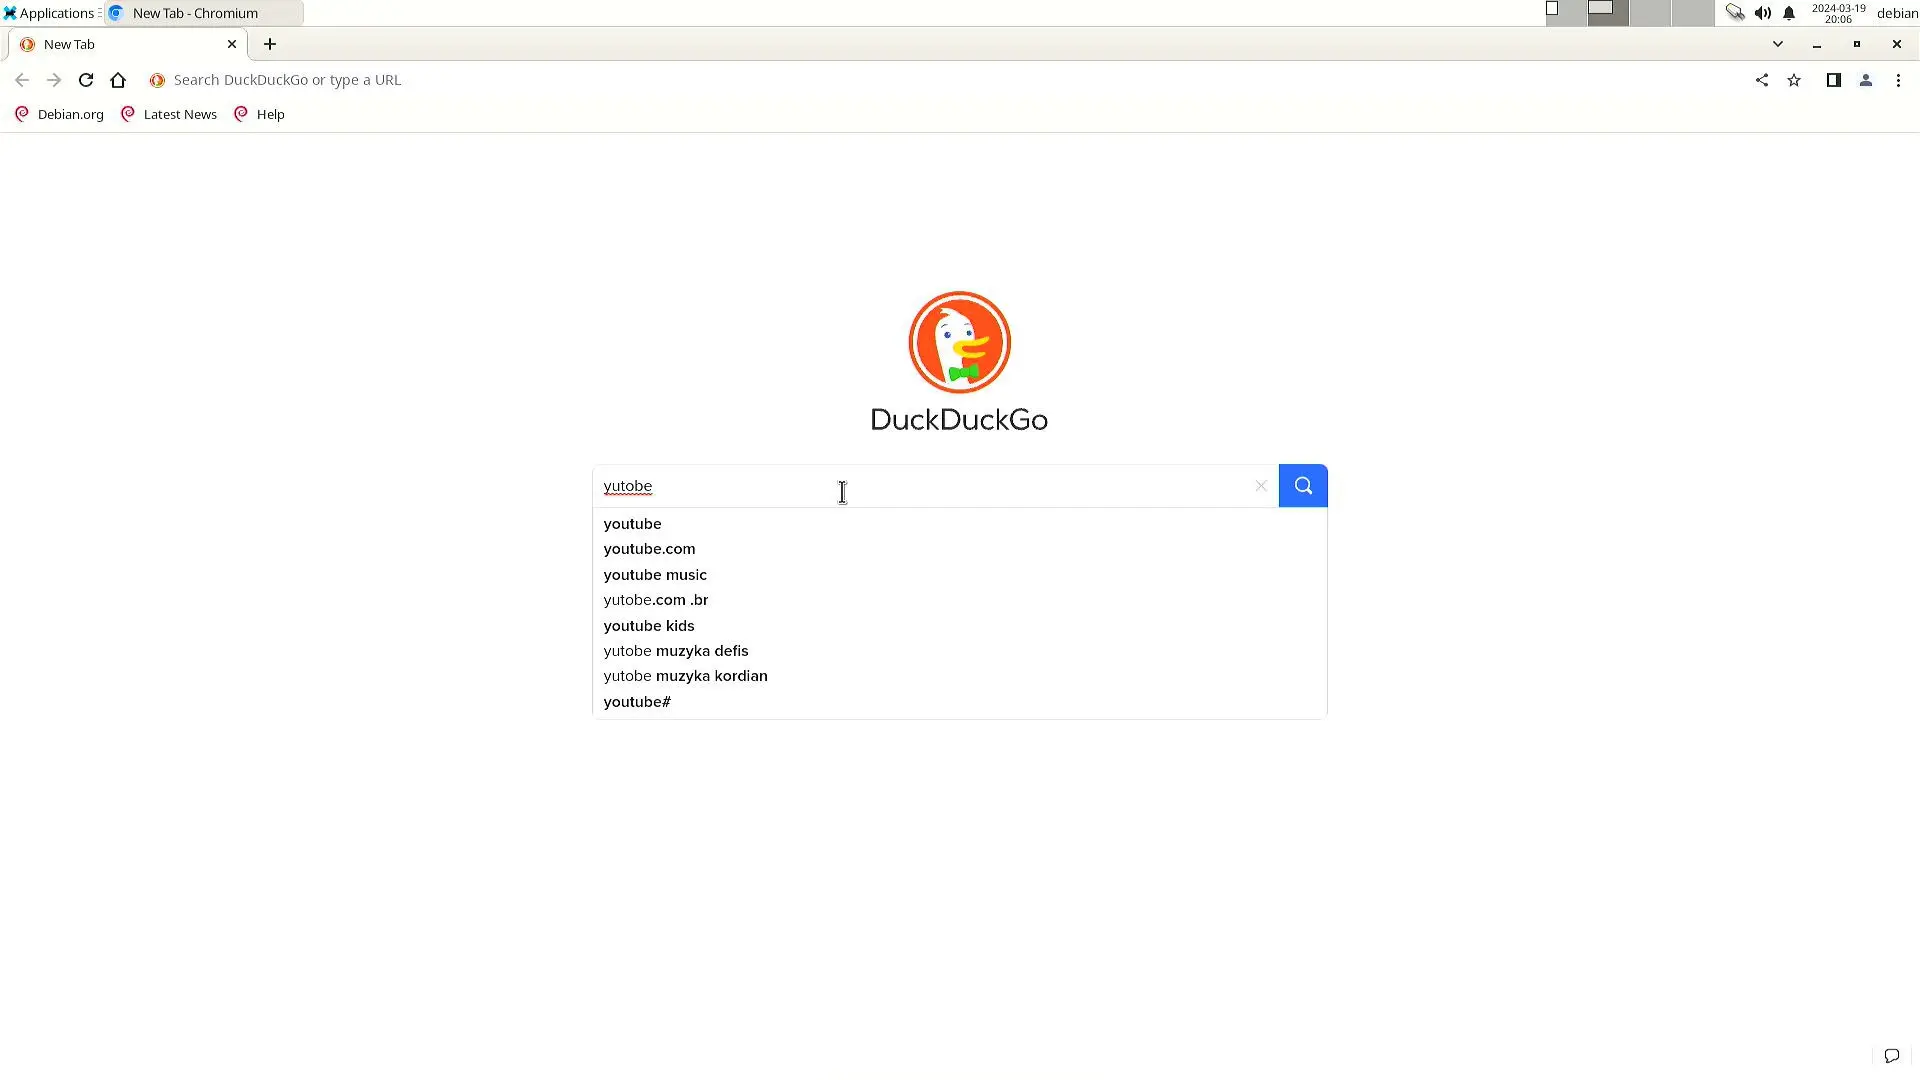
- Once opened you can use the search engine.
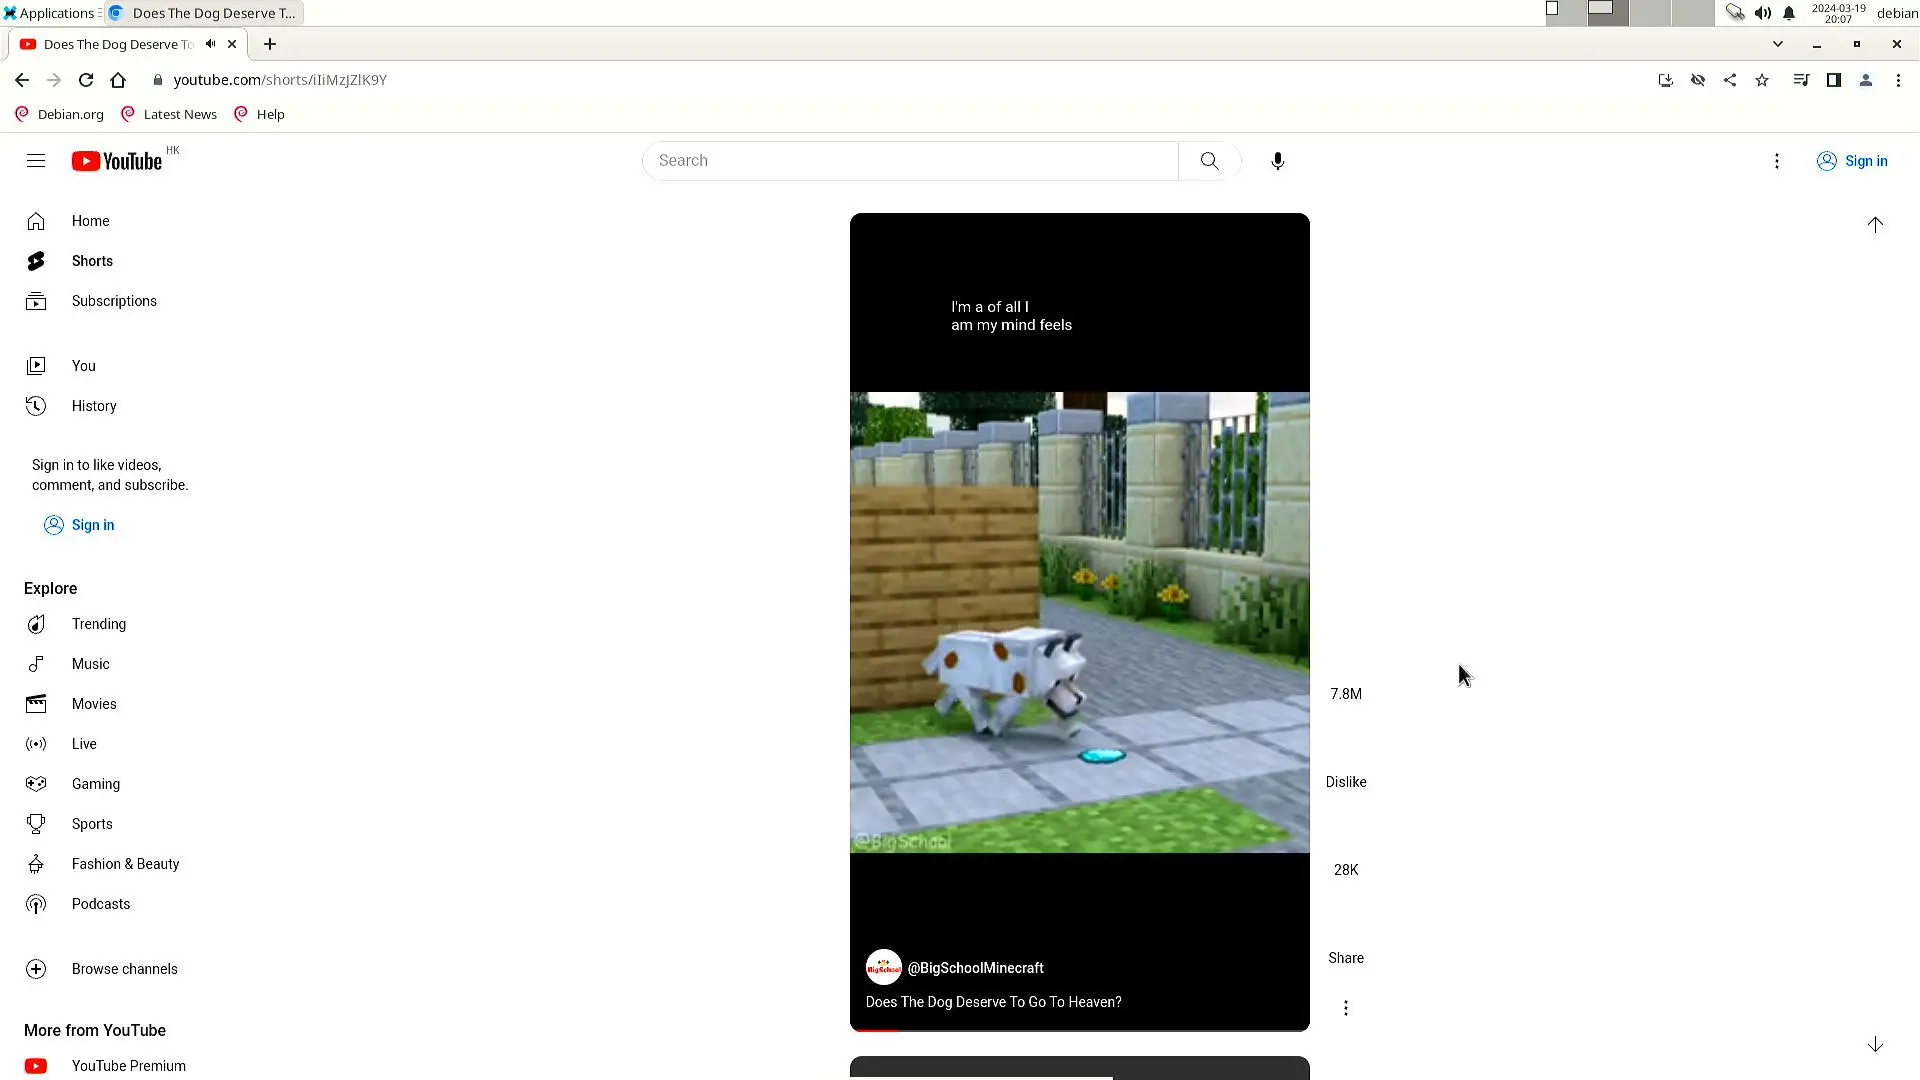
- Online videos can also be played.
Display Settings
The display settings are only available when you are operating on the monitor.
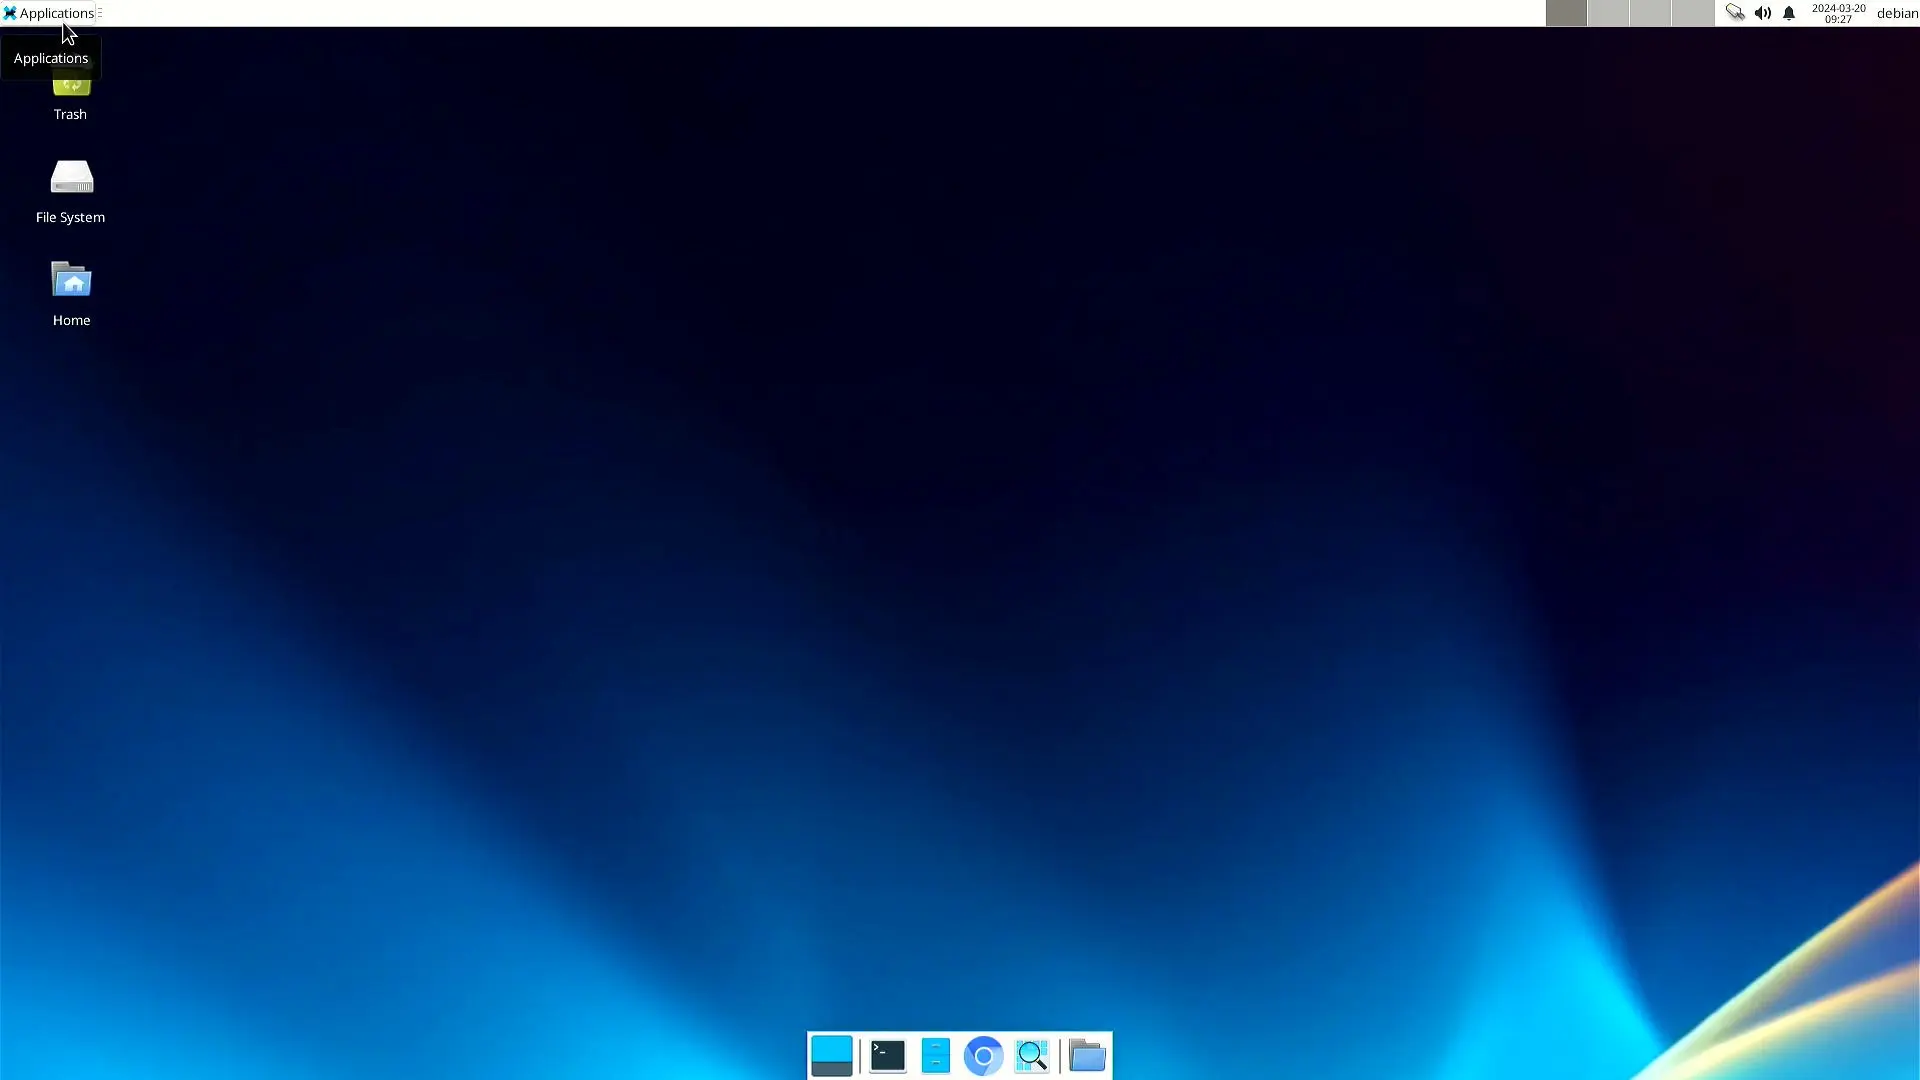
Applications-Settings-Display
Click Applications in the upper left corner of the desktop.
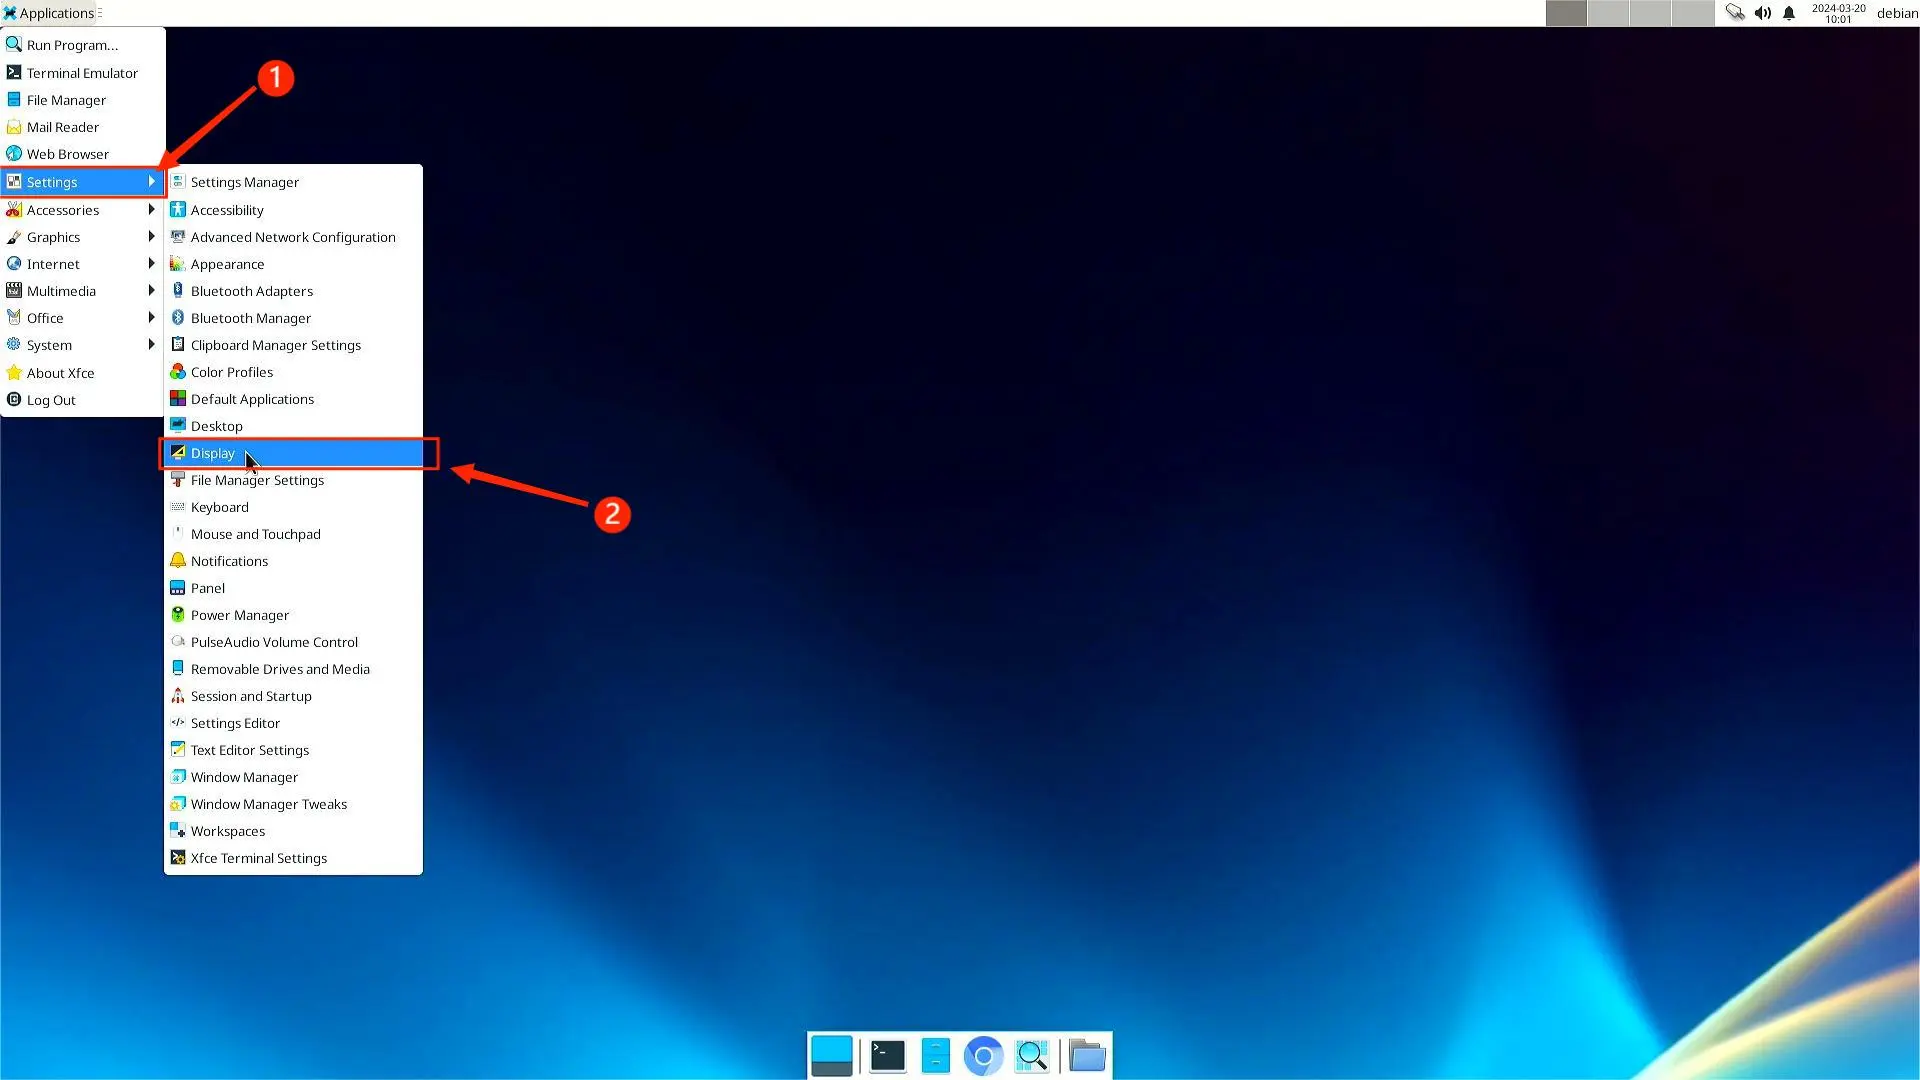
Select Settings, and then find the Display option in the Options section.
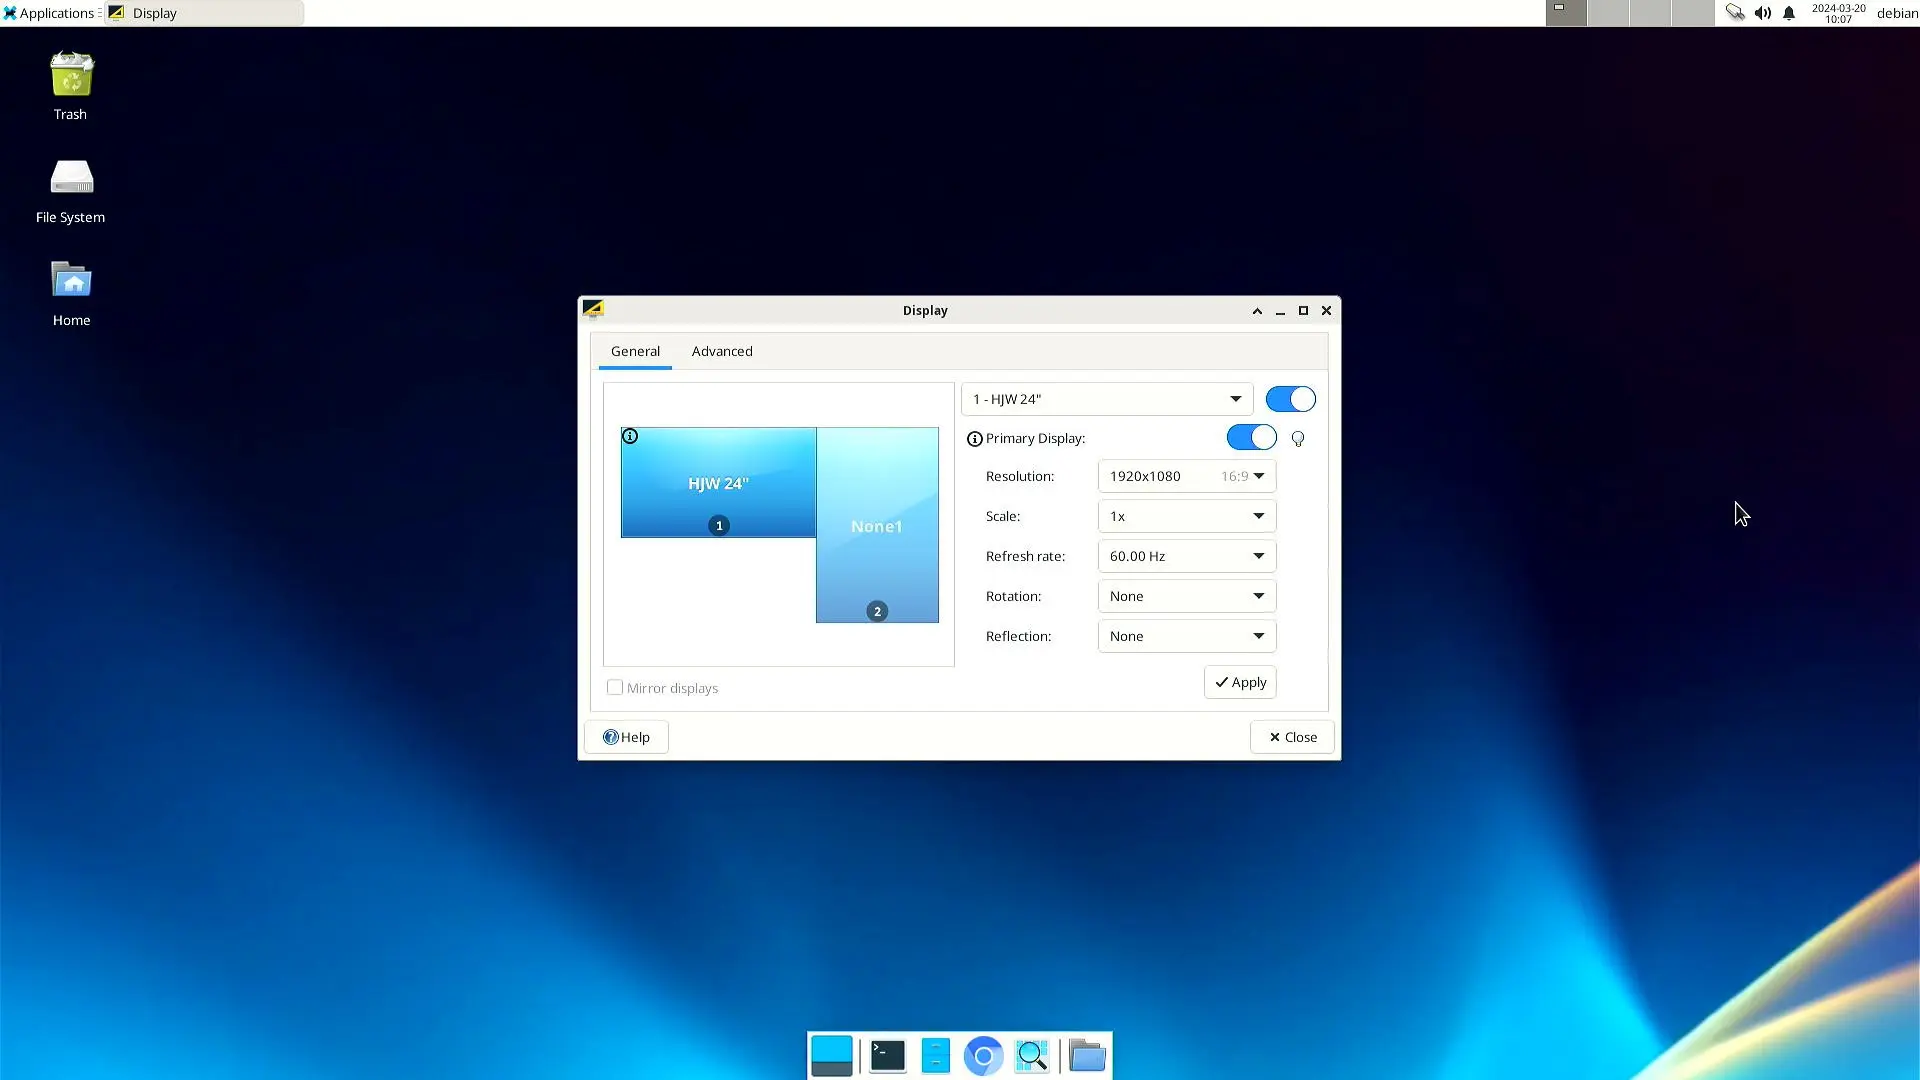
You can change the following settings in it.
Setup VNC and AutoLogin
First, make sure the development board is connected to the Internet.
Then open the terminal and execute the following command to install x11vnc
sudo apt update
sudo apt install x11vnc -y
After the installation is complete, execute the command x11vnc. The output shown in the figure below proves that the installation is successful.
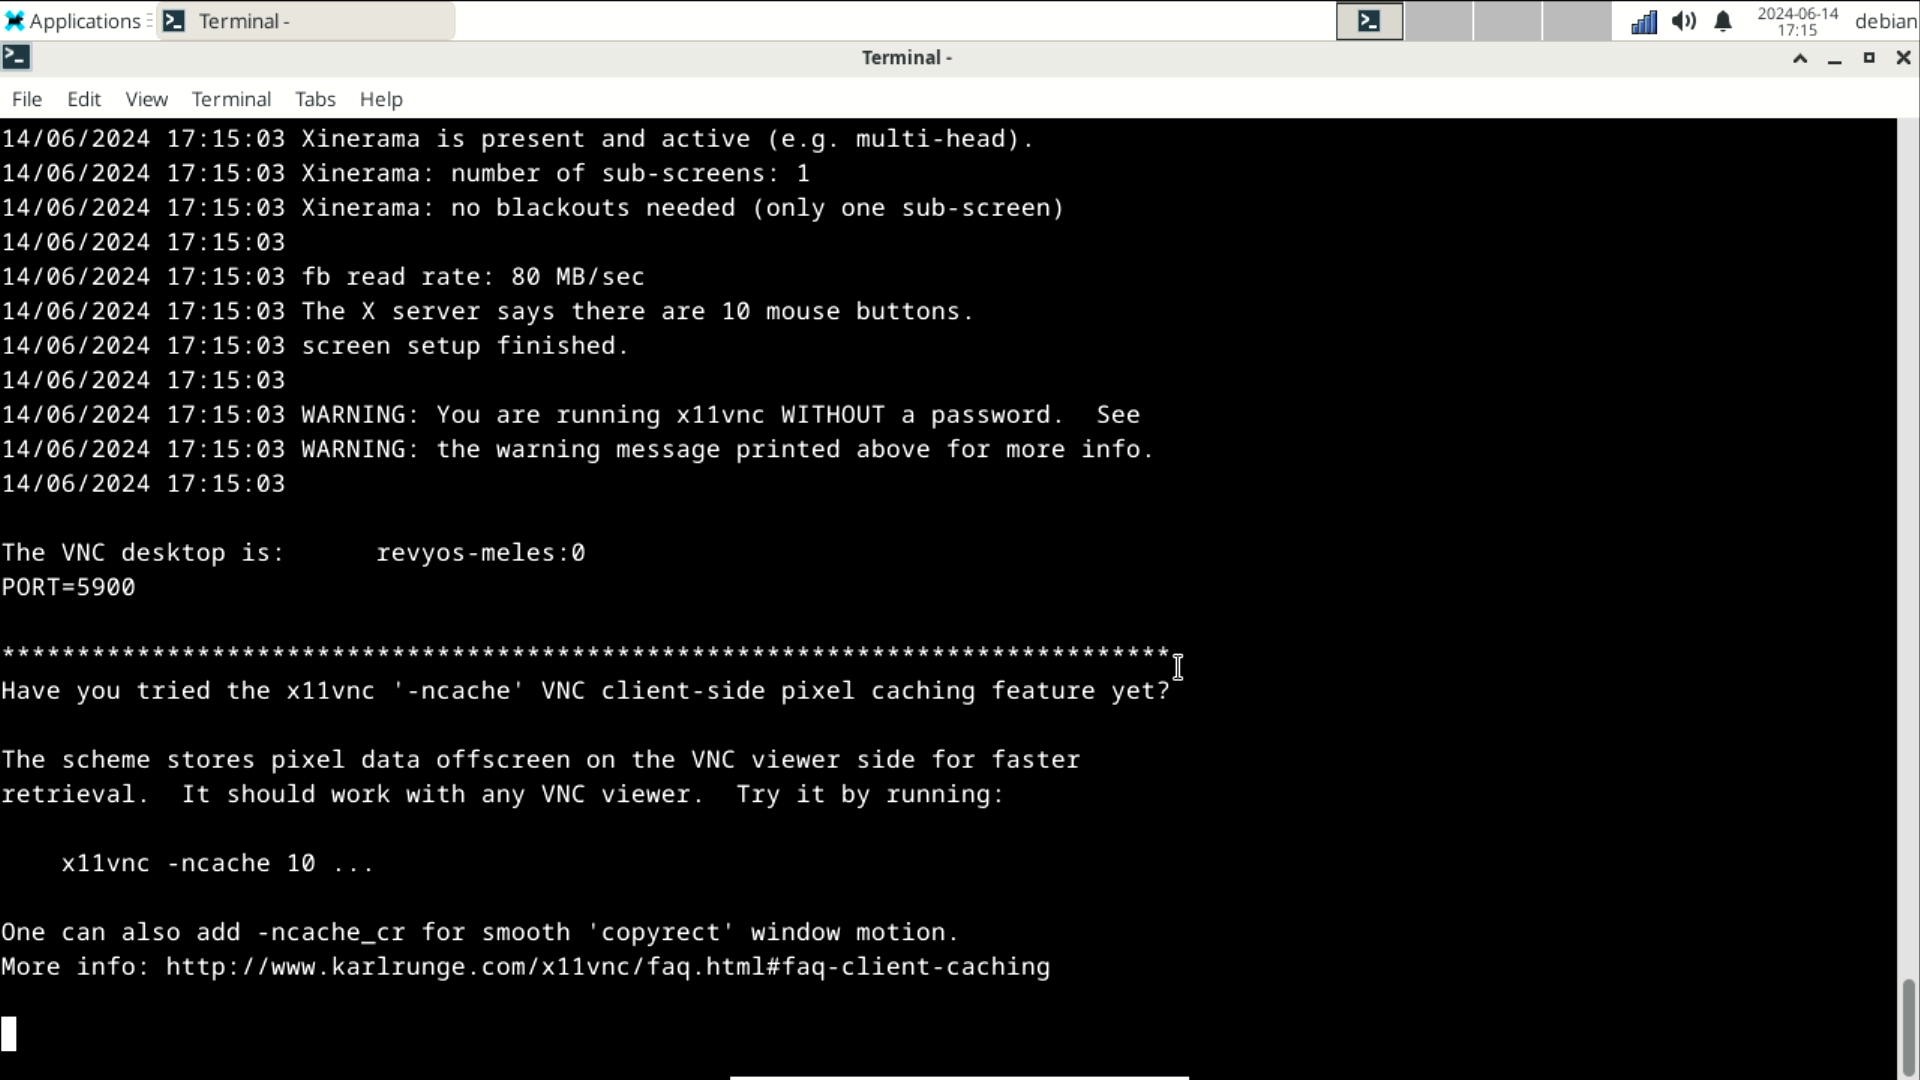
Set up the startup auto-start below.
Execute the command nano ~/vnc_startup.sh in the terminal and enter the following content in the file:
while true
do
x11vnc
done
After entering, press ctrl + o to save, and press ctrl + x to exit.
Execute the following command to add execution permissions to the file:
chmod +x ~/vnc_startup.sh
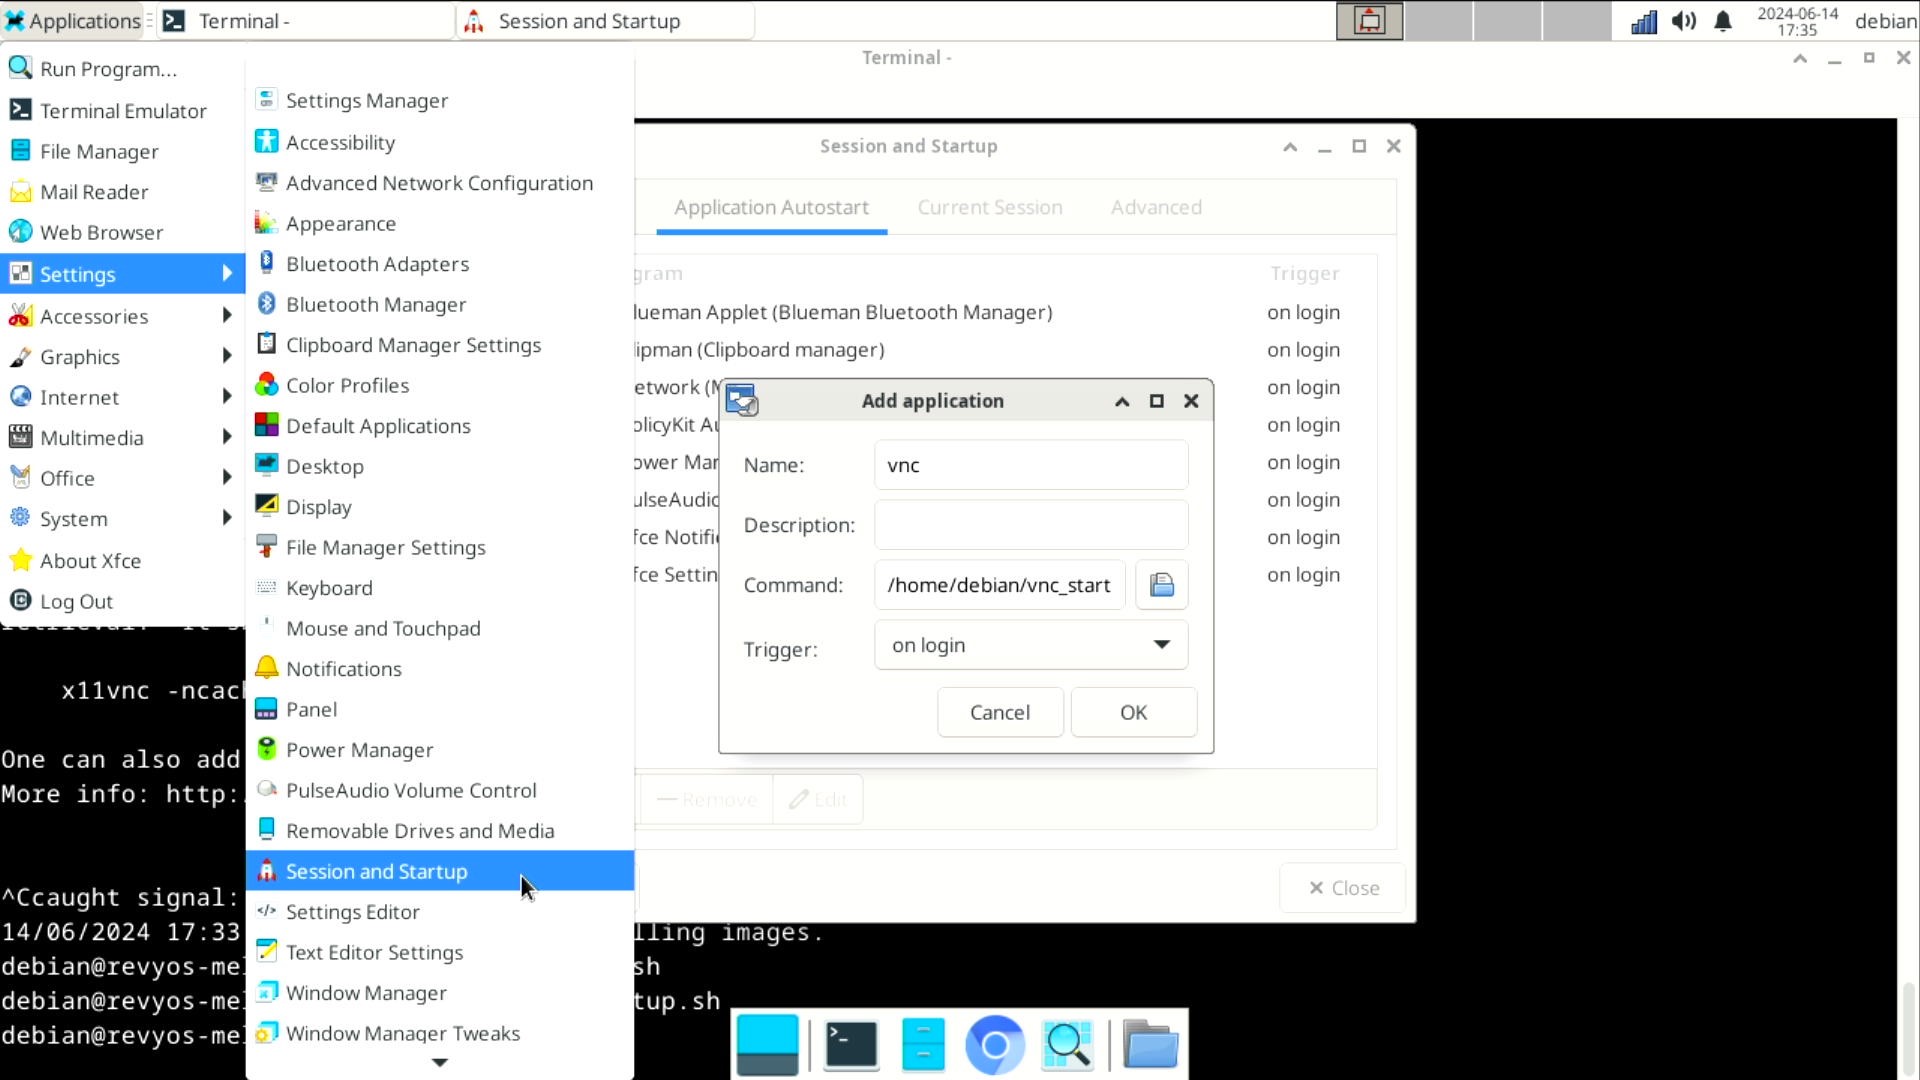
Finally, set vnc to start automatically. Open the upper left corner application - settings - session and startup
Add a vnc startup task in the 'application autostart' item on the page and fill in the task command with /home/debian/vnc_startup.sh, as shown in the figure.
Next, set up automatic login.
Execute the following command
sudo nano /etc/lightdm/lightdm.conf
Edit the autologin-user= and autologin-in-background=false lines.
Uncomment and change the content to
autologin-user=debian
autologin-in-background=True
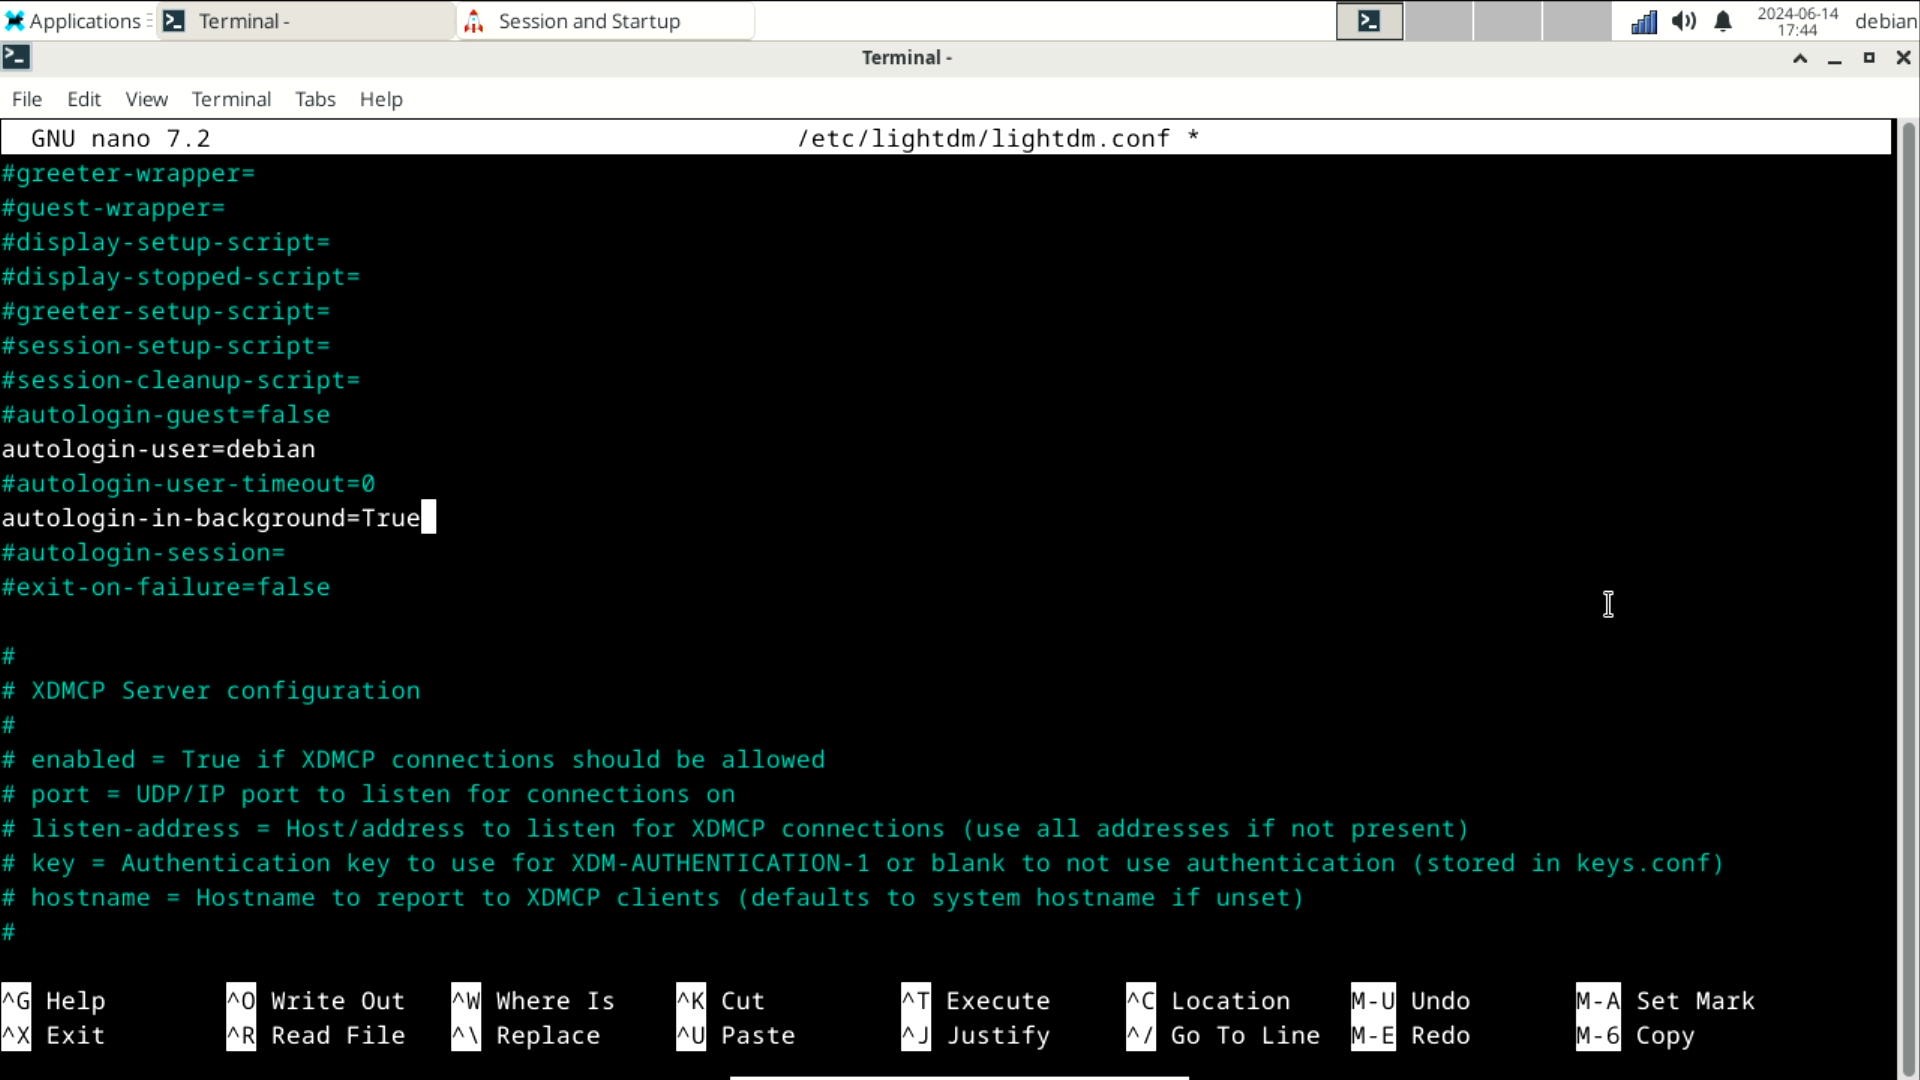
When finished, press ctrl + o to save, and press ctrl + x to exit.
Reboot finally.
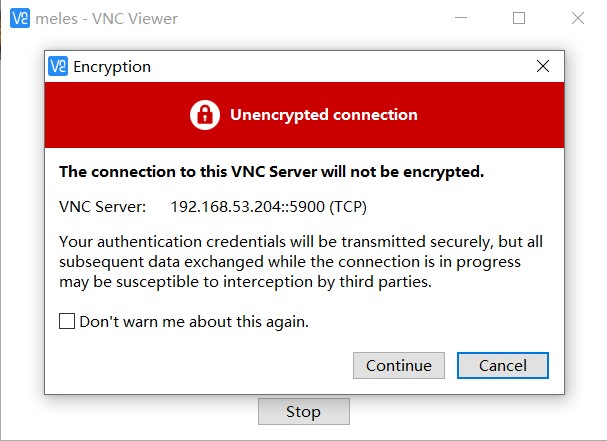
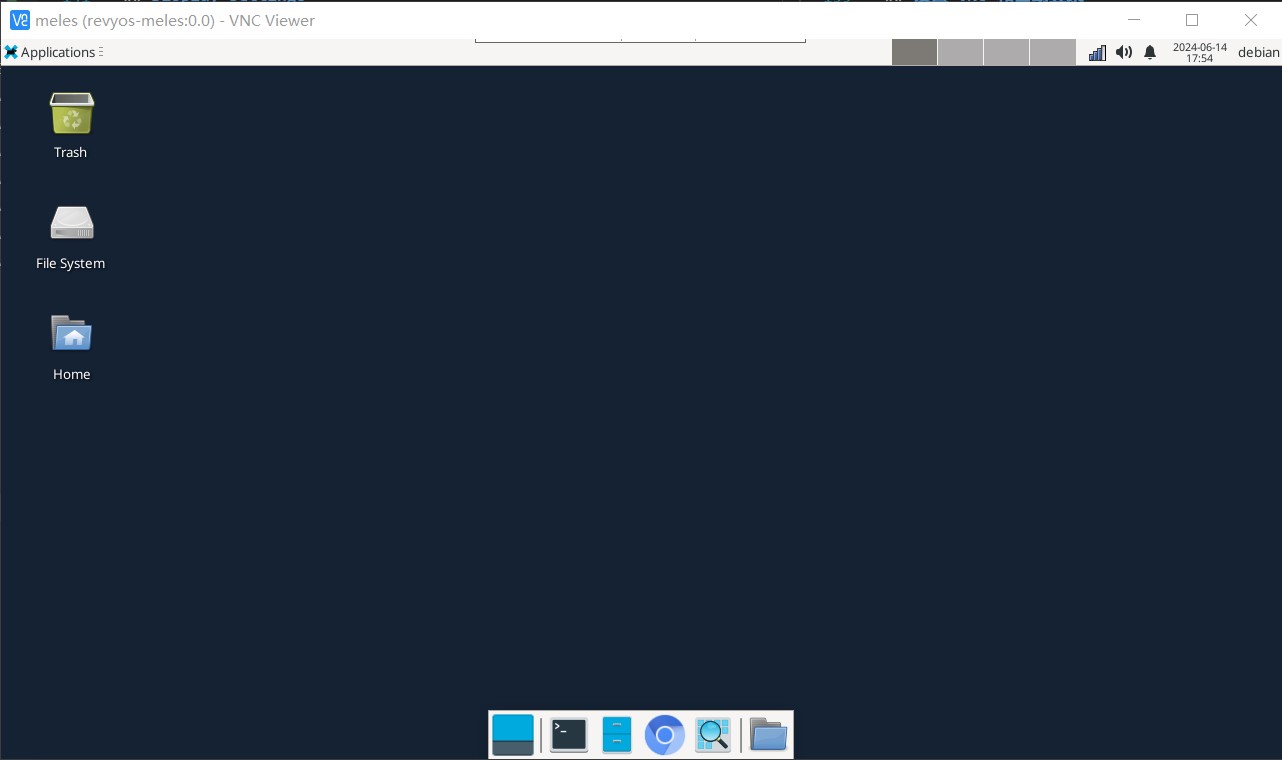
After meles is started, please query the IP address of meles on the router, open the VNC client, and set up the connection.
SSH
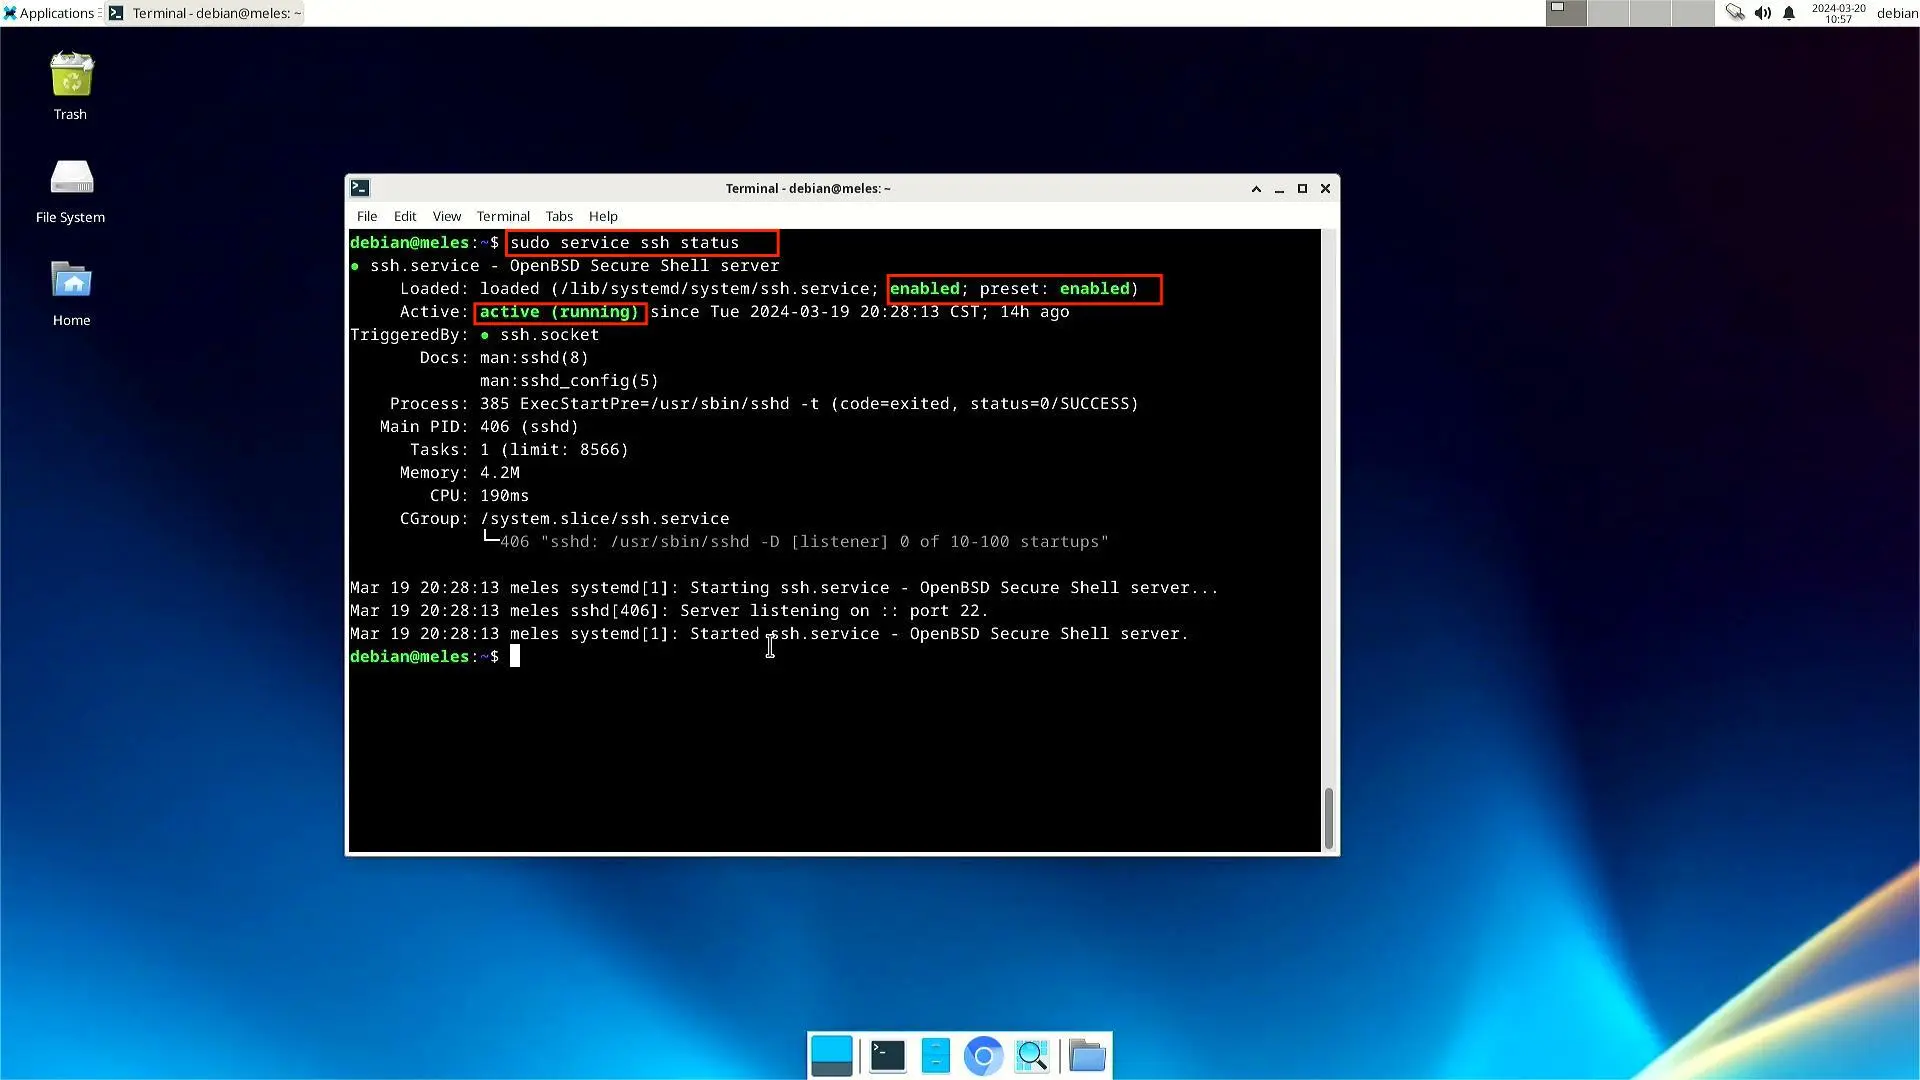
- Check the status of the SSH service. Run the following command in a command line window
sudo service ssh status
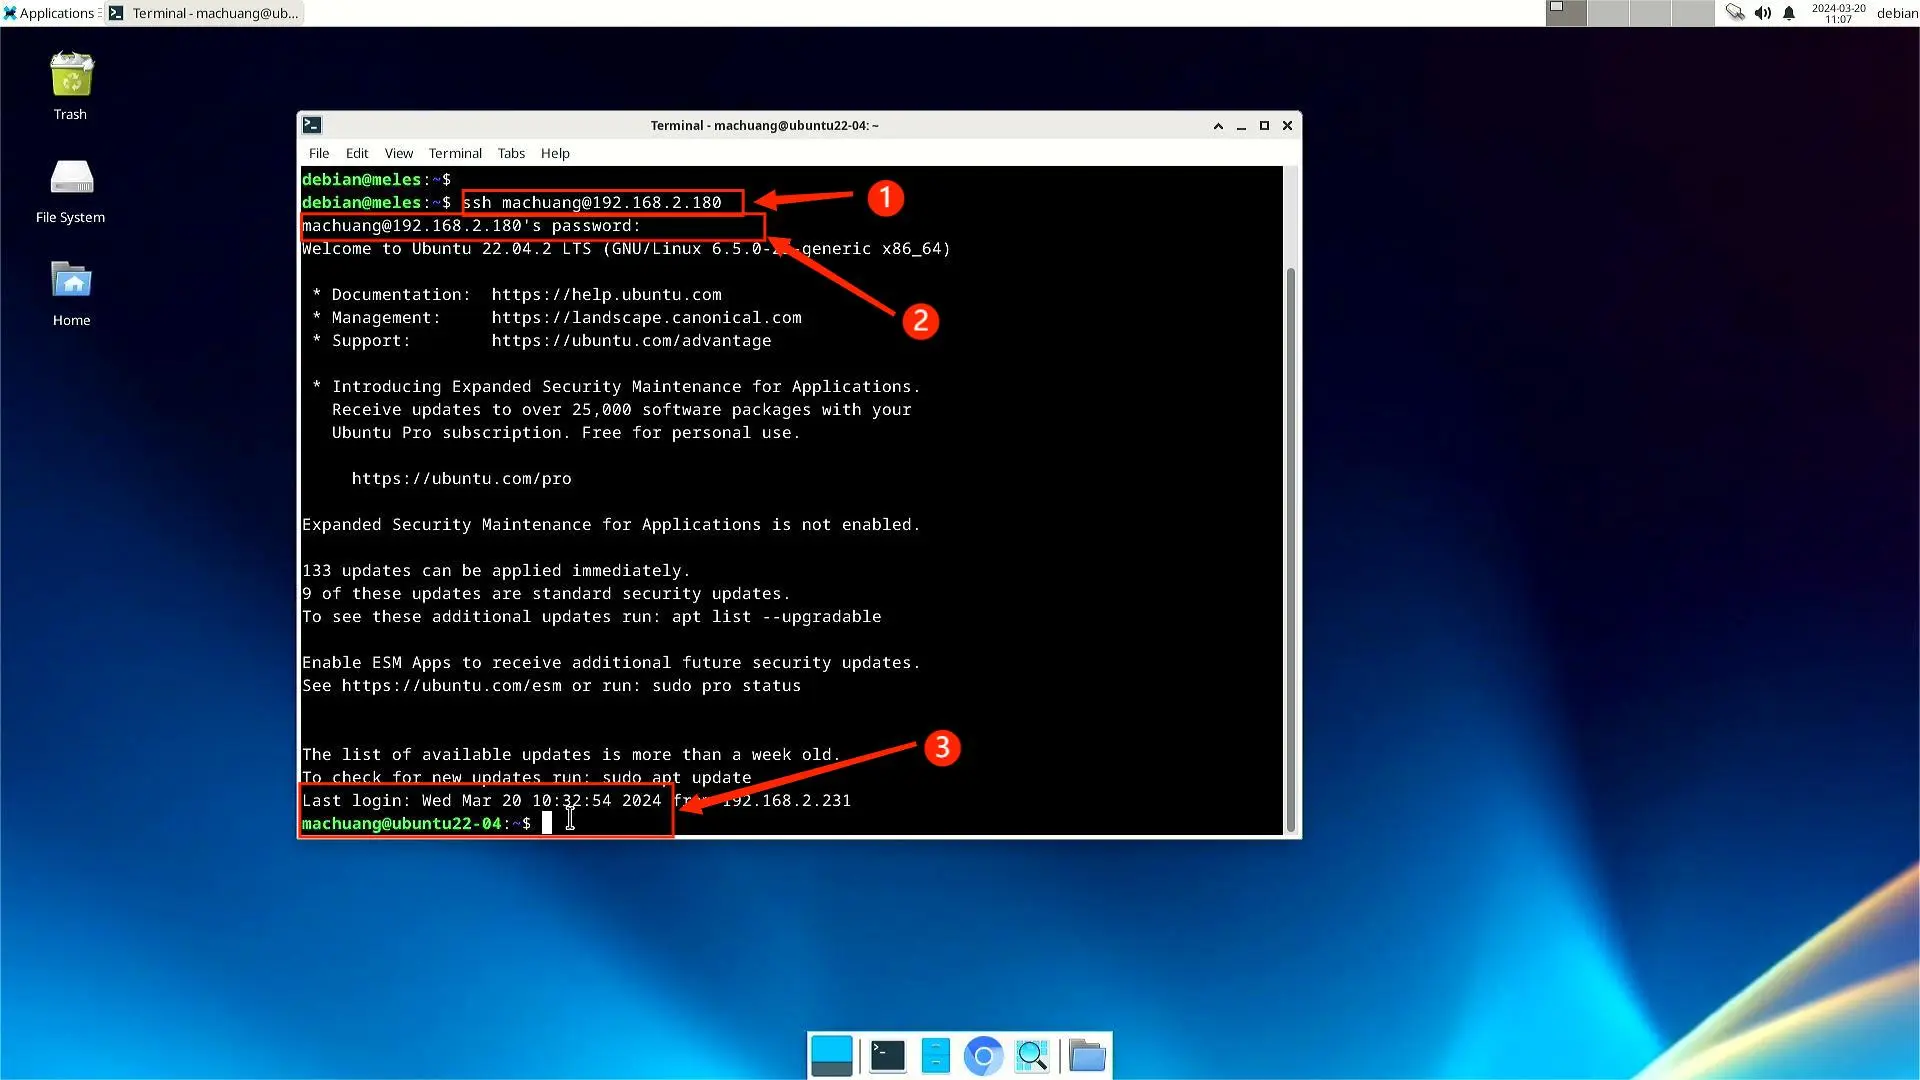
- Enter the following command
ssh [username]@[IP address]
Example:
- You need to enter the user password to successfully connect to the Debian system. This is a basic SSH connection process. You can use other SSH options for more advanced connections.
Notice�
SSH is installed by default.
If the SSH service is not installed, you can use the following command to install it:
sudo apt-get update
sudo apt-get install ssh
If the SSH service is not started or runs abnormally, run the following command to restart it:
sudo service sshd restart
