Titan BMC User Guide
Table of Contents
- Introduction
- System Initialization
- Login
- Main Interface
- Node Management
- Terminal Connection
- Node Configuration
- Installing Agent
Introduction
Titan BMC is a web-based management tool for Milk-V Titan. It provides the following key features:
- Node Monitoring: View node status and resource usage
- Terminal Access: Connect to node terminals via UART or TTY
- Power Management: Control node startup and shutdown
- Agent Management: Install and remove management agents on nodes
System Initialization
When accessing Titan BMC for the first time, you need to initialize the system and create an administrator account.
Initialization Steps
-
Find the BMC IP address from your router's admin panel or DHCP client list
-
Open your browser and navigate to
http://<BMC_IP>:8000(replace<BMC_IP>with the actual IP address of your BMC) -
The system will automatically redirect to the initialization page

- Fill in the administrator information:
- Admin username: Enter the administrator username (e.g.,
root) - Admin password: Enter the administrator password (e.g.,
root1234) - Confirm password: Re-enter the password for confirmation
- Admin username: Enter the administrator username (e.g.,

-
Click the Initialize database button
-
After successful initialization, you will see the "Initialization completed" message
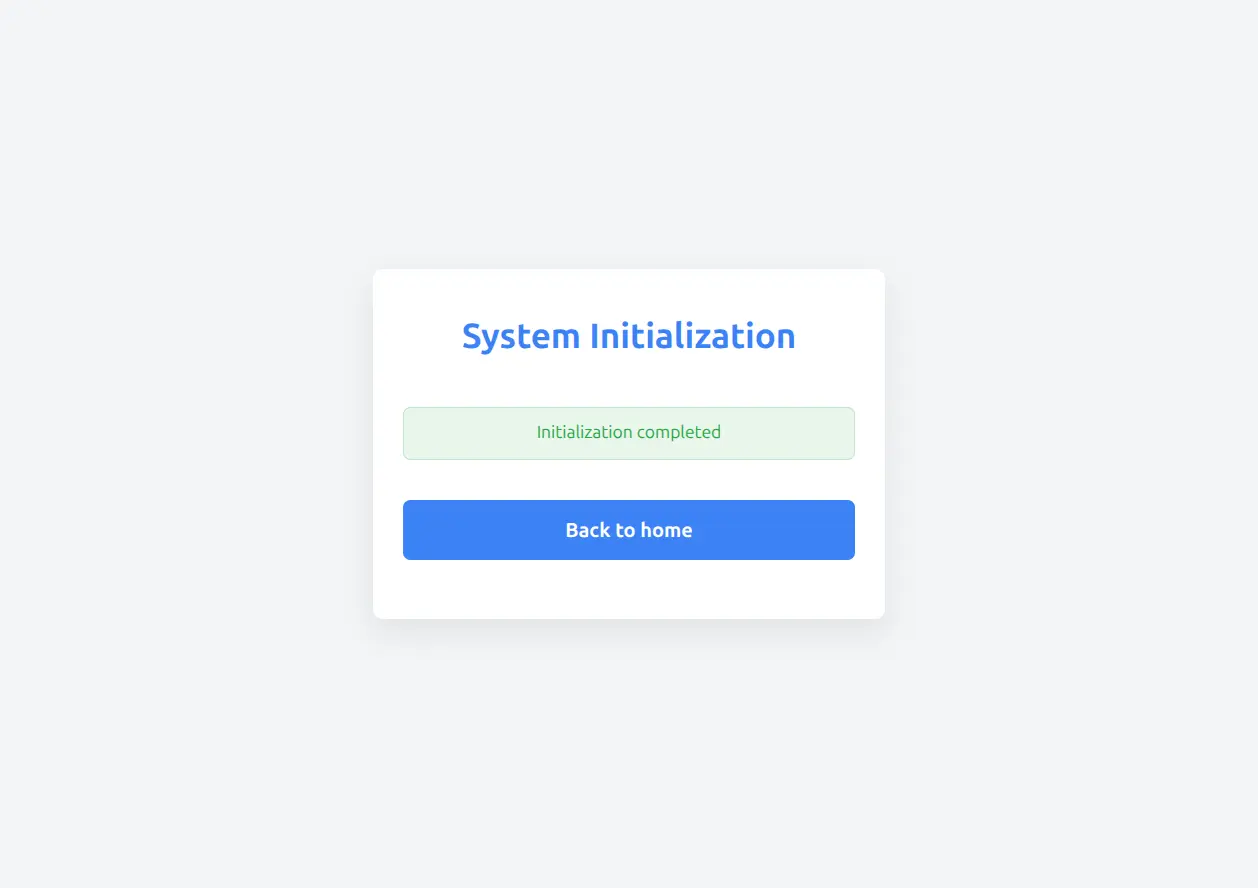
- Click the Back to home button to return to the login page
Notes:
- Initialization only needs to be performed once
- Keep your administrator credentials secure
- Use a strong password containing letters, numbers, and special characters
Login
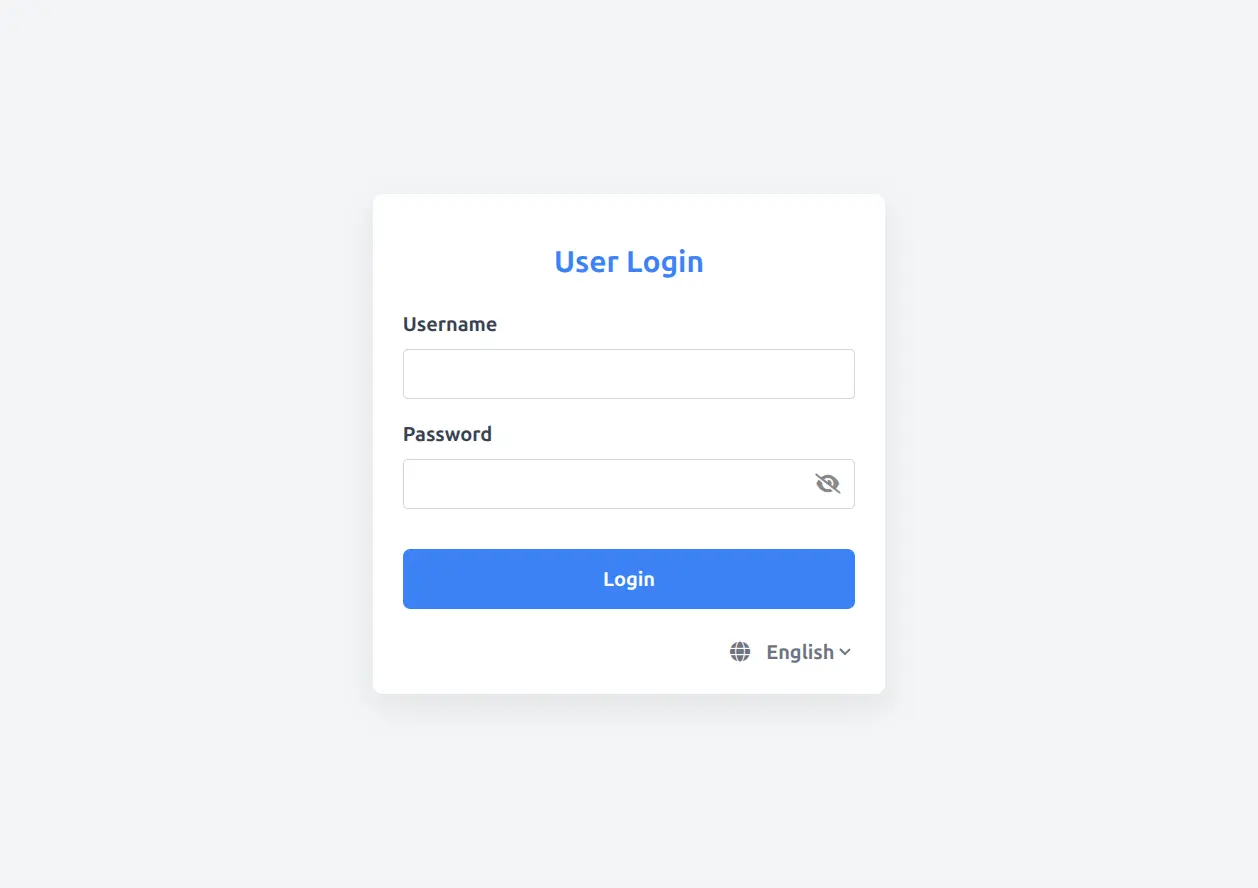
After initialization, you can log in using the created administrator account.
-
On the login page, enter your username and password:
- Username: The username set during initialization (e.g.,
root) - Password: The password set during initialization (e.g.,
root1234)
- Username: The username set during initialization (e.g.,
-
Click the Login button to log in
Main Interface
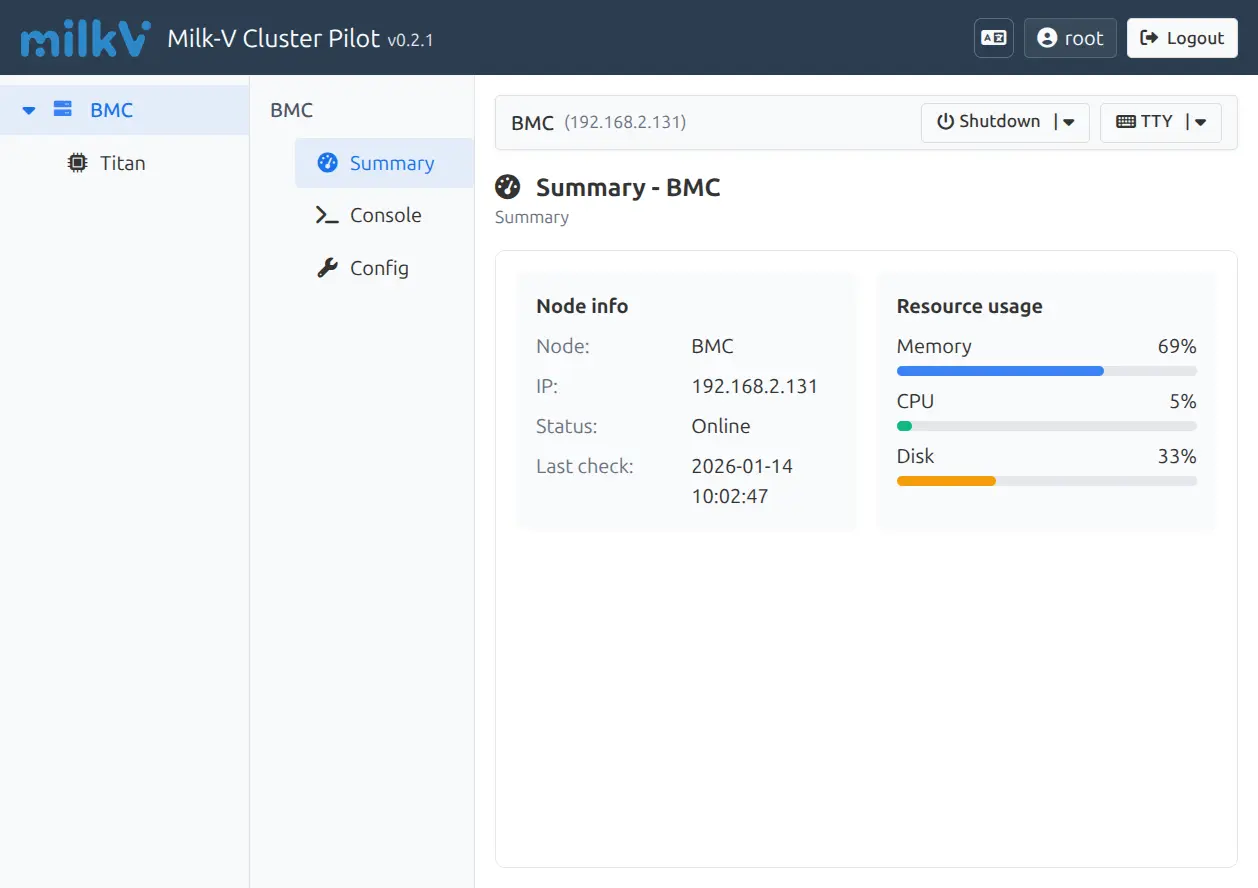
After successful login, you will see the main interface with the following sections:
Interface Layout
-
Top Navigation Bar
- Left: Milk-V Cluster Pilot title and version number
- Right: Current username and logout button
-
Left Sidebar
- Node List: Displays all available nodes (BMC, Titan, etc.)
- Click on a node name to switch to that node
-
Middle Menu Bar
- Summary: Node overview information
- Console: Terminal console
- Config: Node configuration
-
Main Content Area
- Displays detailed information for the currently selected node
Node Information Panel
The main interface displays two primary information areas:
Node info
- Node: Node name
- IP: Node IP address
- Status: Node status (Online/Offline)
- Last check: Last check time
Resource usage
- Memory: Memory usage percentage
- CPU: CPU usage percentage
- Disk: Disk usage percentage
Node Management
Viewing Node List
In the left sidebar, you can see all available nodes:
- BMC: Baseboard Management Controller node
- Titan: Compute node
Switching Nodes
Click on a node name in the left sidebar to switch to that node and view its detailed information.
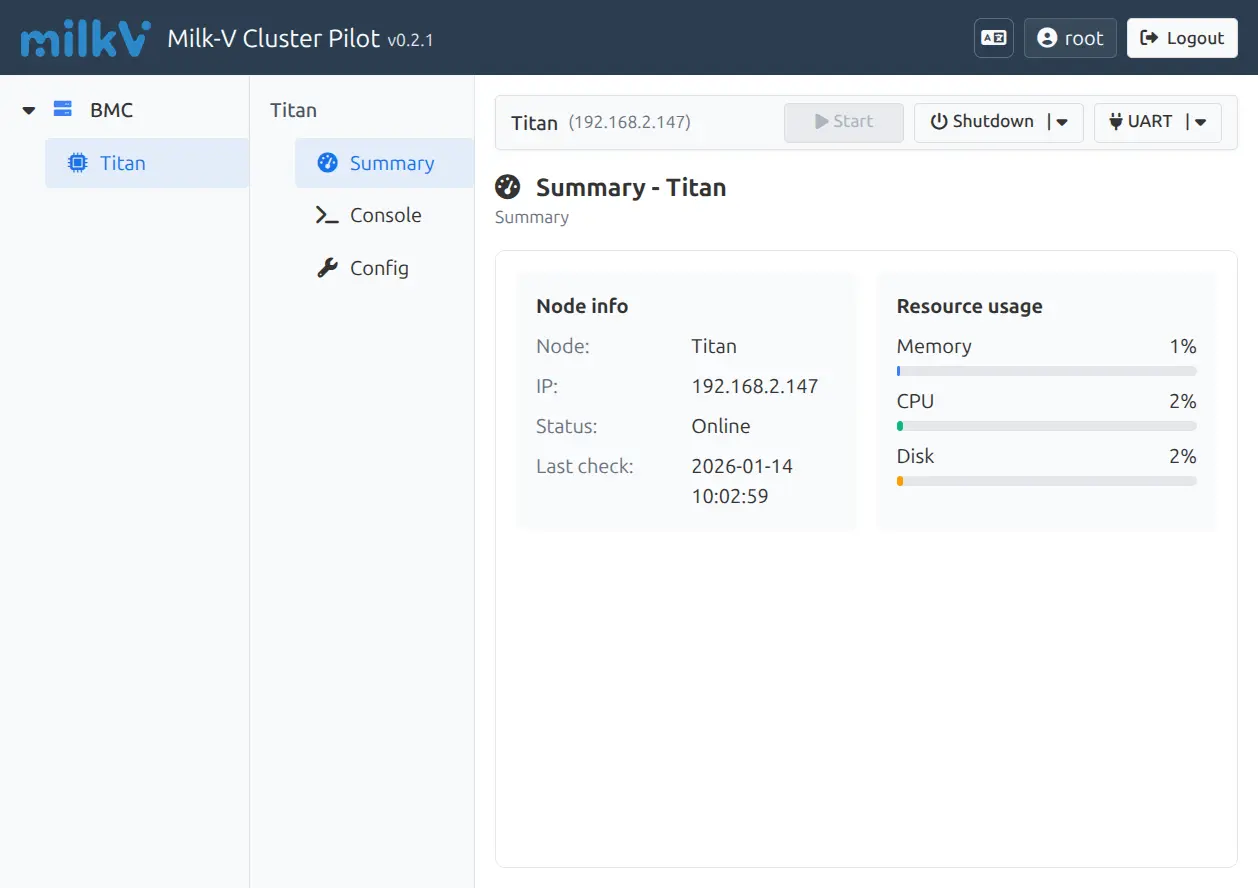
Node Action Buttons
On the right side of the node title bar, you will find the following action buttons:
- Start: Start the node (available when node is powered off)
- Shutdown: Shutdown the node
- UART/TTY: Quick access to terminals (dropdown menu)
Terminal Connection
Titan BMC supports two types of terminal connections:
- UART: Serial port connection, suitable for system boot, debugging, etc.
- TTY: PTY connection via UART protocol, requires Agent installation on the node
Connecting to UART Terminal
-
Select the target node (e.g., Titan)
-
Click Console in the left menu
-
Confirm the terminal type is UART
-
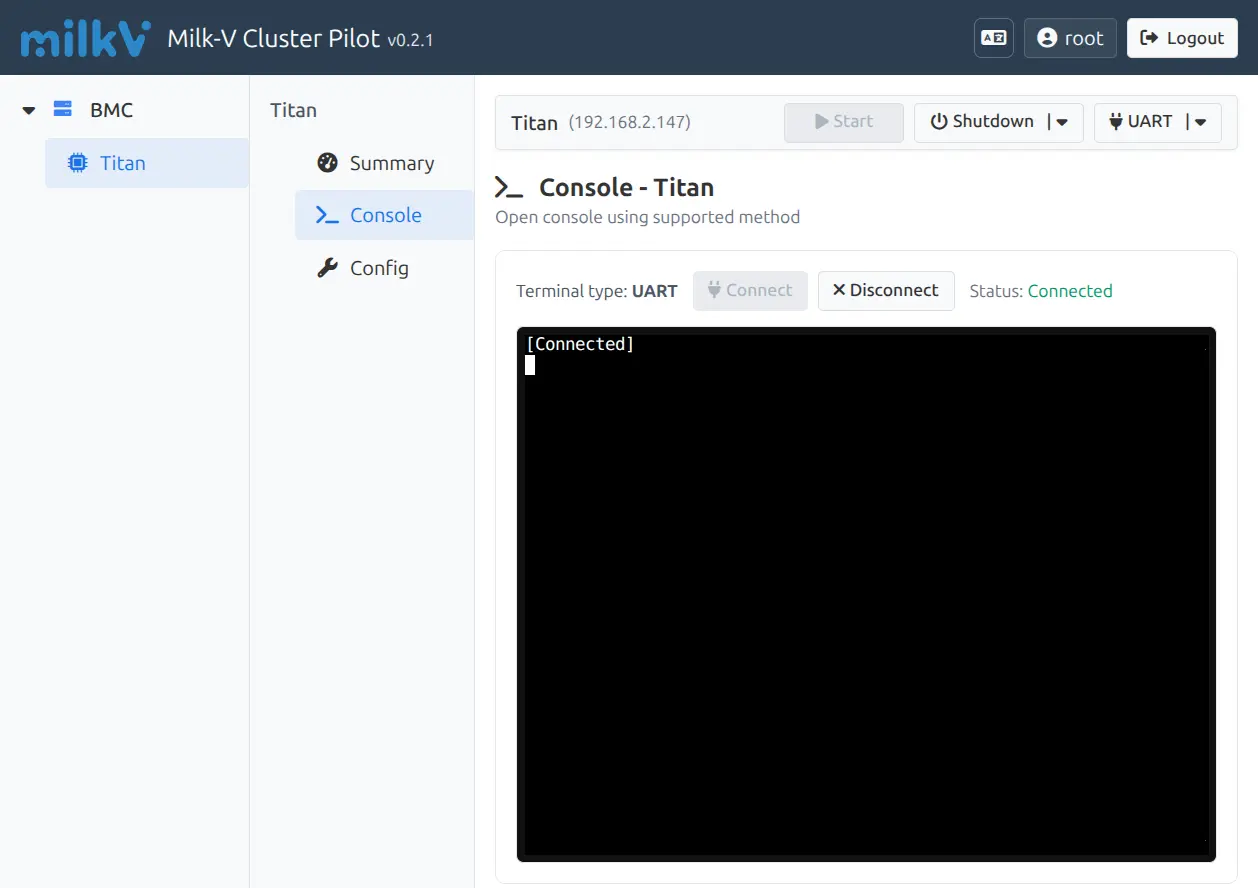
Click the Connect button
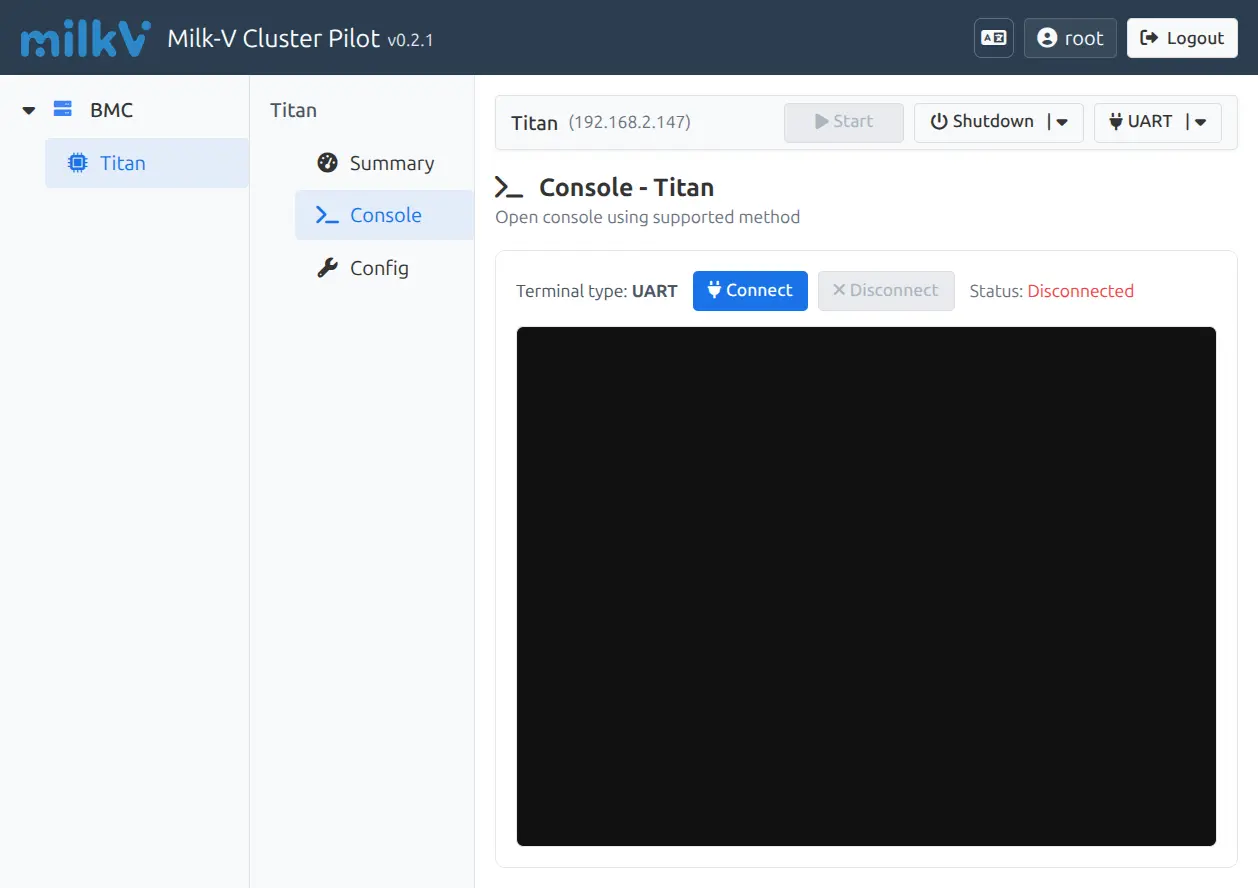
- After successful connection, the status will show Connected, and the terminal window will display
[Connected]
-
You can now enter commands in the terminal to interact with the node
-
When finished, click Disconnect to close the connection
Connecting to TTY Terminal
TTY terminal provides a better interactive experience but requires Agent installation on the node.
-
Select the target node
-
Click Console in the left menu
-
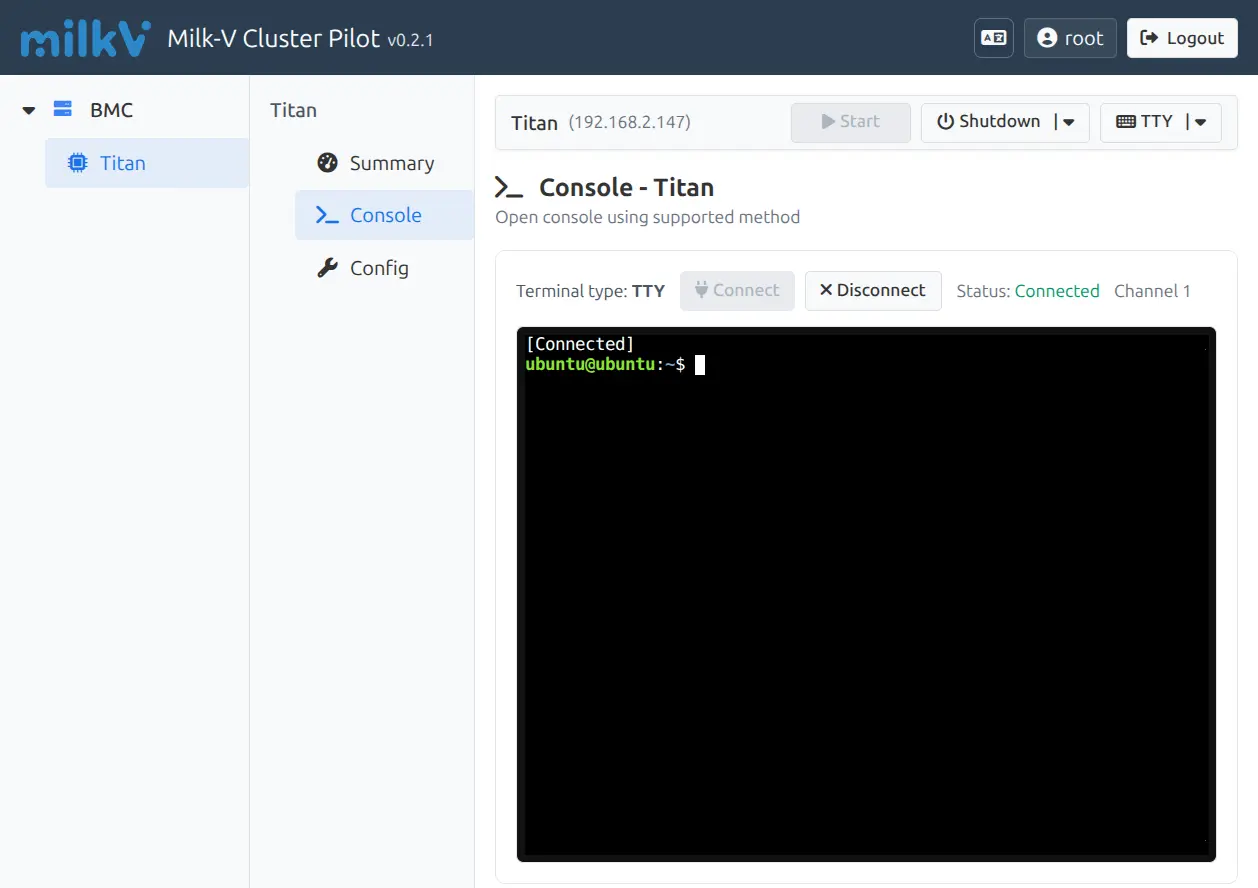
Click the terminal type dropdown menu (arrow next to UART)
-
Select TTY
-
The system will automatically connect to the TTY terminal
-
After successful connection, the status will show Connected Channel X (where X is the channel number)
-
The terminal displays a shell prompt (e.g.,
ubuntu@ubuntu:~$) and is ready to use
TTY Terminal Advantages:
- Supports multiple concurrent sessions (multiple Channels)
- Better terminal emulation (colors, cursor control, etc.)
- Ability to specify login user
Note: Before using TTY terminal, you need to install the Agent on the node (see Installing Agent)
Opening Terminal in Modal Window
For a better terminal experience, you can open the terminal in a modal window with multi-tab support.
-
In the quick action bar at the top of the page, click the dropdown arrow next to the TTY button
-
Click the Open in new window icon (external link icon) next to TTY
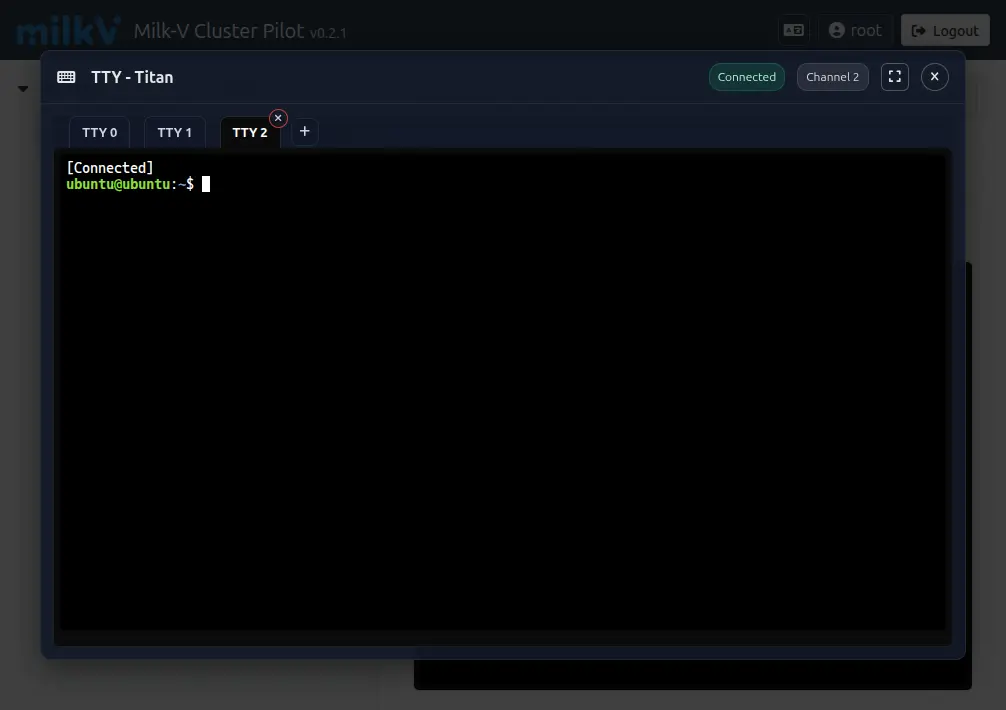
- A modal window will open with the terminal
Modal Terminal Features:
- Multiple Tabs: Click the + button to create new terminal tabs (TTY 0, TTY 1, TTY 2, etc.)
- Independent Sessions: Each tab runs an independent terminal session with its own channel
- Easy Switching: Click on tab names to switch between different terminal sessions
- Close Tabs: Click the × button on each tab to close it
- Fullscreen Mode: Click the maximize button to expand the terminal to fullscreen
This multi-tab feature is particularly useful when you need to work with multiple terminal sessions simultaneously, such as monitoring logs in one tab while executing commands in another.
Node Configuration
Accessing Configuration Page
-
Select the target node
-
Click Config in the left menu
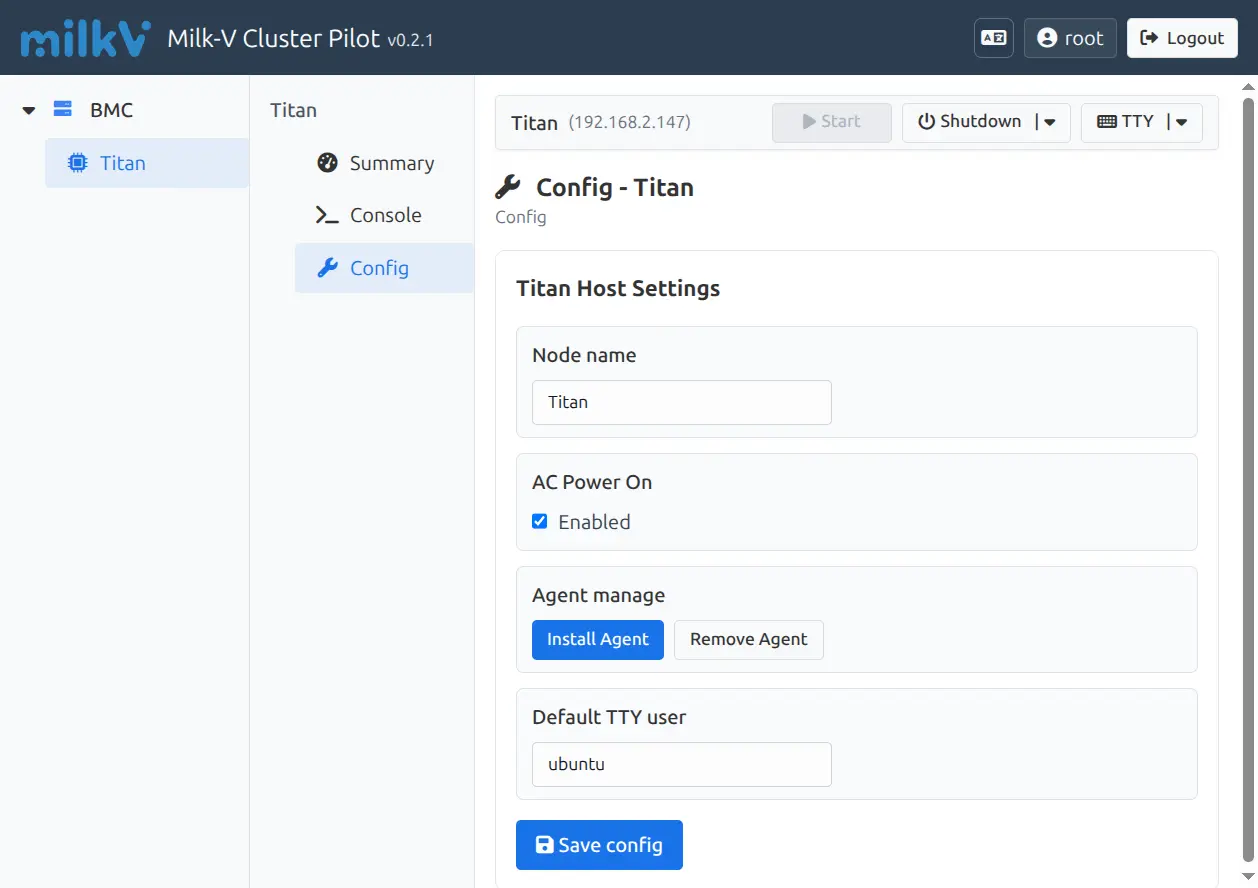
Configuration Options
Node name
- Customize the display name of the node
AC Power On
- When enabled, the node will automatically start when powered on
- When disabled, manual startup is required
Agent manage
- Install Agent: Install the management agent on the node
- Remove Agent: Remove the management agent from the node
Default TTY user
- Set the default username for TTY terminal connections
- Default is
ubuntu
Saving Configuration
After modifying the configuration, click the Save config button to save changes.
Installing Agent
To use TTY terminal and advanced management features, you need to install the Agent on the node.
Pre-installation Requirements
- Ensure the target node is started
- Prepare the node's login credentials (username and password)
- Ensure Python 3 and necessary system tools are installed on the node
Installation Steps
-
Select Target Node
Click on the node where you want to install the Agent in the left sidebar (e.g., Titan)
-
Access Configuration Page
Click Config in the left menu
-
Launch Installation Wizard
In the Agent manage section, click the Install Agent button
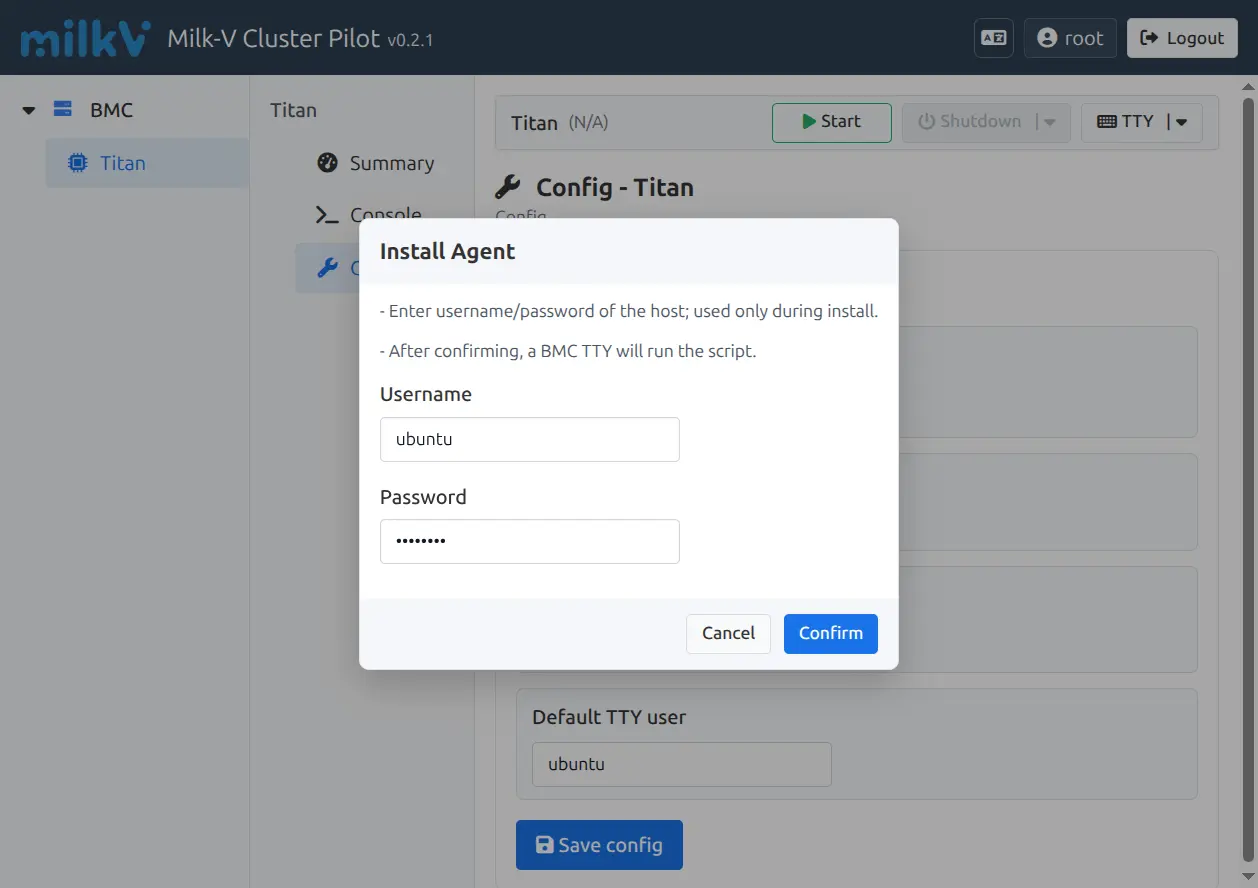
-
Enter Node Credentials
In the popup dialog, enter the node's login information:
- Username: Node's username (e.g.,
ubuntu) - Password: Node's password
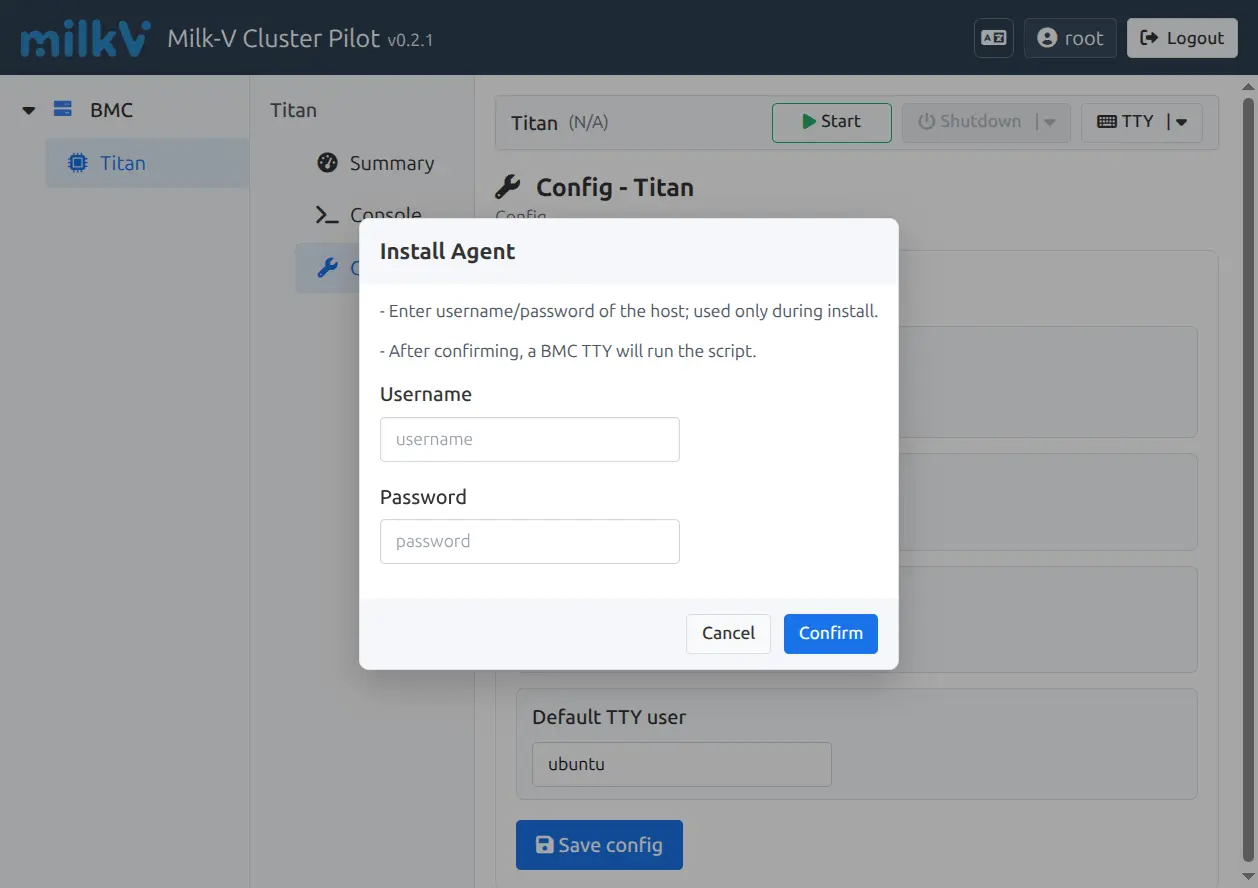
Note:
- These credentials are only used during installation and will not be saved
- The user must have root or sudo privileges to install the Agent
- Username: Node's username (e.g.,
-
Confirm Installation
Click the Confirm button to start installation
-
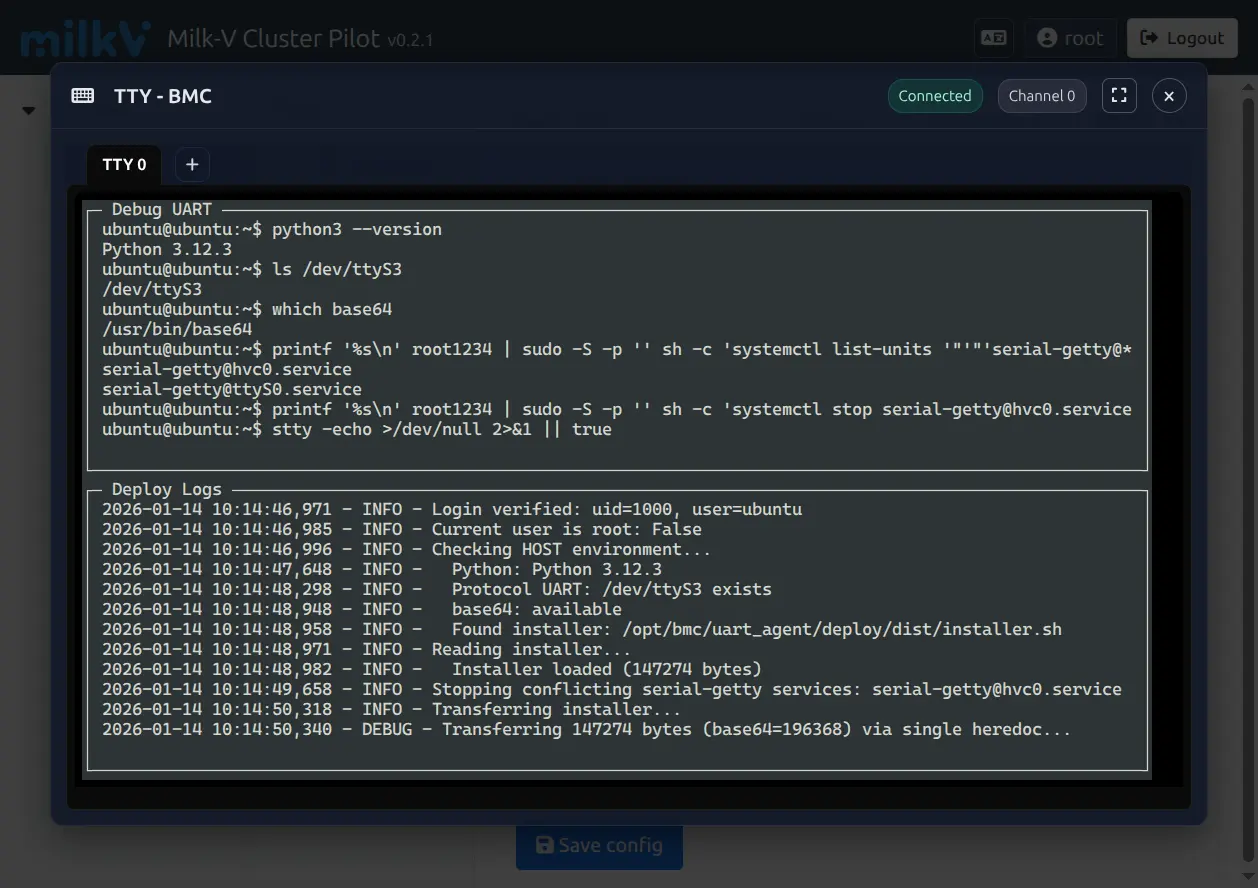
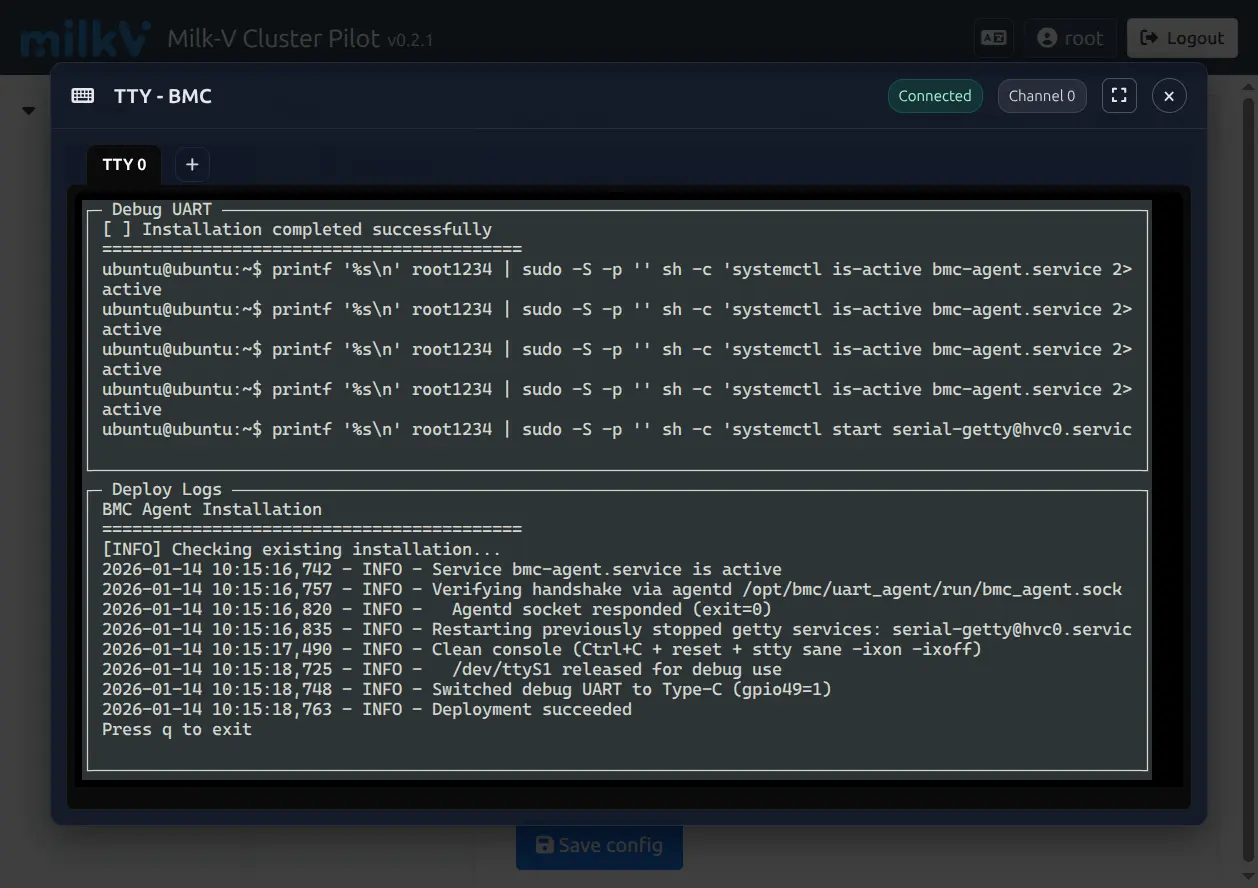
Monitor Installation Progress
The system will automatically open a BMC TTY terminal window showing the installation progress:
- Verify node environment
- Transfer Agent installer
- Install dependencies and configure services
- Start Agent service

-
Installation Complete
When the terminal displays "Installation completed successfully" and "Deployment succeeded", the installation is successful
-
Verify Installation
After installation is complete, you can:
- Switch to TTY terminal on the Console page
- Check if the node status displays an IP address
- Try connecting to the TTY terminal to verify functionality
Installation Process Details
The installation script automatically performs the following operations:
-
Environment Check
- Check Python version (requires Python 3.x)
- Check necessary system tools (base64, systemctl, etc.)
- Verify UART device (/dev/ttyS3)
-
Stop Conflicting Services
- Stop serial-getty services that may occupy the serial port
-
Install Agent
- Transfer Agent installer to the node
- Extract and install to
/opt/bmc-agent/ - Create systemd service file
-
Start Service
- Start bmc-agent.service
- Verify service running status
- Establish communication with BMC
Removing Agent
If you need to remove the Agent:
-
In the Agent manage section on the Config page
-
Click the Remove Agent button
-
The system will stop and remove the Agent service
Troubleshooting
What if installation fails?
- Check if node credentials are correct
- Check if node is starting up normally
- Review error messages in the installation log
- Try manually SSH connecting to the node to verify access permissions
Agent service won't start?
- Check if Python version meets requirements (Python 3.x)
- Ensure /dev/ttyS3 device exists and is accessible
- Check systemd logs:
sudo journalctl -u bmc-agent.service
FAQ
Q: Unable to connect to UART terminal?
A: Check the following:
- Is the node powered on?
- Is another user already using the UART connection?
Q: TTY terminal shows "Connecting..." and won't connect?
A: Possible reasons:
- Agent is not installed on the node, please install Agent first
- Agent service is not running, try reinstalling Agent
Q: How to use a different user in TTY terminal?
A:
- Set Default TTY user on the Config page
- Save configuration
- Reconnect to TTY terminal
Q: Terminal window size is not appropriate?
A:
- Resize the browser window, the terminal will automatically adapt
- Refresh the page and reconnect
Technical Support
If you have any questions or suggestions, please contact the technical support team.
Version: v0.2.1


