Fedora 44
This page describes how to write the Fedora 44 system image to an NVMe SSD and complete the GRUB configuration required before the first boot.
Fedora Server does not include a desktop environment by default. The default username is fedora, and the default password is linux.
Download the Fedora Image
Use the Fedora Server Host Omni image from the Fedora RISC-V image directory:
https://dl.fedoraproject.org/pub/alt/risc-v/release/44/Server/riscv64/images/
The Fedora Project also provides Titan-specific notes here:
https://fedoraproject.org/wiki/Architectures/RISC-V/Milk-V/Titan
Select the newest Omni image in the directory, for example:
Fedora-Server-Host-Omni-44-20260731.0.riscv64.raw.xz
Fedora-Server-Host-Omni-44-20260731.0.riscv64.raw.xz.sha256
Notes:
- The Fedora image is not a split archive. Download only the
.raw.xzfile and the matching.sha256checksum file. - If the directory contains a newer Omni image, use the newer file instead of the example above.
- Prefer the Omni image unless you have a specific reason to use another image.
Prepare Tools and Hardware
Prepare the following on a Windows PC:
- balenaEtcher: Download and install balenaEtcher.
- M.2 NVMe USB enclosure or adapter: Used to connect the target SSD to the PC.
- Target NVMe SSD: The SSD that will be installed in Titan.
Writing the image will erase all existing data on the selected disk. Back up important data before continuing, and make sure you select the Titan target SSD.
Write the Image
Connect the SSD
Connect the NVMe SSD to the PC using an M.2 NVMe USB enclosure or adapter, or insert the SSD directly into an available M.2 slot on the PC.
Open balenaEtcher
Use balenaEtcher to write the image:
- Click
Flash from fileand select the Fedora image. - Click
Select targetand select the Titan target SSD. Check the disk name and capacity carefully to avoid selecting the PC system disk or another data disk. - Click
Flash!to start writing the image.
Modify the GRUB Configuration
Before booting Fedora on Milk-V Titan for the first time, you must modify the GRUB entry in the second partition of the image and add the device tree and serial console settings.
Because balenaEtcher writes the disk on Windows and the second Fedora partition usually uses a Linux filesystem, Windows cannot edit it directly. Use one of the following methods:
- Connect the SSD to a Linux PC and mount the second partition.
- Use a Linux virtual machine or WSL2 to mount the physical SSD and edit the second partition.
The following steps use a Linux environment as an example.
Check the SSD Device Name
lsblk
Assume the target SSD is /dev/sdX, and the second partition is /dev/sdX2. Check the device name, capacity, and model carefully to avoid writing to or editing the PC system disk or another non-target disk.
Mount the Second Partition
sudo mount /dev/sdX2 /mnt
Find the GRUB Entry and Kernel Version
ls /mnt/loader/entries/
ls -d /mnt/dtb-*
ls /mnt/vmlinuz-* /mnt/initramfs-*.img
You will see entries similar to:
/mnt/loader/entries/b1dbf716b91d4a2eab2cf655009b46f4-7.1.5-201.0.riscv64.omni.fc44.riscv64.conf
And:
/mnt/dtb-7.1.5-201.0.riscv64.omni.fc44.riscv64/ultrarisc/dp1000.dtb
Use the kernel version you actually see on the mounted partition. Do not copy the example version directly.
Edit the Corresponding .conf File
sudo nano /mnt/loader/entries/<actual-file-name>.conf
Add this line to the bottom of the file:
devicetree /dtb-<actual-kernel-version>/ultrarisc/dp1000.dtb
For example:
devicetree /dtb-7.1.5-201.0.riscv64.omni.fc44.riscv64/ultrarisc/dp1000.dtb
Find the options line and append:
console=ttyS0,115200
After editing, the file should look similar to:
title Fedora Linux (7.1.5-201.0.riscv64.omni.fc44.riscv64) 44 (Server Edition)
version 7.1.5-201.0.riscv64.omni.fc44.riscv64
linux /vmlinuz-7.1.5-201.0.riscv64.omni.fc44.riscv64
initrd /initramfs-7.1.5-201.0.riscv64.omni.fc44.riscv64.img
options earlycon root=UUID=b9a65dd6-1b90-47d1-99d1-de47f85e5809 rootflags=subvol=root console=ttyS0,115200
grub_users $grub_users
grub_arg --unrestricted
grub_class fedora
devicetree /dtb-7.1.5-201.0.riscv64.omni.fc44.riscv64/ultrarisc/dp1000.dtb
Save and Unmount
sync
sudo umount /mnt
Remove the SSD safely.
Install the SSD in Milk-V Titan and Boot
- Install the SSD into the M.2 M Key slot on the Titan board.
- Power on the board.
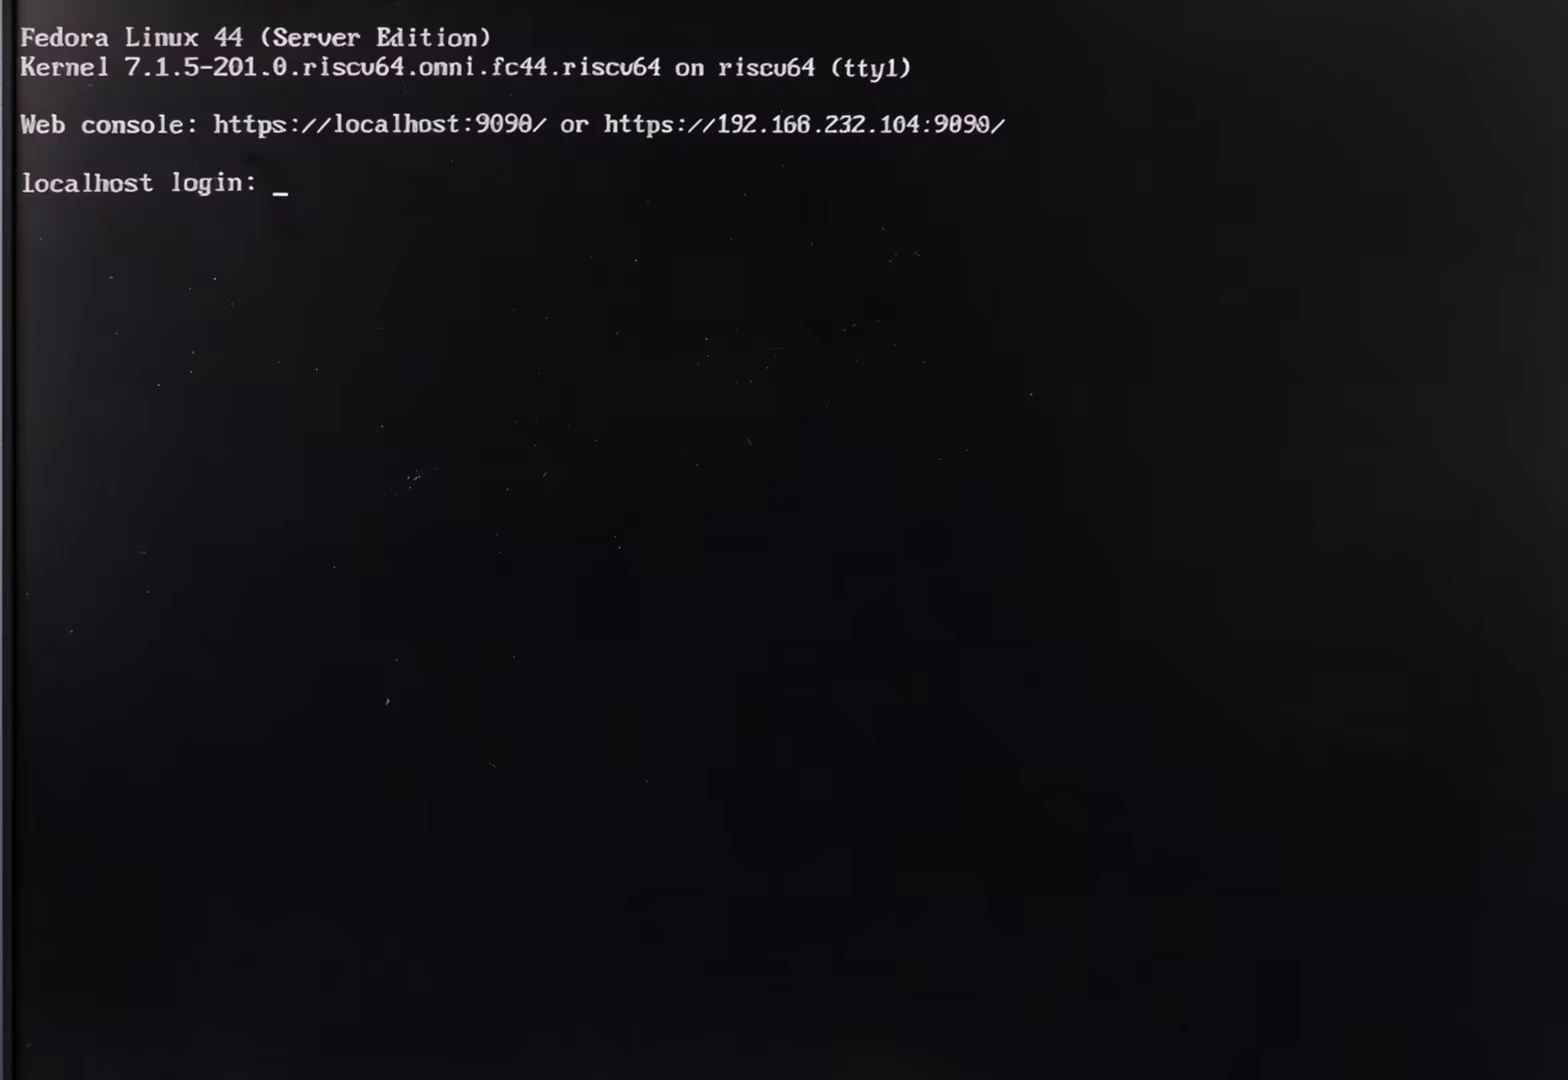
- Log in after the system boots:
Username: fedora
Password: linux
Configure GRUB After Boot
To ensure Fedora can still boot after kernel updates, log in to Fedora and edit:
sudo nano /etc/default/grub
Modify or add the following:
GRUB_CMDLINE_LINUX_DEFAULT="earlycon rootflags=subvol=root console=ttyS0,115200"
GRUB_DEVICETREE="ultrarisc/dp1000.dtb"
GRUB_TERMINAL_INPUT="serial"
GRUB_TERMINAL_OUTPUT="serial"
Full example:
GRUB_DEFAULT=saved
GRUB_DISABLE_SUBMENU=true
GRUB_DISABLE_RECOVERY=true
GRUB_CMDLINE_LINUX_DEFAULT="earlycon rootflags=subvol=root console=ttyS0,115200"
GRUB_ENABLE_BLSCFG=true
GRUB_GFXMODE=auto
GRUB_TERMINAL_INPUT="serial"
GRUB_TERMINAL_OUTPUT="serial"
GRUB_TIMEOUT=3
GRUB_TIMEOUT_STYLE=menu
GRUB_DEVICETREE="ultrarisc/dp1000.dtb"
Save the file, then regenerate the GRUB configuration:
sudo grub2-mkconfig -o /boot/grub2/grub.cfg
Optional Adjustments
Disable Repeated MMC Error Messages
If the serial console repeatedly prints messages similar to the following:

Temporarily disable the module:
sudo rmmod spi_dw_mmio
Disable it permanently:
echo "blacklist spi_dw_mmio" | sudo tee /etc/modprobe.d/spi_dw_mmio.conf
sudo dracut --force
Set a Fixed MAC Address
If the MAC address changes after each boot, set a fixed address:
nmcli connection show
sudo nmcli connection modify "Wired connection 1" ethernet.cloned-mac-address 70:48:f7:1a:2b:3c
Replace "Wired connection 1" and the MAC address with the values you want to use.
Cockpit Web Console
Fedora Server includes Cockpit, a web-based management console. You can use it from another computer to manage and monitor Titan.
Open Cockpit in a Browser
Make sure the computer used to access Titan is on the same network. Open the following address in a browser:
https://IP:9090
The browser may show a security warning because Cockpit uses a self-signed certificate. Click the advanced option and continue to the site.
Log In
The Fedora Linux Server Edition login page will appear. Enter:
- Username:
fedora - Password:
linux
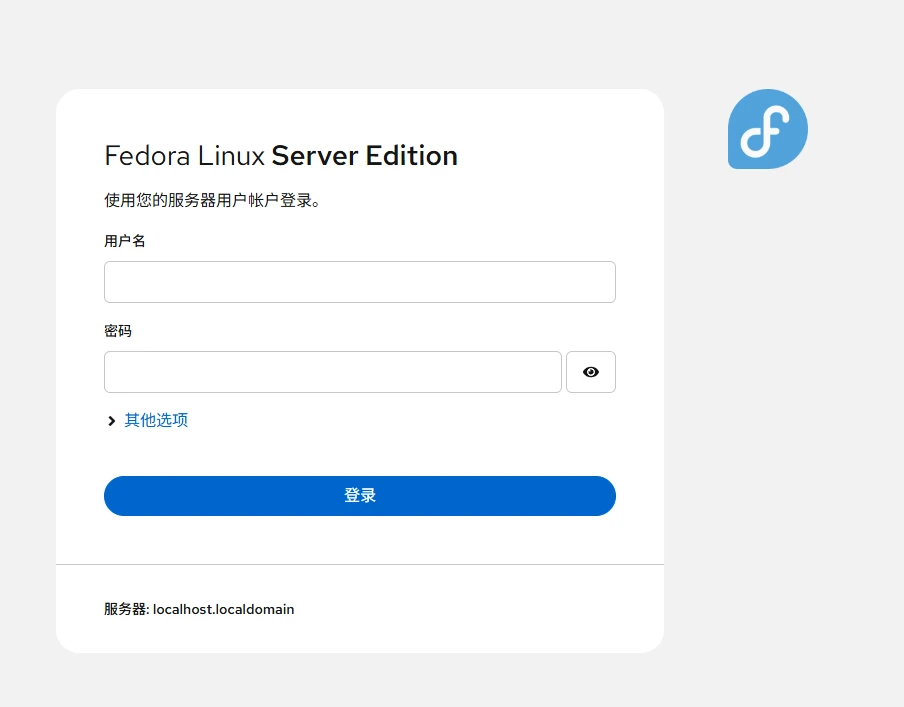
Click Log In to enter the web management console. From there, you can view system logs, manage users, open a terminal, and perform other management tasks.