OS installation steps
1. Preparation
1.1 Tool preparation
Before starting the installation, please prepare the following tools:
- MicroSD card (at least greater than 16G)
- MicroSD card reader
- Serial port module
1.2 Software preparation
- Download and install balenaEtcher (https://etcher.balena.io/)
- Download the image (https://milkv.io/docs/pioneer/getting-started/download)
Select the desired image in the Download page, here is Fedora 38 as an example.

2. Burn the program to MicroSD card
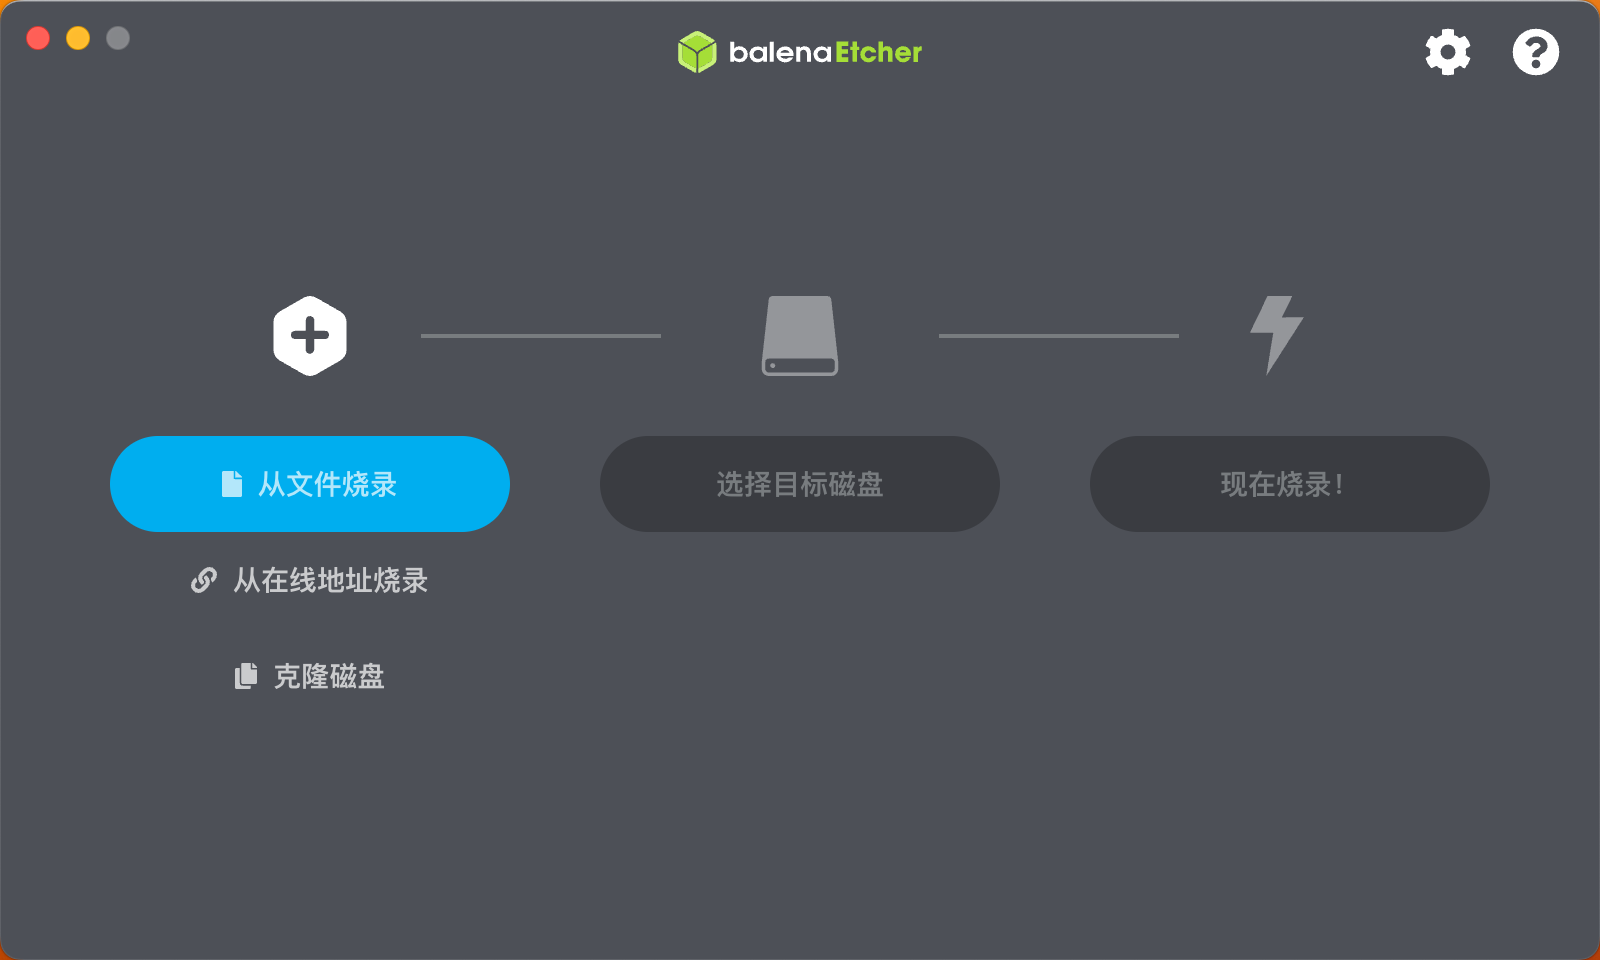
2.1 Use BalenaEtcher to burn the image
a. Click on the Flash from file button and choose the fedora-disk-gnome-workstation_livecd-f38-*.raw.xz (hereinafter referred to as fedora38.raw.xz ) you want to use.
b. Click the Select target button and choose the microSD Card to write the fedora38.raw.xz to.
c. Click the Flash! button to begin the process.
2.2 Installing to Pioneer
Insert the burned microSD card into the Pioneer's microSD card slot.
3. Boot from microSD Card
3.1 Power on
Tap the boot button to start Pioneer.
3.2 Setting up an account
The installation wizard sets up the account password.
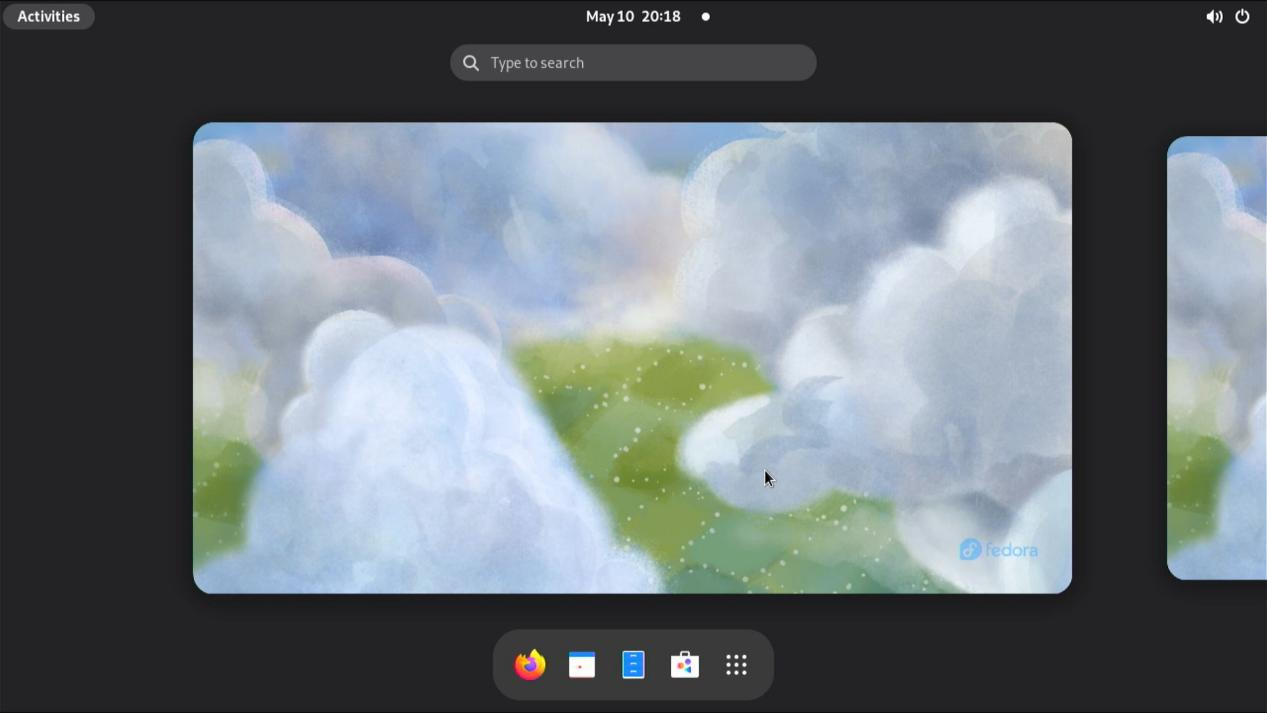
3.3 Done! Getting Started with Fedora 38