DF9GMS 180° 微型舵机
一、硬件信息
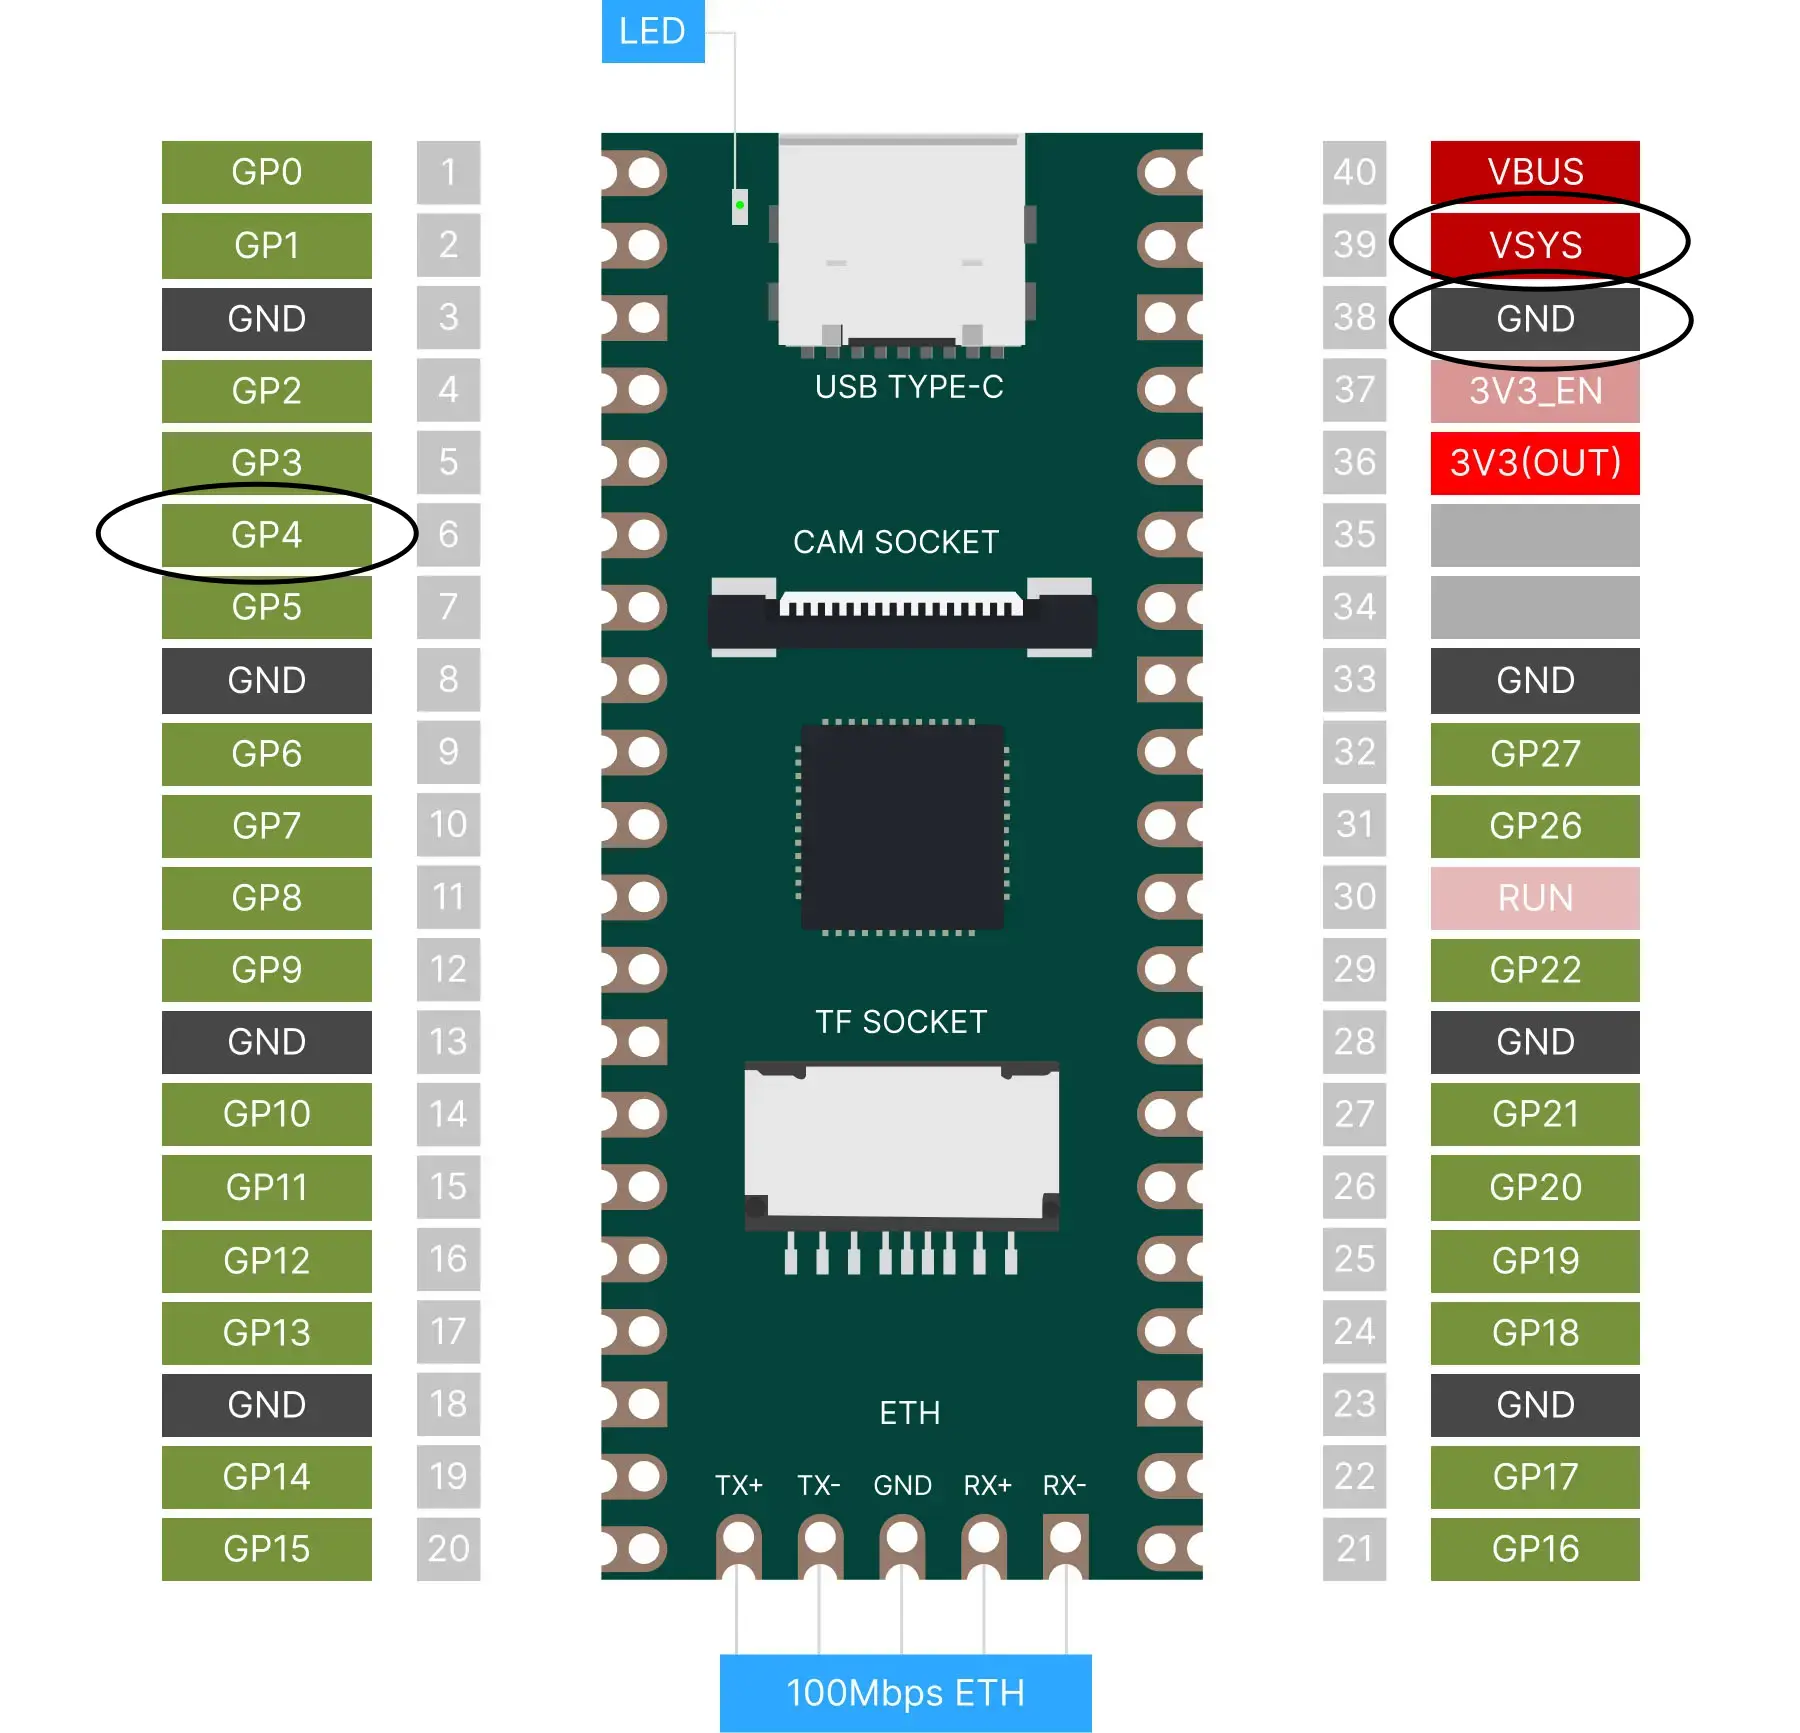
Duo 开发板引脚
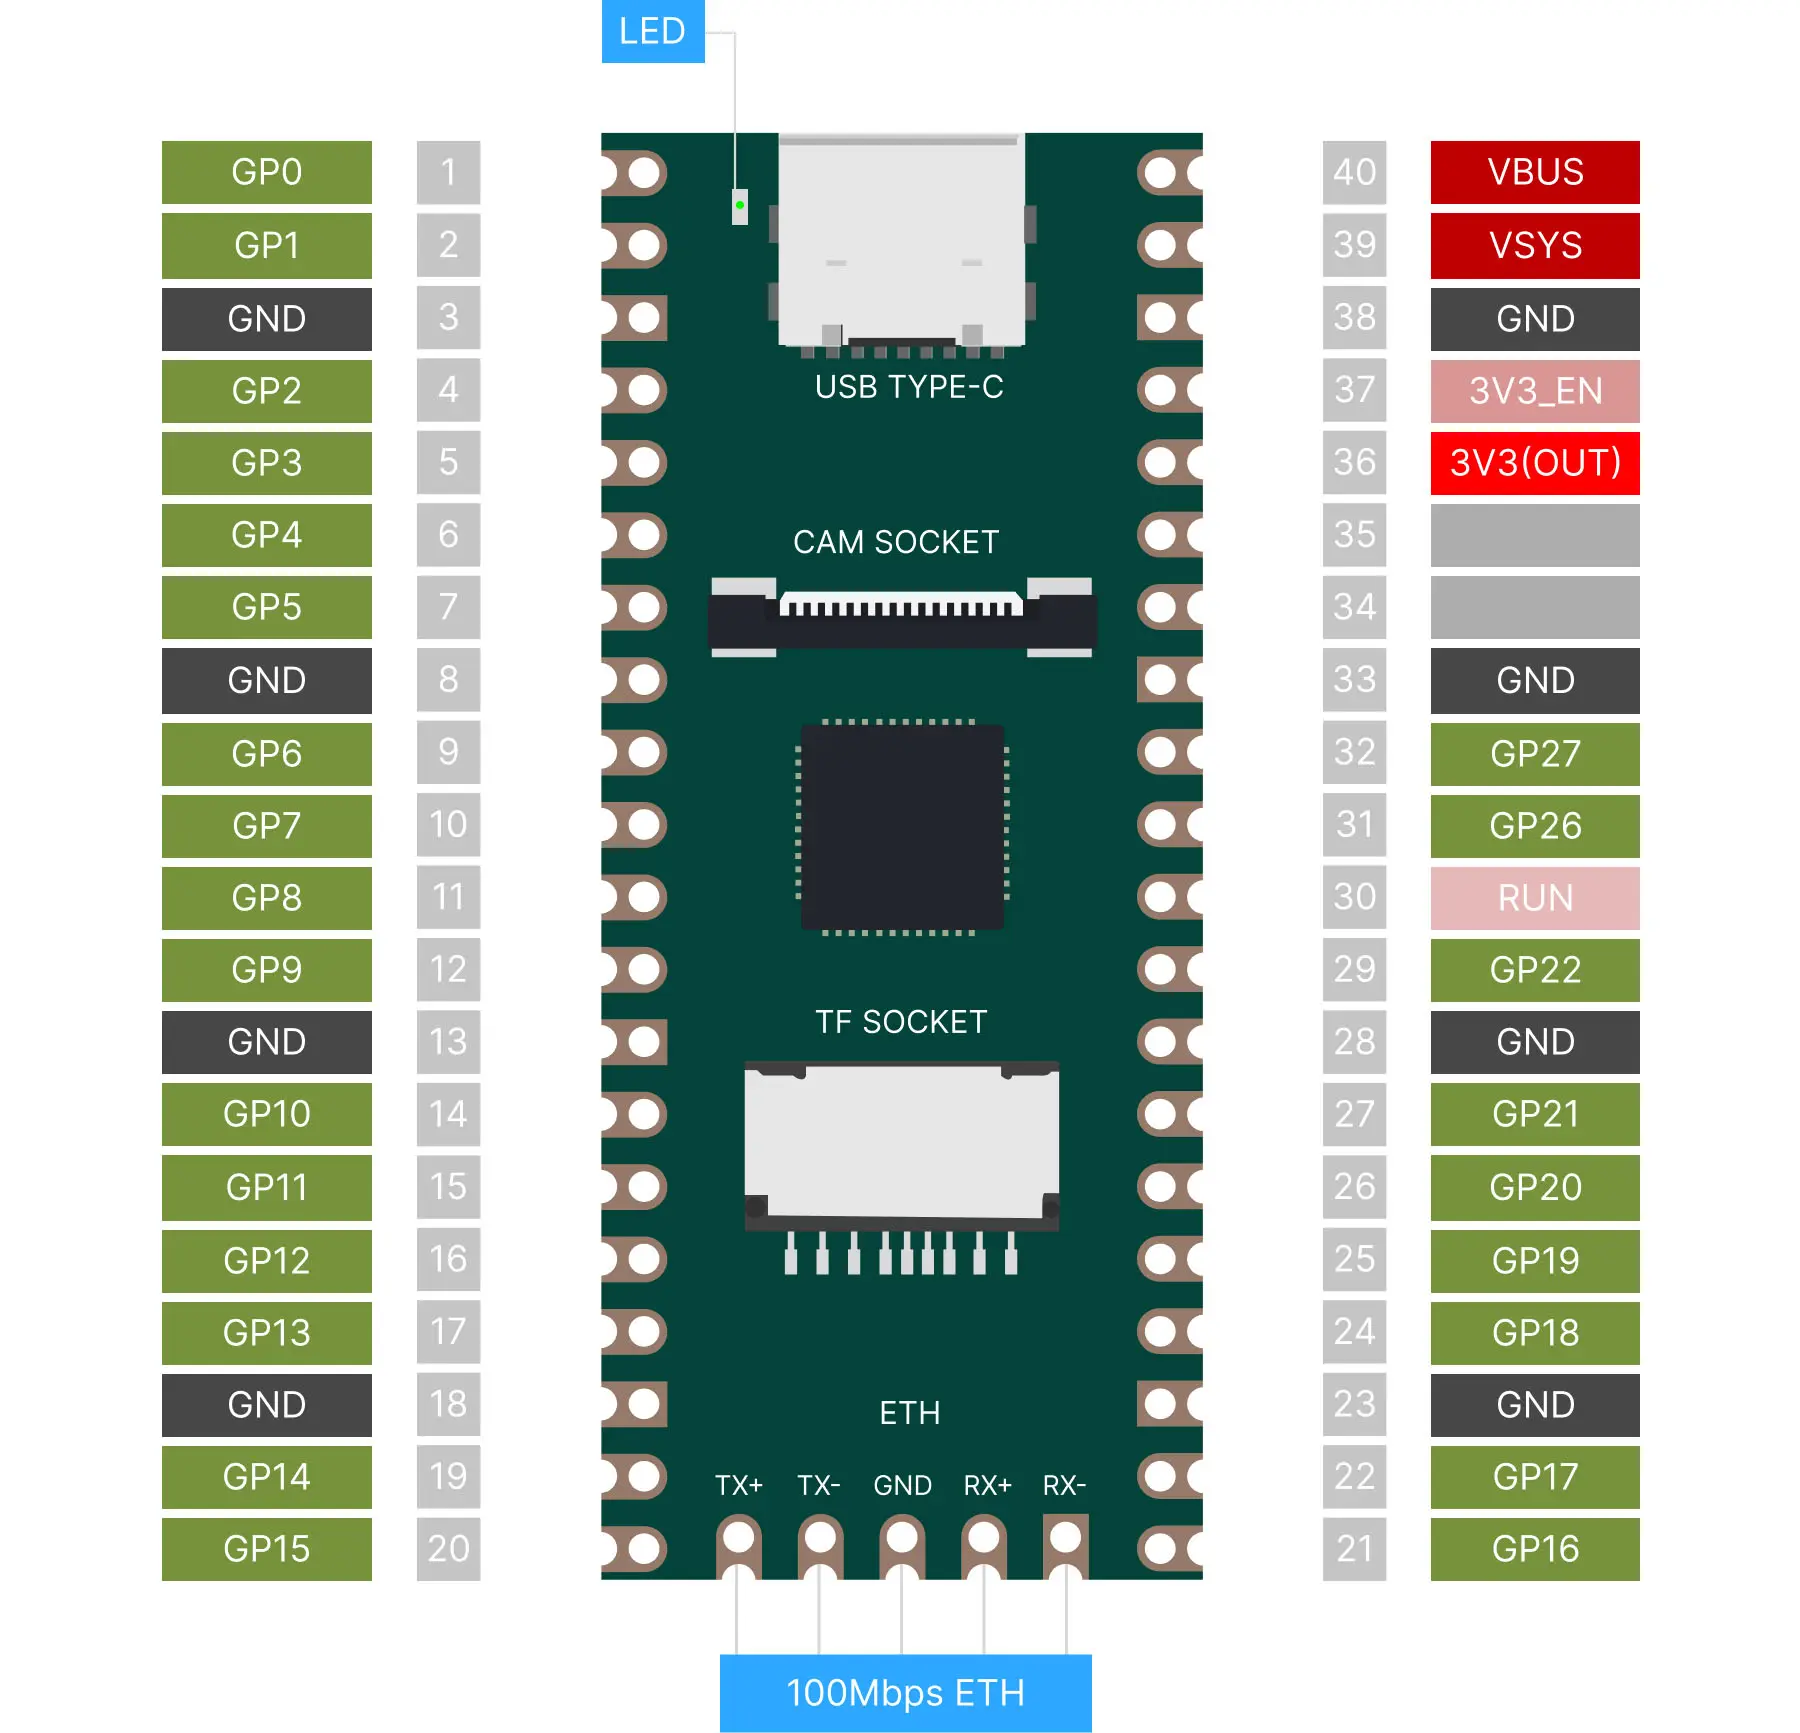
参考链接:Duo GPIO 引脚分配
DF9GMS 180°
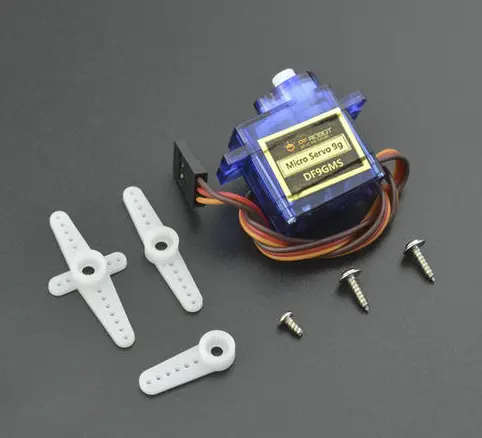
由 DFRobot 出品的 DF9GMS 微型舵机,该舵机采用高强度 ABS 透明外壳配以内部高精度尼龙齿轮组,加上精准的控制电路、高档轻量化空心杯电机使该微型舵机的重量只有 9 克,而输出力矩达到了惊人的 1.6kg/cm。
技术规格:
工作电压:4.8V
转矩:1.6kg/cm(4.8V)
速度:0.14秒/60度(4.8V)
使用温度:-30~+60摄氏度
死区宽度:0.5毫秒
外形尺寸:23x12.2x29mm
重量:9g
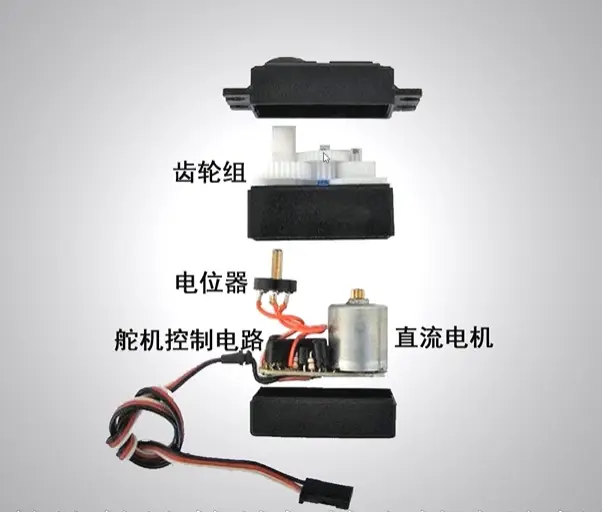
组成结构及工作原理
参考连接图
-
硬件
-
1 x Arduino UNO 控制板
-
1 x DF9GMS 微型舵机
-
若干杜邦线
-
灰色——GND、红色——VCC、黄色——信号线
-
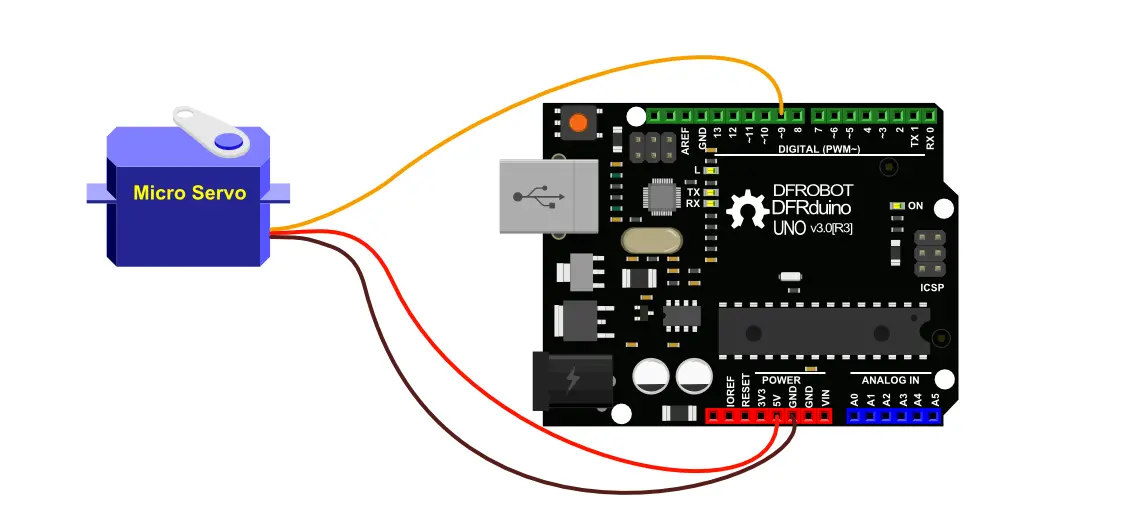
连接到开发板上
DF9GMS:红线接 VSYS,棕线接地,橙线接 GP4。
电路图如下所示:紫色圆圈表示 DF9GMS。
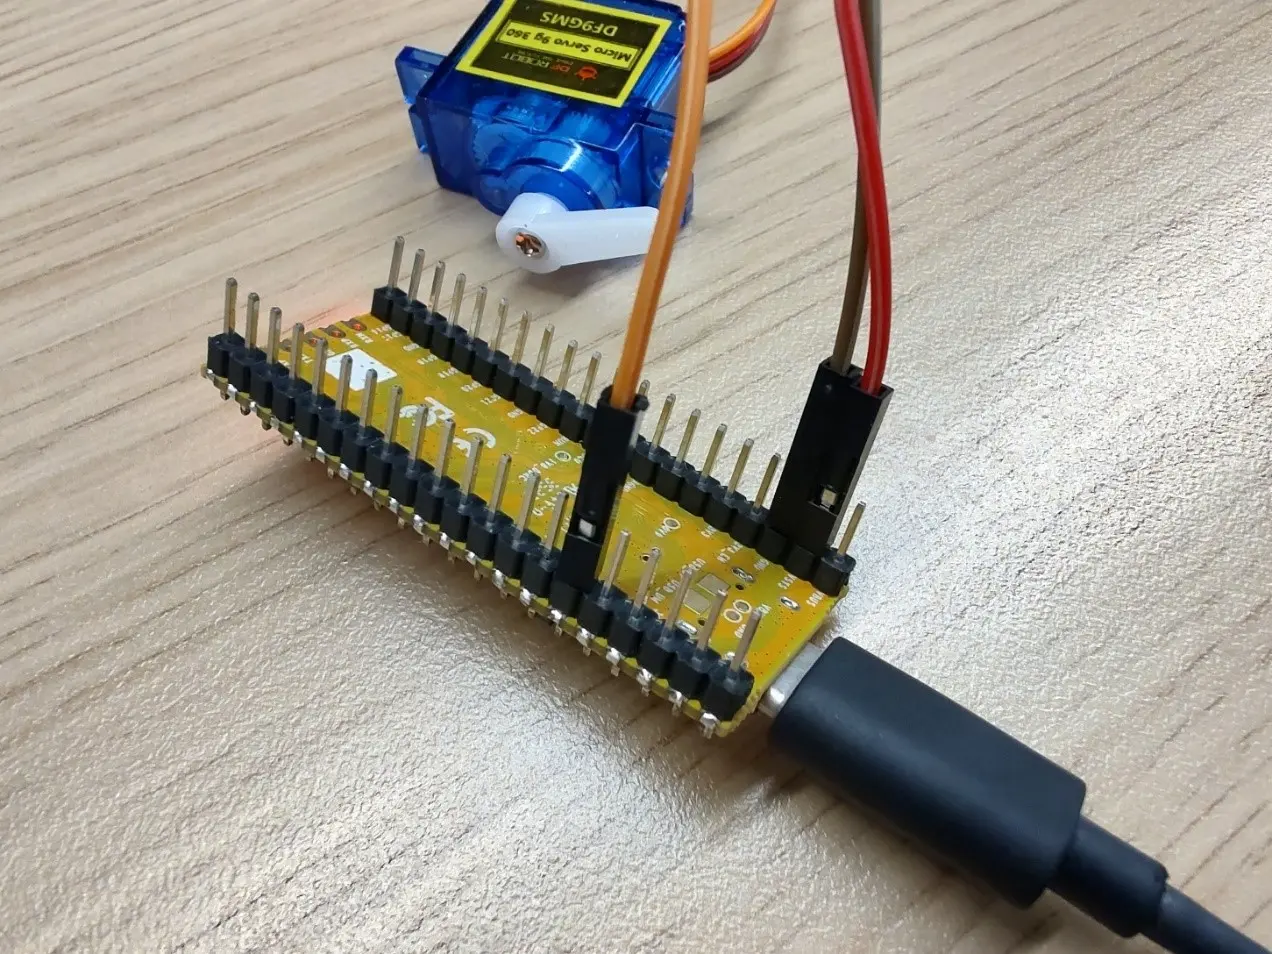
DF9GMS 接好后应该是这样的:
二、示例代码
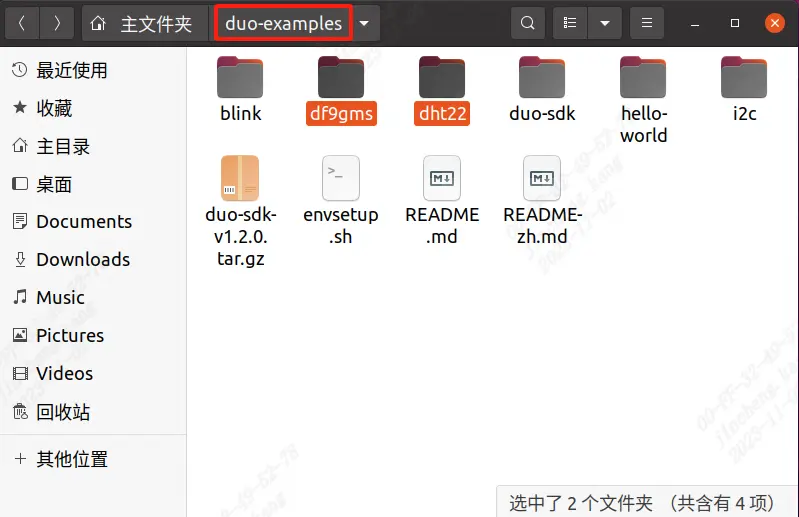
GitHub 链接:https://github.com/milkv-duo/duo-examples
df9gms.c:
#include <stdio.h>
#include <unistd.h>
#include <wiringx.h>
/*
Duo
------------------------------------------
PWM operation at a fixed frequency clock of 100MHz, writing Period in units of nanoseconds.
DF9GMS 360-degree PWM Duty Cycle
------------------------------------------
0.4ms - 1.4ms CW deceleration
1.5ms Stop
1.6ms - 3ms CCW acceleration
*/
static int PWM_PIN = 4; // PWM5@GP4
int main()
{
long i;
// Duo: milkv_duo
// Duo256M: milkv_duo256m
// DuoS: milkv_duos
if(wiringXSetup("milkv_duo", NULL) == -1) {
wiringXGC();
return -1;
}
wiringXPWMSetPeriod(PWM_PIN, 20000000); // 20ms
wiringXPWMSetDuty(PWM_PIN, 1500000); // 1.5ms stop
wiringXPWMSetPolarity(PWM_PIN, 0); // 0-normal, 1-inversed
wiringXPWMEnable(PWM_PIN, 1); // 1-enable, 0-disable
delayMicroseconds(1000000); // 1s
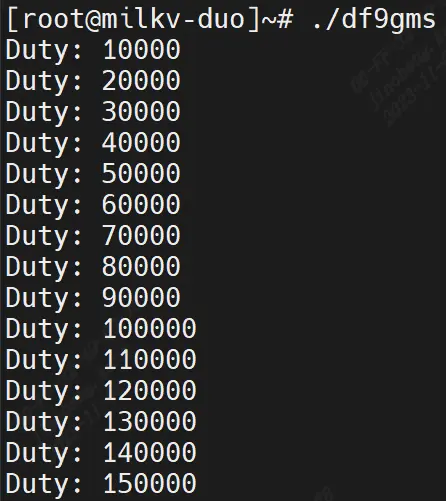
for (i = 10000; i< 3000000; i += 10000) // 10 us
{
wiringXPWMSetDuty(PWM_PIN, i);
printf("Duty: %ld\n", i);
delayMicroseconds(50000); // 50ms
}
wiringXPWMSetDuty(PWM_PIN, 1500000); // 1.5ms stop
return 0;
}
Makefile:
TARGET=df9gms

ifeq (,$(TOOLCHAIN_PREFIX))
$(error TOOLCHAIN_PREFIX is not set)
endif

ifeq (,$(CFLAGS))
$(error CFLAGS is not set)
endif

ifeq (,$(LDFLAGS))
$(error LDFLAGS is not set)
endif

CC = $(TOOLCHAIN_PREFIX)gcc

CFLAGS += -I$(SYSROOT)/usr/include

LDFLAGS += -L$(SYSROOT)/lib
LDFLAGS += -L$(SYSROOT)/usr/lib
LDFLAGS += -lwiringx

SOURCE = $(wildcard *.c)
OBJS = $(patsubst %.c,%.o,$(SOURCE))

$(TARGET): $(OBJS)
	$(CC) -o $@ $(OBJS) $(LDFLAGS)

%.o: %.c
	$(CC) $(CFLAGS) -o $@ -c $<

.PHONY: clean
clean:
	@rm *.o -rf
	@rm $(OBJS) -rf
	@rm $(TARGET)
三、准备开发环境
1、使用本地的 Ubuntu 系统,推荐 Ubuntu 20.04 LTS (也可以使用虚拟机中的 Ubuntu 系统、Windows 中 WSL 安装的 Ubuntu、基于 Docker 的 Ubuntu 系统)
2、安装编译依赖的工具:
sudo apt-get install wget git make
3、获取 Examples
git clone https://github.com/milkv-duo/duo-examples.git
4、加载编译环境
cd duo-examples
source envsetup.sh
5、第一次加载会自动下载所需的 SDK 包,大小为 180M 左右,下载后的目录名为 duo-sdk,下次加载时检测到已存在该目录,就不会再次下载了。
6、编译测试
以 hello-world 为例,进入该例子目录直接执行 make 即可
cd hello-world
make
编译成功后将生成的 helloworld 可执行程序通过网口或者 USB 网络等方式传送到 Duo 设备中,比如默认固件支持的 USB-NCM 方式,Duo 的 IP 为 192.168.42.1,用户名是 root,密码是 milkv
scp helloworld [email protected]:/root/
发送成功后,在ssh或者串口登陆的终端中运行 ./helloworld,会打印 Hello, World!
[root@milkv\]~# ./helloworld
Hello, World!
7、至此,我们的编译开发环境就可以正常使用了。
四、运行程序
如图所示:
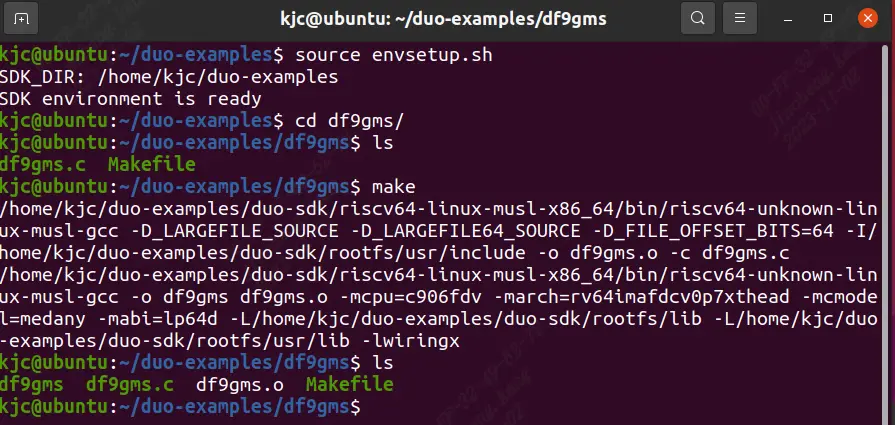
接下来开始编译,以 df9gms 为例,进入该例子目录直接执行 make 即可:
cd df9gms
make
make 报错 source 一下即可。编译成功后得到 df9gms 可执行程序。如下图所示。
然后把 df9gms 上传到开发板root路径下,输入 ./df9gms 即可运行。运行成功截图如下: