Using a usb camera on milk-v Duos
Compile the image according to the steps of distributed compilation
For reference:
https://milkv.io/docs/duo/getting-started/buildroot-sdk#2-step-by-step-compilation
1.Configuring the system kernel
After executing the defconfig cv1813h_milkv_duos_sd command
Open the kernel configuration:
menuconfig_kernel
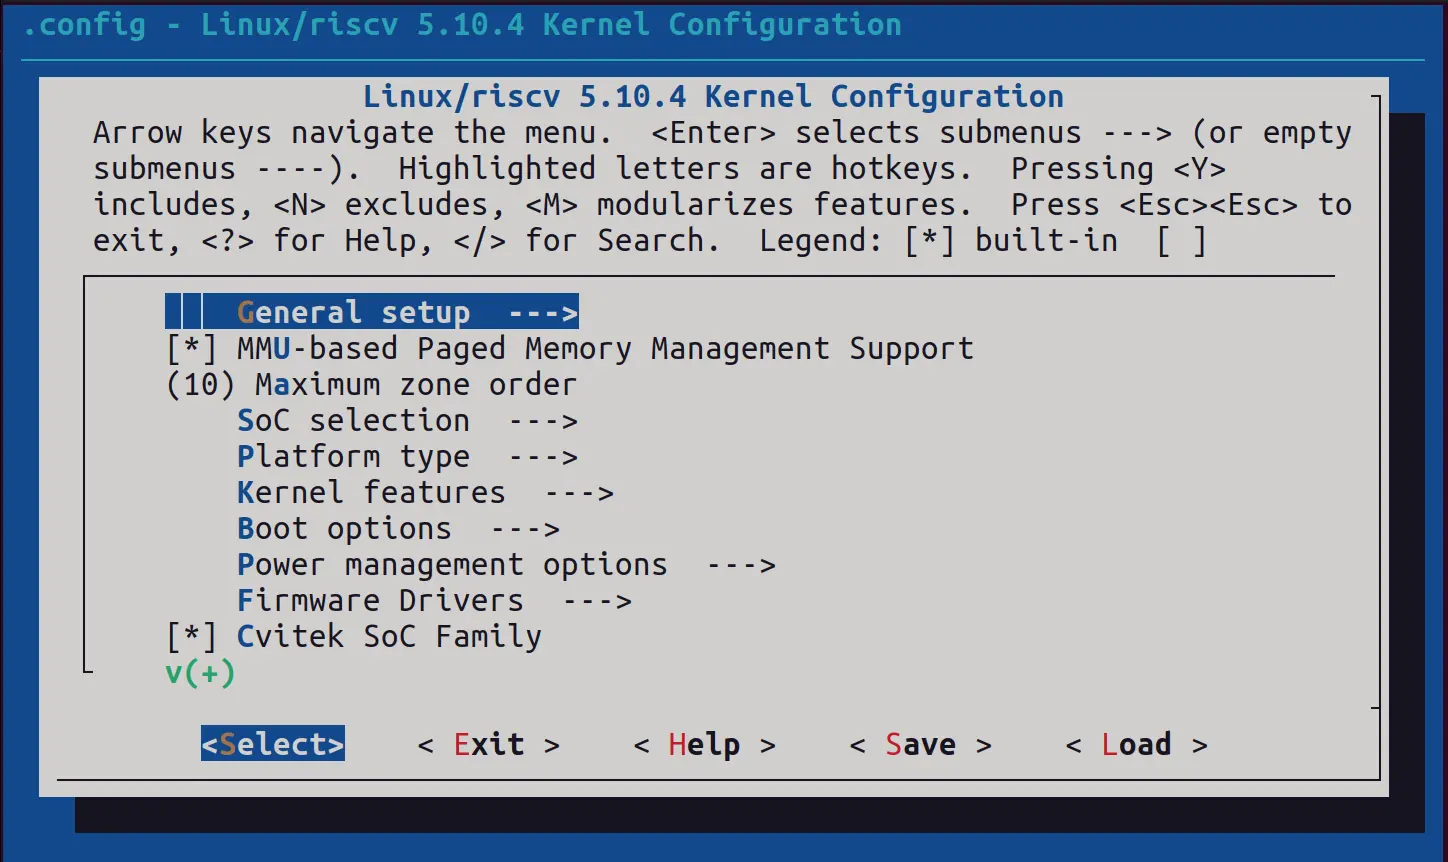
Device Drivers --->
<*>Multimedia support --->
Media core support --->
[ * ]Media Controller API (NEW)
<*>Multimedia support --->
Video4Linux options --->
[ * ]V4L2 sub-device userspace API (NEW)
<*>Multimedia support --->
Media drivers --->
[ * ]Media USB Adapters --->
<*>USB Video Class(UVC)
[ * ]UVC input events device supports
Media drivers ---> [ * ]V4L platform devices
Device Drivers --->
<*>USB support --->
[ * ]USB announce new devices
Search whether CONFIG_VIDEOBUF2_VMALLOC =y,CONFIG_USB_VIDEO_CLASS =y
Back to the terminal
Confirm that the original configuration file has been modified:
git status
milkv@milkv-desktop:~/Desktop/test/duo-buildroot-sdk$ git status
On branch develop
Your branch is up to date with 'origin/develop'.

Changes not staged for commit:
  (use "git add <file>..." to update what will be committed)
  (use "git restore <file>..." to discard changes in working directory)
	modified:   build/boards/cv181x/cv1813h_milkv_duos_sd/linux/cvitek_cv1813h_milkv_duos_sd_defconfig

no changes added to commit (use "git add" and/or "git commit -a")
Copy to original configuration file:
Tip:The /path/to/ is your own directory path,Can be viewed:pwd
cp /path/to/duo-buildroot-sdk/linux_5.10/build/cv1813h_milkv_duos_sd/defconfig build/boards/cv181x/cv1813h_milkv_duos_sd/linux/cvitek_cv1813h_milkv_duos_sd_defconfig
for example:
cp /home/milkv/Desktop/test/duo-buildroot-sdk/linux_5.10/build/cv1813h_milkv_duos_sd/defconfig build/boards/cv181x/cv1813h_milkv_duos_sd/linux/cvitek_cv1813h_milkv_duos_sd_defconfig
Then go back to the step-by-step compilation and continue with the next steps to compile.
2.Check whether the USB camera device is recognized
milkv-duos open,on the login terminal
Set the type-A port to USB 2.0 HOST port:
ln -sf /mnt/system/usb-host.sh /mnt/system/usb.sh

sync
For reference: https://milkv.io/docs/duo/getting-started/duos#usage-of-usb-type-a-interface
Check if the USB camera is connected:
lsusb
Bus 001 Device 001: ID 1d6b:0002
Bus 001 Device 003: ID 4c4a:4c55
Bus 001 Device 002: ID 05e3:0608
After unplugging the USB camera, only one is left, which means it is connected
Check whether the device command is recognized:
ls /dev
[root@milkv-duo]~# ls /dev
bus          cvi-vo       cvi_vc_enc0  fd         i2c-4      ptmx       ttyS0
console      cvi-vpss     cvi_vc_enc1  full       ion        pts        ttyS1
cvi-base     cvi_vc_dec0  cvi_vc_enc2  gpiochip0  kmsg       random     ttyS2
cvi-dwa      cvi_vc_dec1  cvi_vc_enc3  gpiochip1  log        rfkill     ttyS3
cvi-ive      cvi_vc_dec2  cvi_vc_enc4  gpiochip2  media0     shm        ttyS4
cvi-mipi-rx  cvi_vc_dec3  cvi_vc_enc5  gpiochip3  mem        snd        urandom
cvi-mipi-tx  cvi_vc_dec4  cvi_vc_enc6  gpiochip4  mmcblk0    spidev0.0  video0
cvi-rgn      cvi_vc_dec5  cvi_vc_enc7  hwrng      mmcblk0p1  stderr     video1
cvi-sys      cvi_vc_dec6  cvi_vc_enc8  i2c-1      mmcblk0p2  stdin      zero
cvi-tpu0     cvi_vc_dec7  cvitekaadc   i2c-2      mmcblk0p3  stdout
cvi-vi       cvi_vc_dec8  cvitekadac   i2c-3      null       tty
If video0 appears, it has been recognized
3.Execute the test program
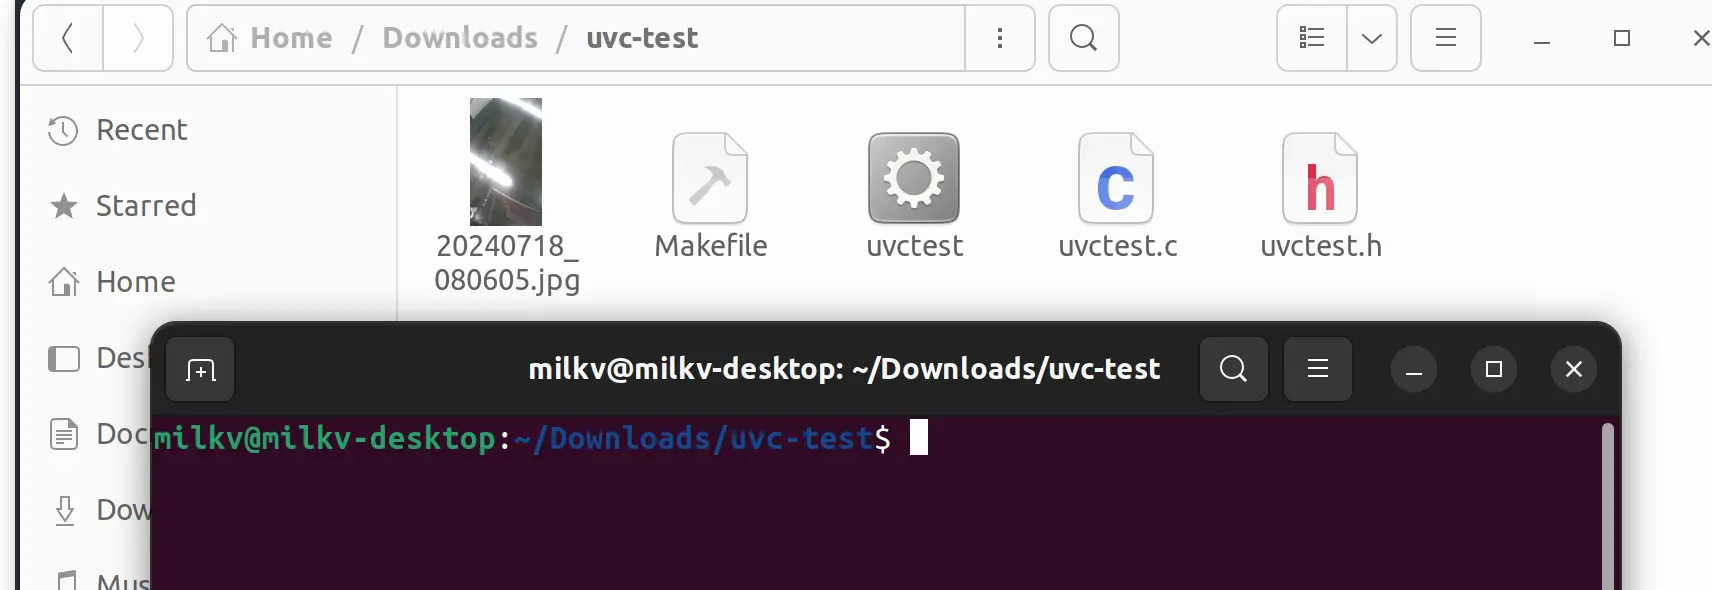
Download and unzip uvctest.zip, Open the terminal where the file is unzipped, Conduct program testing
Open a new terminal on the page where the duo-buildroot-sdk file is located
Enter the directory of duo-buildroot-sdk/host-tools/gcc/riscv64-linux-musl-x86_64/bin/riscv64-unknown-linux-musl-
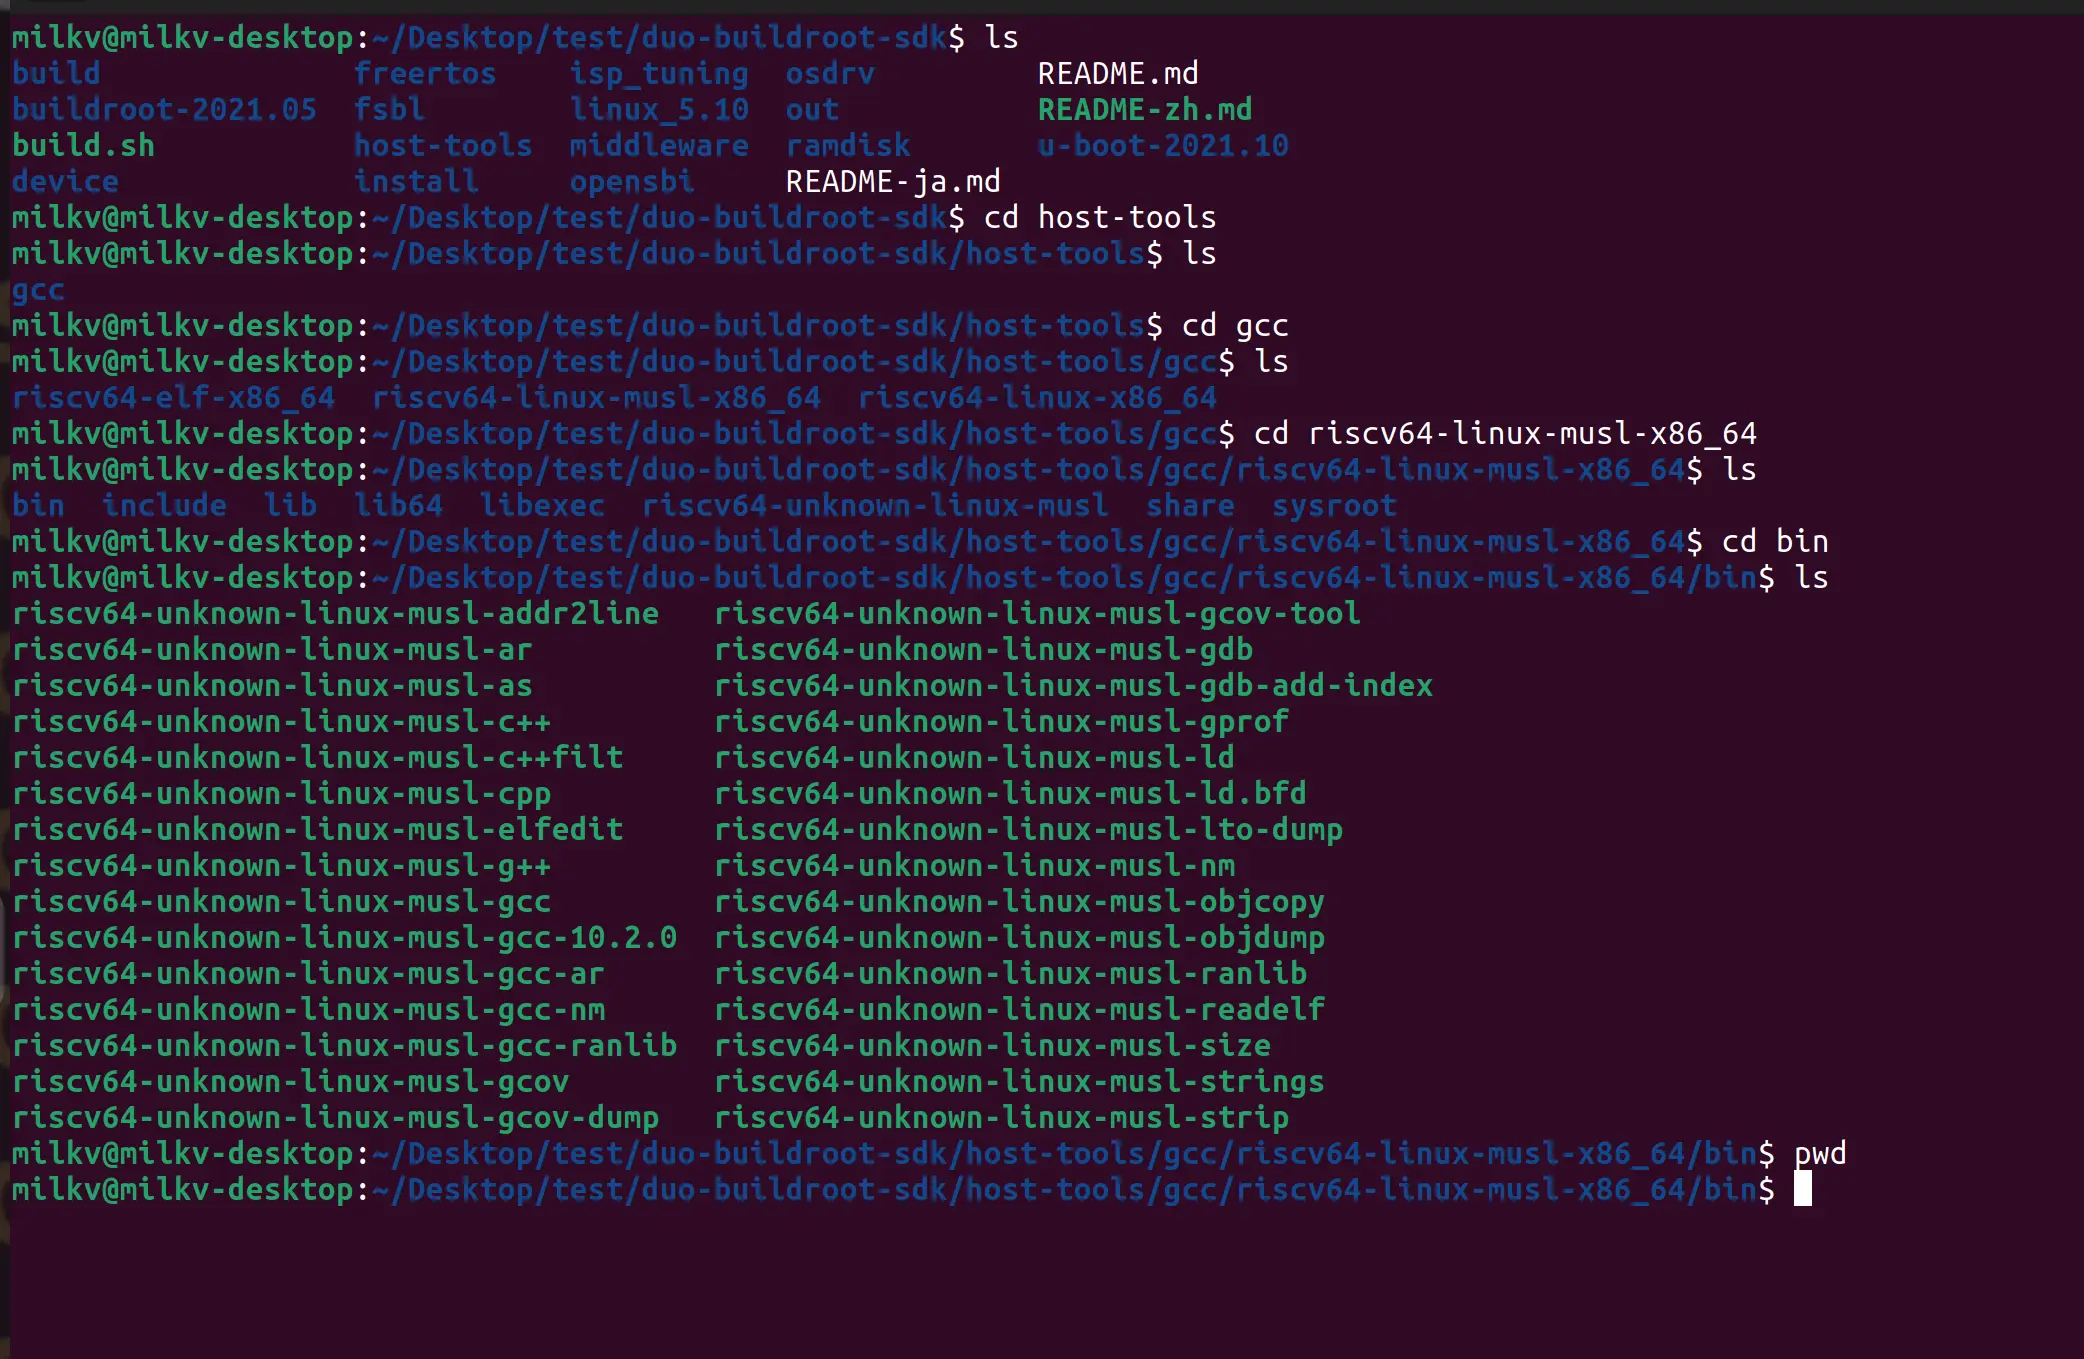
Return to the terminal directory where the files were unzipped and execute the command:
Tip:The /path/to/ is your own directory path,Can be viewed:pwd
CROSS_COMPILE=/path/to/riscv64-unknown-linux-musl- make /path/to/riscv64-unknown-linux-musl-gcc -static -W -Wall -g -mcpu=c906fdv -march=rv64imafdcv0p7xthead -mcmodel=medany -mabi=lp64d -o uvctest uvctest.c
for example:
CROSS_COMPILE=/home/milkv/Desktop/test/duo-buildroot-sdk/host-tools/gcc/riscv64-linux-musl-x86_64/bin/riscv64-unknown-linux-musl- make /home/milkv/Desktop/test/duo-buildroot-sdk/host-tools/gcc/riscv64-linux-musl-x86_64/bin/riscv64-unknown-linux-musl-gcc -static -W -Wall -g -mcpu=c906fdv -march=rv64imafdcv0p7xthead -mcmodel=medany -mabi=lp64d -o uvctest uvctest.c
4.Show photos taken
Tip: Before doing this, connect the network cable
Return to the login terminal and display the network interface address: ip addr
[root@milkv-duo]~# ip addr
1: lo: <LOOPBACK,UP,LOWER_UP> mtu 65536 qdisc noqueue state UNKNOWN qlen 1000
    link/loopback 00:00:00:00:00:00 brd 00:00:00:00:00:00
    inet 127.0.0.1/8 scope host lo
       valid_lft forever preferred_lft forever
2: eth0: <BROADCAST,MULTICAST,UP,LOWER_UP> mtu 1500 qdisc mq state UP qlen 1000
    link/ether 5e:ba:66:6b:a9:7d brd ff:ff:ff:ff:ff:ff
    inet 192.168.2.167/24 brd 192.168.2.255 scope global dynamic noprefixroute eth0
       valid_lft 3463sec preferred_lft 3013sec
3: wlan0: <BROADCAST,MULTICAST,UP,LOWER_UP> mtu 1500 qdisc mq state UNKNOWN qlen 1000
    link/ether 88:00:33:77:5c:9a brd ff:ff:ff:ff:ff:ff
    inet 169.254.199.14/16 brd 169.254.255.255 scope global noprefixroute wlan0
       valid_lft forever preferred_lft forever
copy inet addr: xxx
Go back to the terminal where you extracted the file, Excuting an order:
scp uvctest root@xxx:/root
Tip:@xxx(xxx is inet addr:)
Return to the login terminal and take pictures with the USB camera:
./uvctest /dev/video0
Notice:There should be a space after ./uvctest
[root@milkv-duo]~# ./uvctest /dev/video0
step 0: cvi_uvc_create start
support capture.
support streaming
support ext format
driver:		uvcvideo
card:		USB Composite Device: DV15 USB
bus_info:	usb-4340000.usb-1.3
version:	330244
capabilities:	84a00001

Supportformat:
	1.Motion-JPEG
	disc 720x1280

fmt.type:		1
pix.pixelformat:	MJPG
pix.height:		1280
pix.width:		720
pix.field:		1
framerate:		25

req buffers success

640*480
step 2: cvi_uvc_start start
create test file .//19700101_000437.jpg
snap file size 21020
[.//19700101_000437.jpg]: snap file take [226] ms
step 3: cvi_uvc_stop start
step 4: cvi_uvc_destroy start
test complete
Copy picture xxxx.jpg
Tip: xxxx.jpg is the picture taken, which is composed of the shooting time at that time and becomes xxxx
Return to the directory where the unzipped file is located. Terminal, Excuting an order:
scp root@xxx:/root/xxxx.jpg .
(Tip: Enter a space and . after the jpg.)
Readable permissions for images:
sudo chmod 644 xxxx.jpg
View picture information:
file xxxx.jpg
Open the file manager:
nautilus .
(Tip: put a space after nautilus)
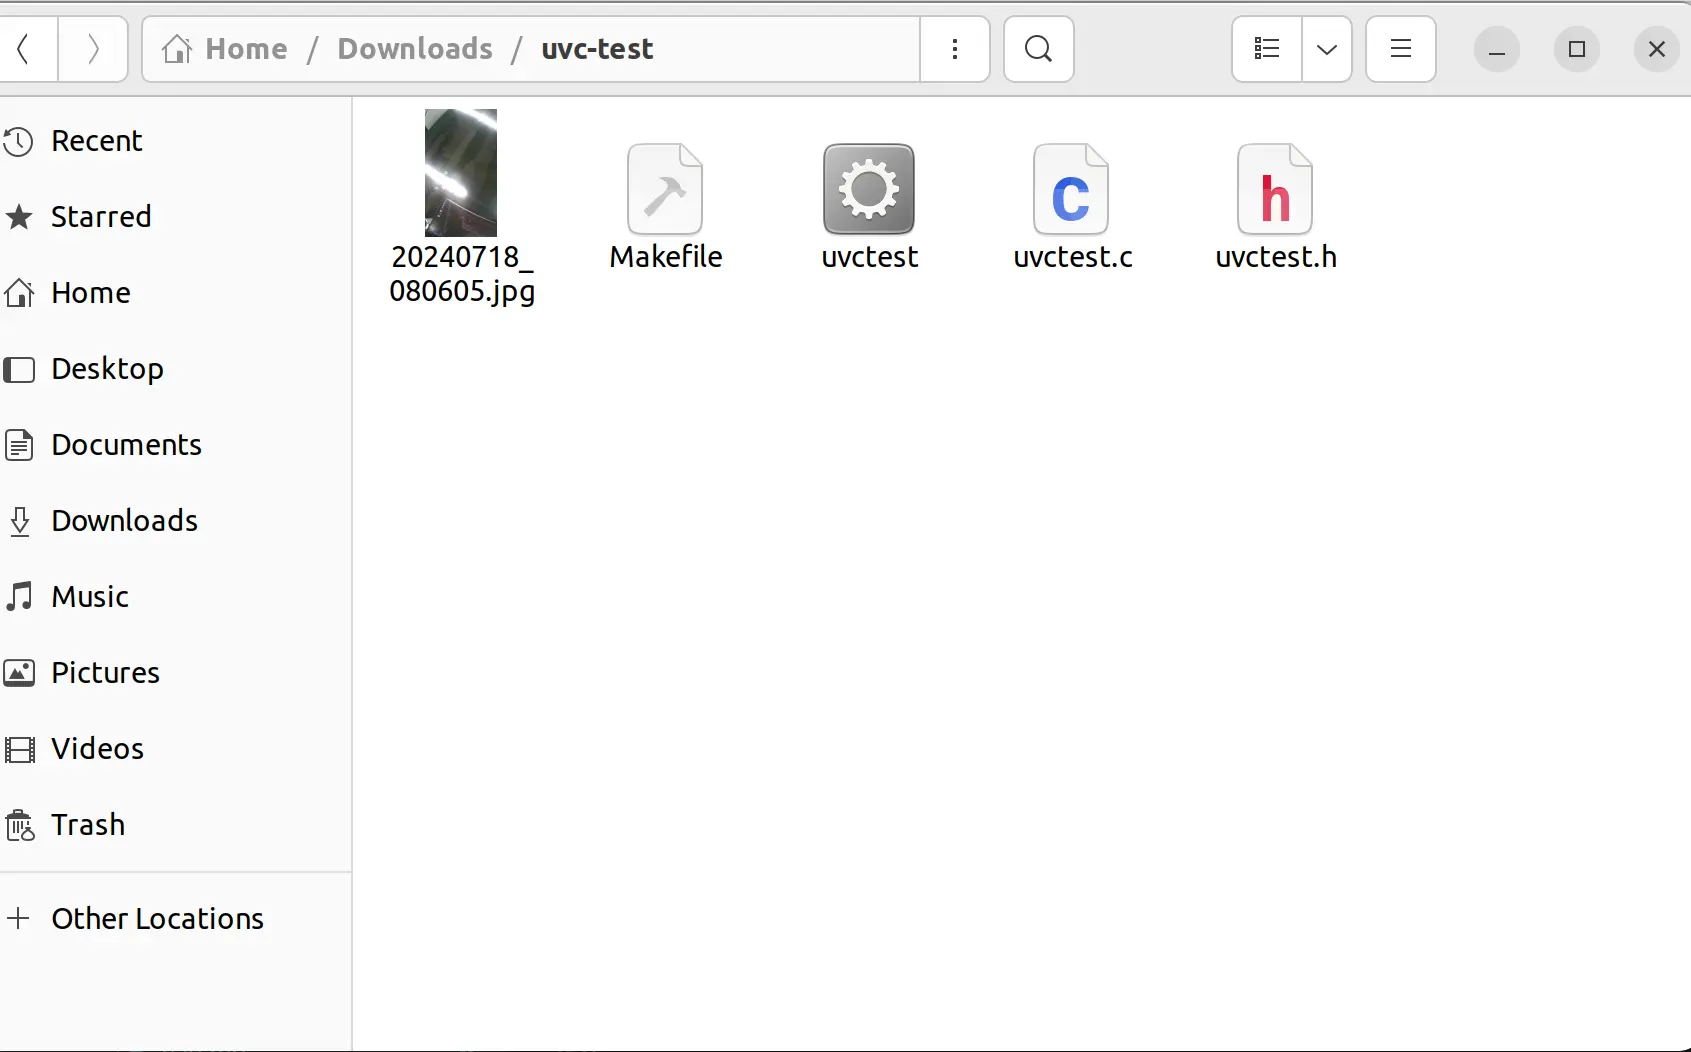
You can see the picture


