Image Classification Based on ShuffleNetV2
1. Configure Docker development environment
Refer to here. After configuring the Docker development environment, return here to continue the next step.
If you are using a configured Docker development environment, please make sure to follow the Docker configuration tutorial to execute command source ./tpu-mlir/envsetup.sh after starting Docker, otherwise errors may occur in subsequent steps.
2. Prepare the working directory in Docker
Create and enter the shufflenet_v2 working directory, note that it is a directory at the same level as tpu-mlir.
# mkdir shufflenet_v2 && cd shufflenet_v2
Copy test image:
# cp -rf ${TPUC_ROOT}/regression/dataset/ILSVRC2012/ .
# cp -rf ${TPUC_ROOT}/regression/image/ .
${TPUC_ROOT} here is an environment variable, corresponding to the tpu-mlir directory, which is loaded in the source ./tpu-mlir/envsetup.sh step in the previous configuration of the Docker development environment.
Create a new export.py file and write the following code in the file:
import torch
from torchvision.models.shufflenetv2 import shufflenet_v2_x1_0
model = shufflenet_v2_x1_0(pretrained=True)
model.eval()
torch.jit.trace(model, torch.randn(1, 3, 640, 640)).save("./shufflenetv2_jit.pt")
Run the export.py file:
python export.py
Example of successful operation
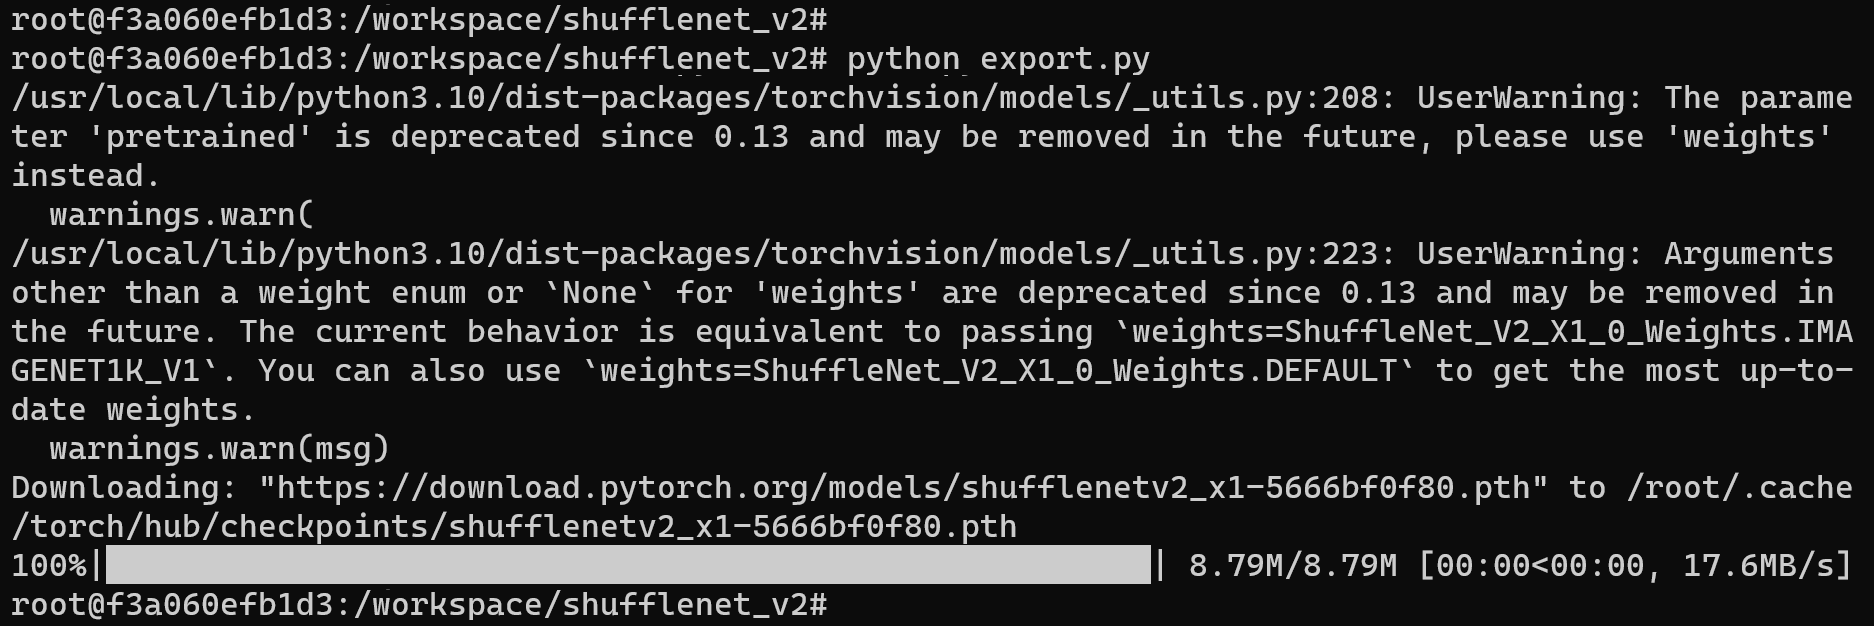
The shufflenetv2_jit.pt file will be generated in the current directory, which is the required original model file.
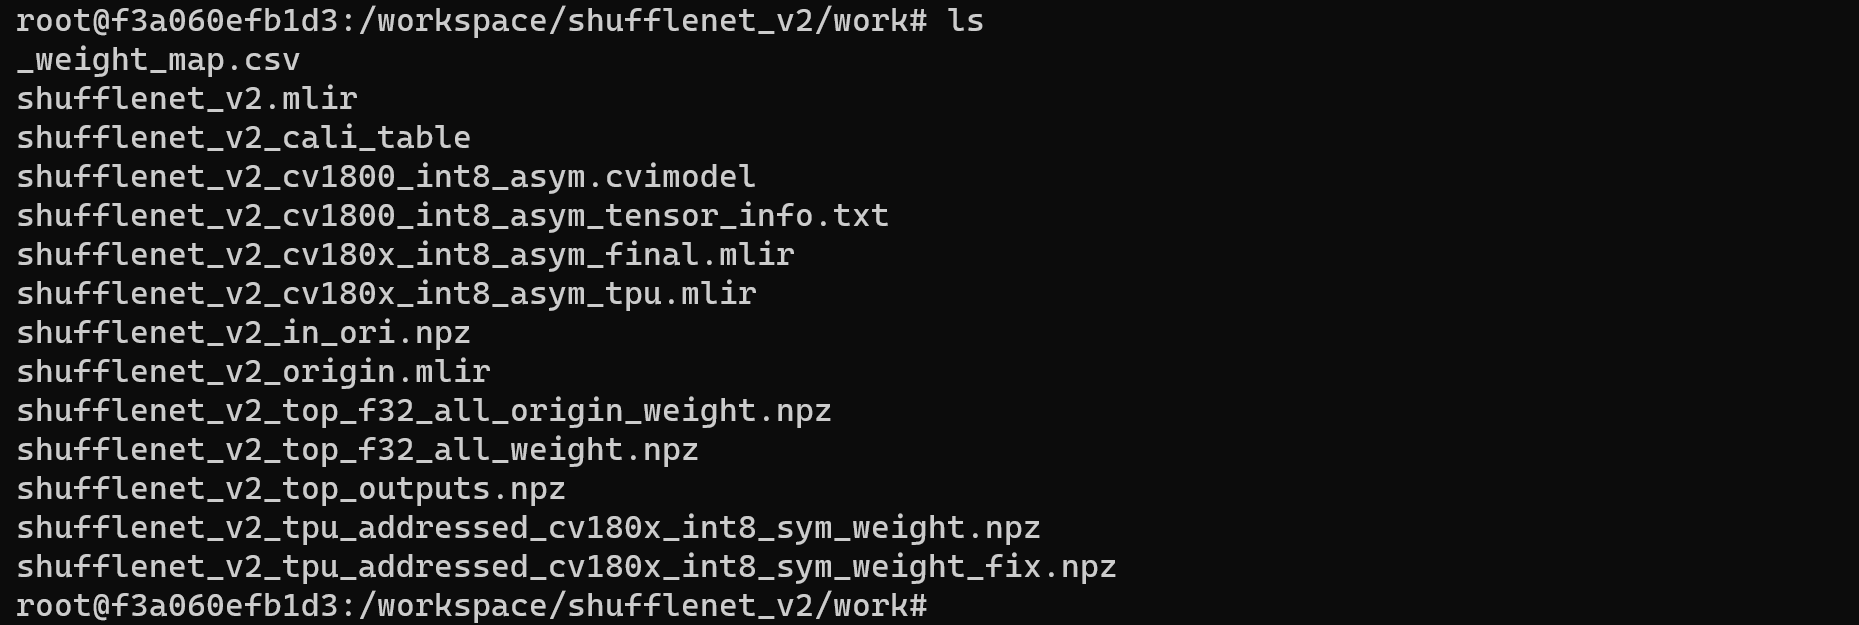
Create and enter the work working directory to store compiled files such as MLIR and cvimodel
# mkdir work && cd work
3. ShuffleNetV2-PyTorch Model Conversion
The Duo development board is equipped with the CV1800B chip, which supports the ONNX series and Caffe models. Currently, it does not support TFLite models. In terms of quantized data types, it supports quantization in BF16 format and asymmetric quantization in INT8 format.
The steps for model conversion are as follows:
- Convert PyTorch model to MLIR
- Generate calibration tables required for quantification
- MLIR quantization into INT8 asymmetric cvimodel
PyTorch model converted to MLIR
The model input are pictures. Before converting the model, we need to understand the preprocessing of the model. If the model uses preprocessed npz files as input, there is no need to consider preprocessing. The preprocessing process is expressed as follows ($x$ represents the input): $$ y = (x-mean)\times scale $$
The model in this example is BGR input, mean and scale are 103.94, 116.78, 123.68 and 0.017, 0.017, 0.017 respectively. The model conversion command is as follows:
model_transform.py \
--model_name shufflenet_v2 \
--model_def ../shufflenetv2_jit.pt \
--input_shapes [[1,3,224,224]] \
--resize_dims=256,256 \
--mean 103.94,116.78,123.68 \
--scale 0.017,0.017,0.017 \
--pixel_format bgr \
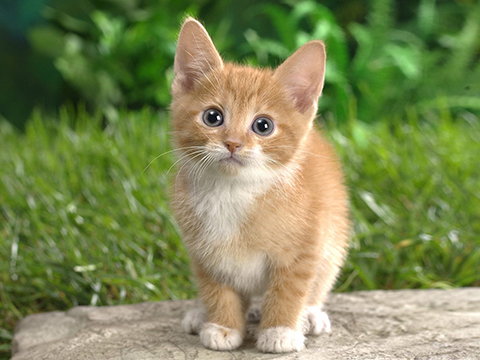
--test_input ../image/cat.jpg \
--test_result shufflenet_v2_top_outputs.npz \
--mlir shufflenet_v2.mlir
Example of successful operation
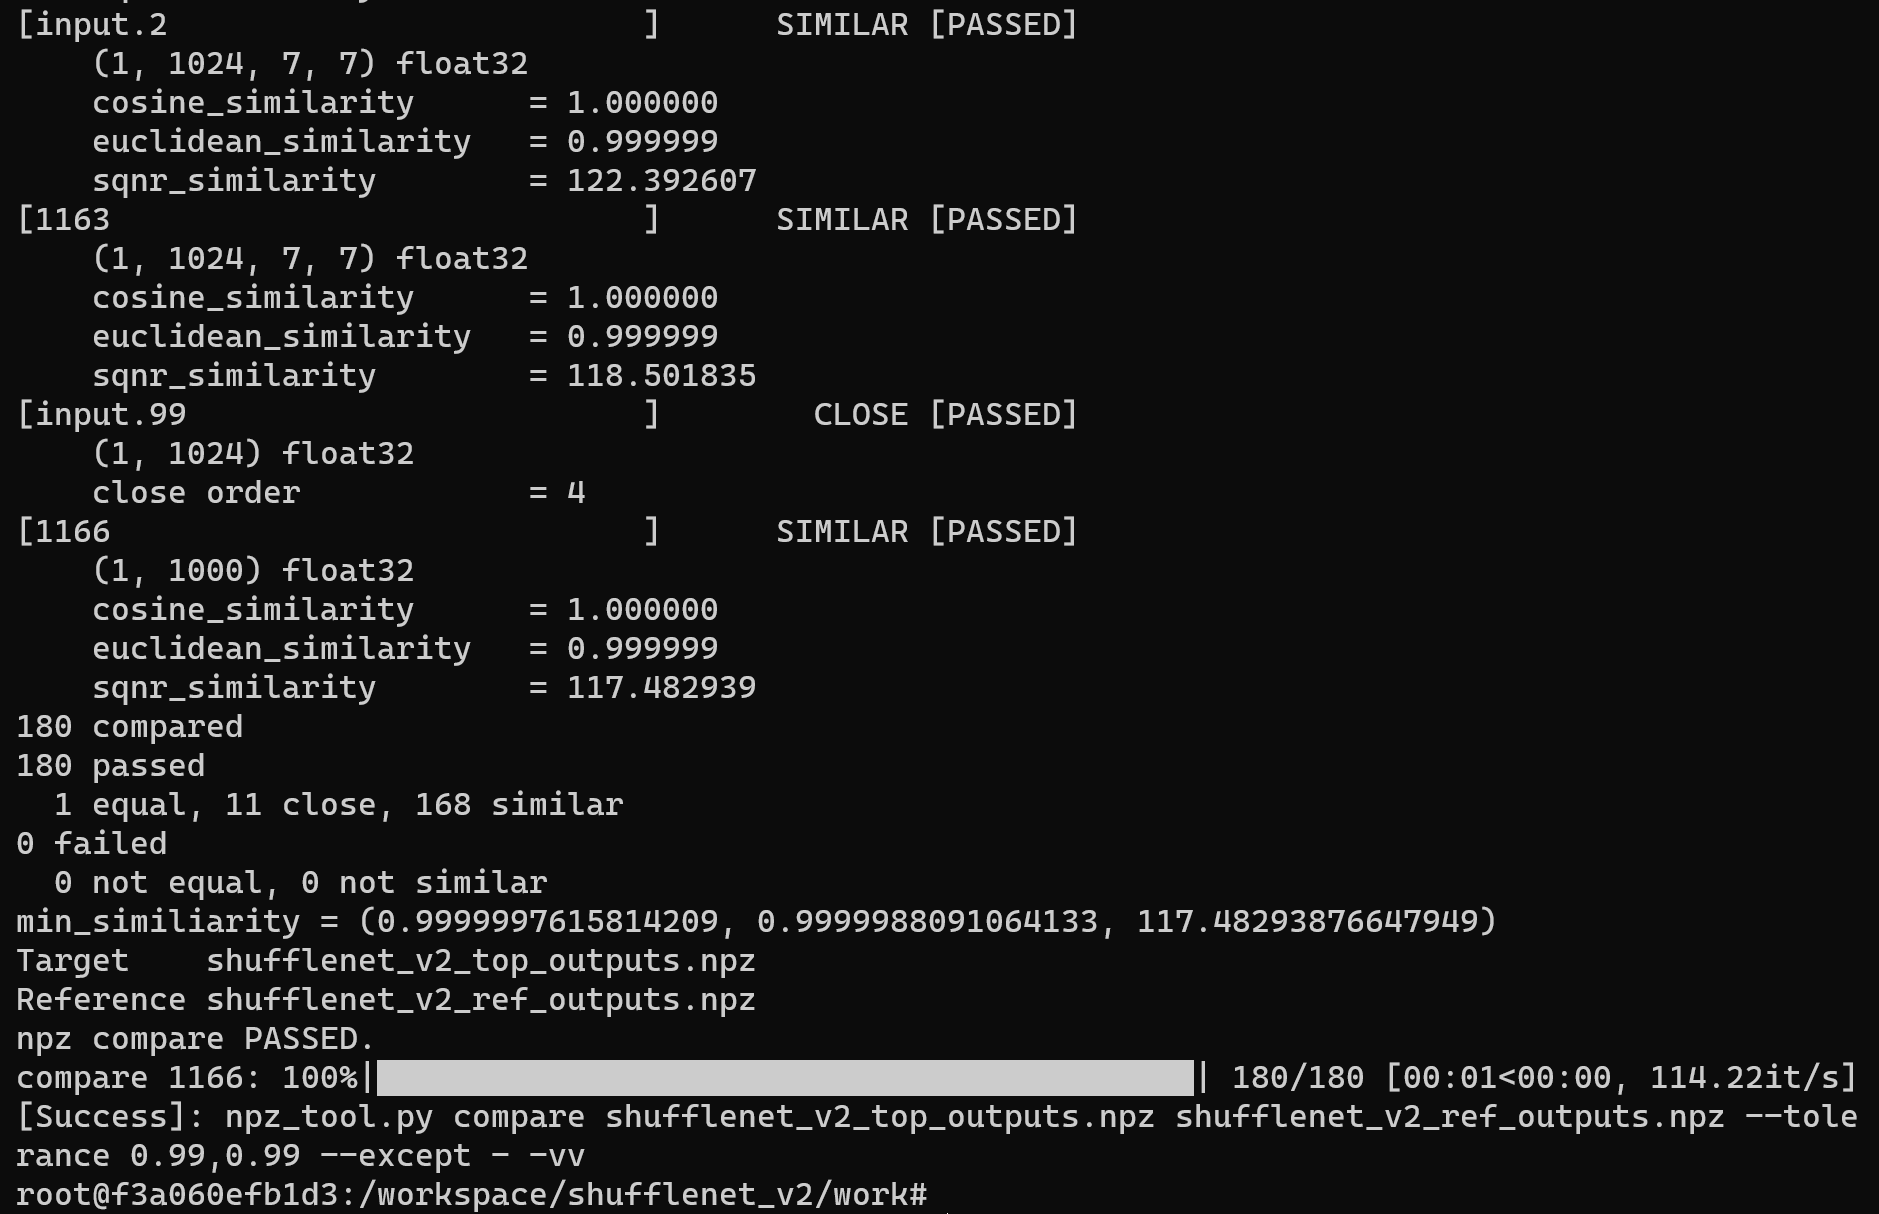
After converting to the MLIR model, a shufflenet_v2.mlir file will be generated, which is the MLIR model file. A shufflenet_v2_in_f32.npz file and a shufflenet_v2_top_outputs.npz file will also be generated, which are the input files for subsequent model conversion.

MLIR to INT8 model
Generate calibration tables required for quantification
Run run_calibration.py to get the calibration table. The number of input data should be about 100~1000 pieces depending on the situation. Here we use the existing 100 images from ILSVRC2012 as an example and execute the calibration command:
run_calibration.py shufflenet_v2.mlir \
 --dataset ../ILSVRC2012 \
 --input_num 100 \
 -o shufflenet_v2_cali_table
Example of successful operation
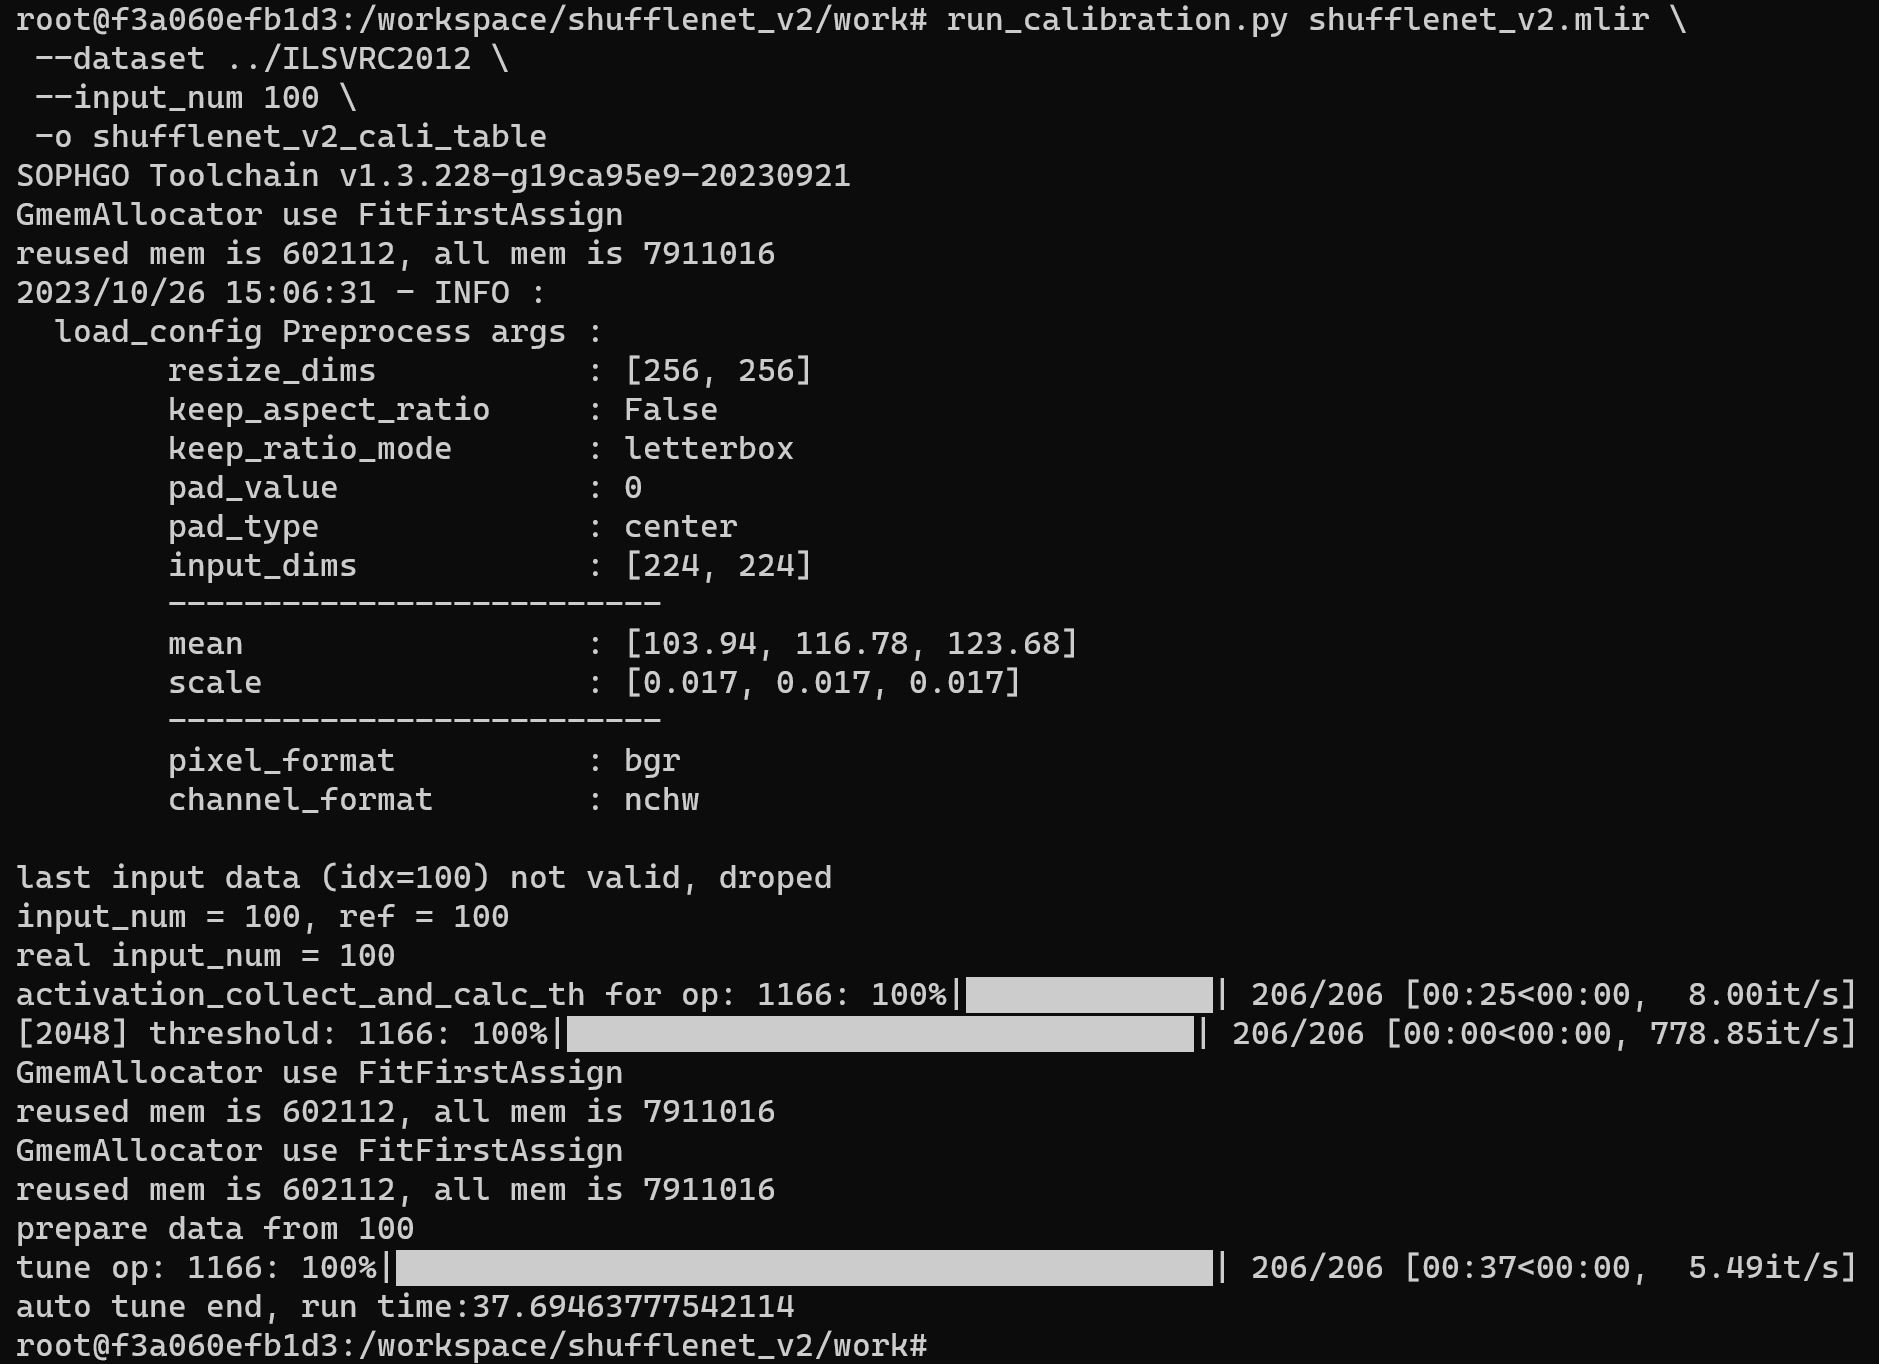
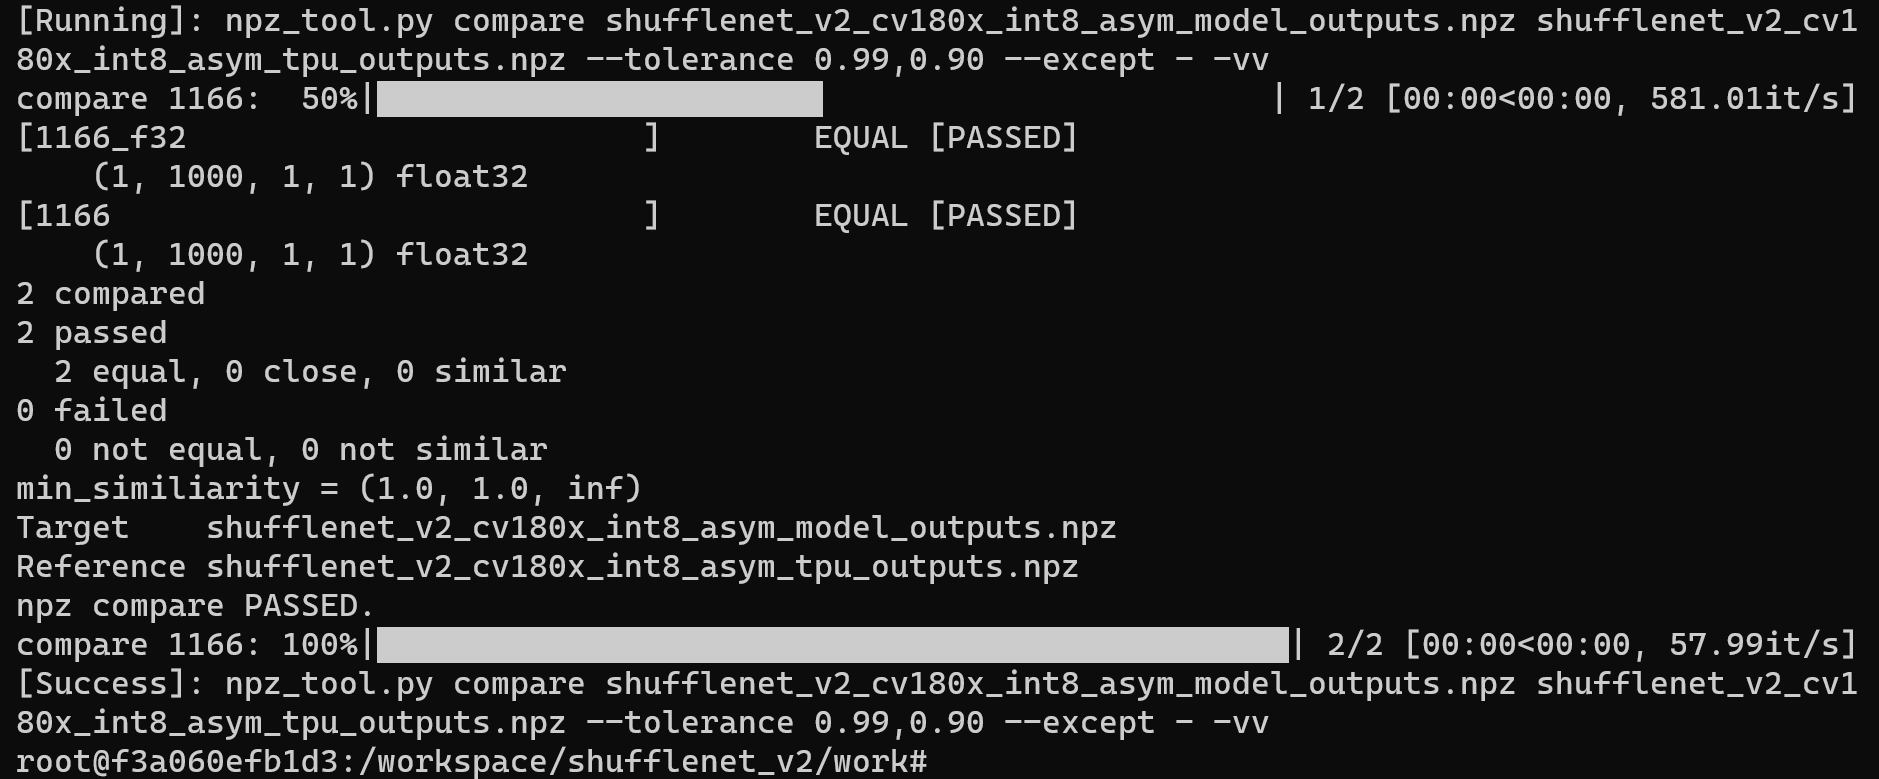
After the operation is completed, the shufflenet_v2_cali_table file will be generated, which is used for subsequent compilation of the INT8 model.

MLIR quantized into INT8 asymmetric cvimodel
Use the model_deploy.py script parameter to use asymmetric for asymmetric quantization and convert the MLIR file into an INT8 asymmetric quantization model:
model_deploy.py \
 --mlir shufflenet_v2.mlir \
 --asymmetric \
 --calibration_table shufflenet_v2_cali_table \
 --fuse_preprocess \
 --customization_format BGR_PLANAR \
 --chip cv180x \
 --quantize INT8 \
 --test_input ../image/cat.jpg \
 --tolerance 0.96,0.72 \
 --model shufflenet_v2_int8_asym.cvimodel
If the development board you are using is not Duo, please replace the seventh line -- chip cv180x in the above command with the corresponding chip model.
When using Duo 256M/Duo S , it should be changed to -- chip cv181x.
Example of successful operation
After compilation is completed, the shufflenet_v2_int8_asym.cvimodel file will be generated.
4. Validate on Development Board Duo
Connecting the Duo development board
Complete the connection between the Duo development board and the computer according to the previous tutorial, and use tools such as mobaxterm or Xshell to open a terminal to operate the Duo development board.
Get tpu-sdk
Switch to the /workspace directory in the Docker terminal
cd /workspace
Download tpu sdk, if you are using Duo, execute
git clone https://github.com/milkv-duo/tpu-sdk-cv180x.git
mv ./tpu-sdk-cv180x ./tpu-sdk
Else,if you are using Duo 256M/Duo S , execute
git clone https://github.com/milkv-duo/tpu-sdk-sg200x.git
mv ./tpu-sdk-sg200x ./tpu-sdk
Copy tpu-sdk and model files to Duo
In the terminal of the Duo board, create a new directory /mnt/tpu/
# mkdir -p /mnt/tpu && cd /mnt/tpu
In the Docker terminal, copy tpu-sdk and model files to the Duo
# scp -r /workspace/tpu-sdk [email protected]:/mnt/tpu/
# scp /workspace/shufflenet_v2/work/shufflenet_v2_int8_asym.cvimodel [email protected]:/mnt/tpu/tpu-sdk/
Set environment variables
In the terminal of the Duo board, set the environment variables
# cd /mnt/tpu/tpu-sdk
# source ./envs_tpu_sdk.sh
Perform Image Classification
On the Duo board, perform Image Classification on the image
Enter the samples directory
# cd samples
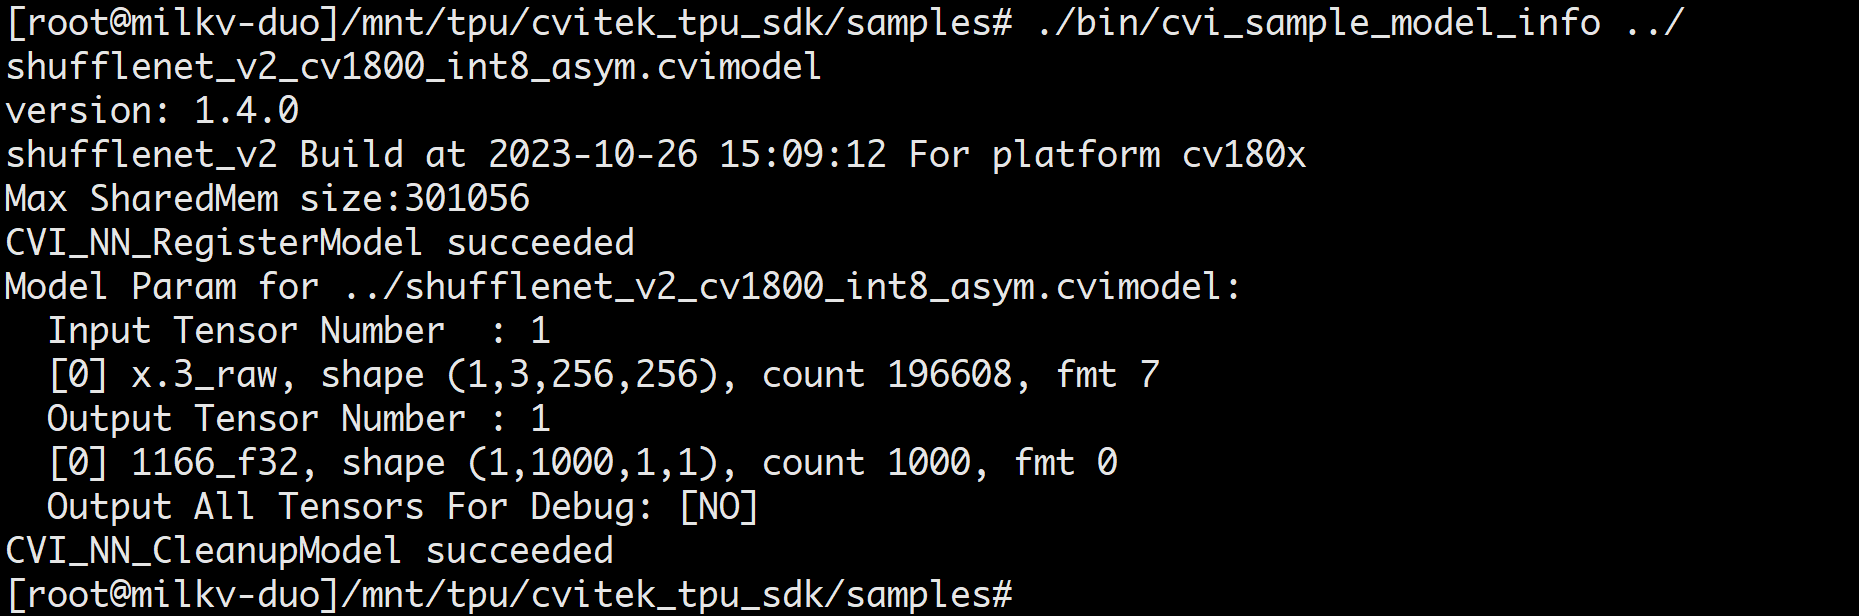
View cvimodel info
./bin/cvi_sample_model_info ../shufflenet_v2_int8_asym.cvimodel
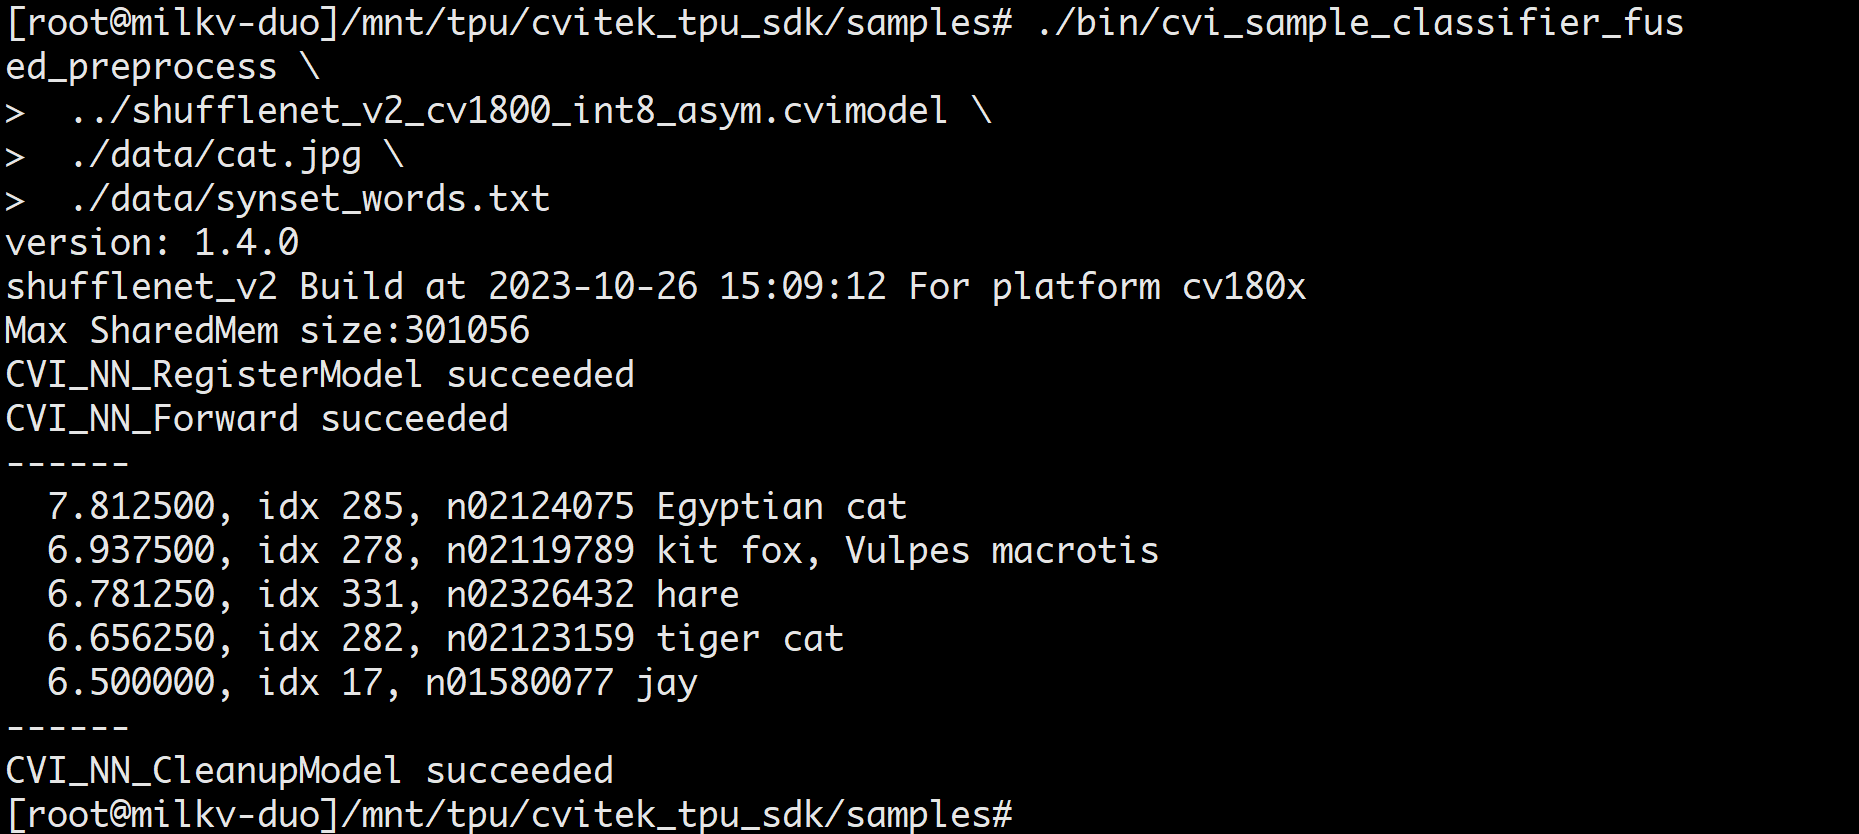
Perform image classification test
./bin/cvi_sample_classifier_fused_preprocess \
 ../shufflenet_v2_int8_asym.cvimodel \
 ./data/cat.jpg \
 ./data/synset_words.txt
Example of successful classification results